
Month: March 2013
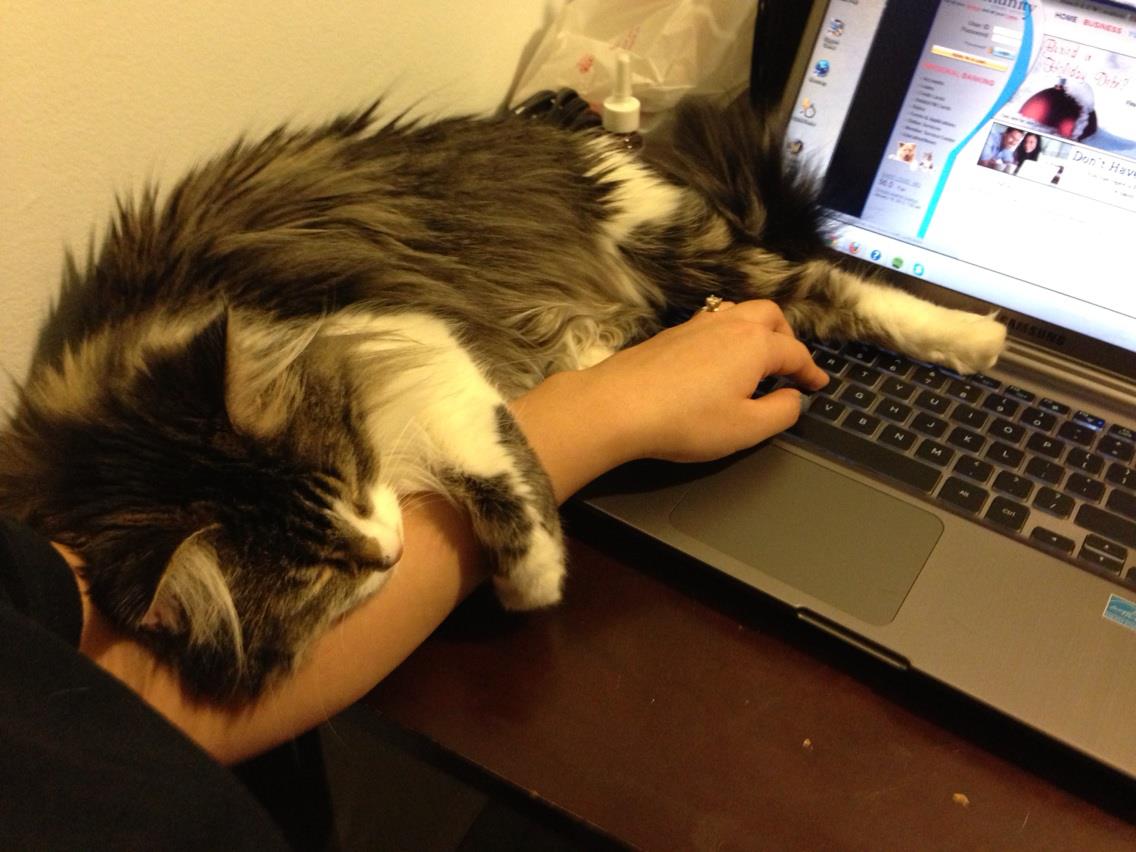
pic of the day 03.12.13
Nothing like having a cat attached to your arm while working.
Kitchen Remodeling
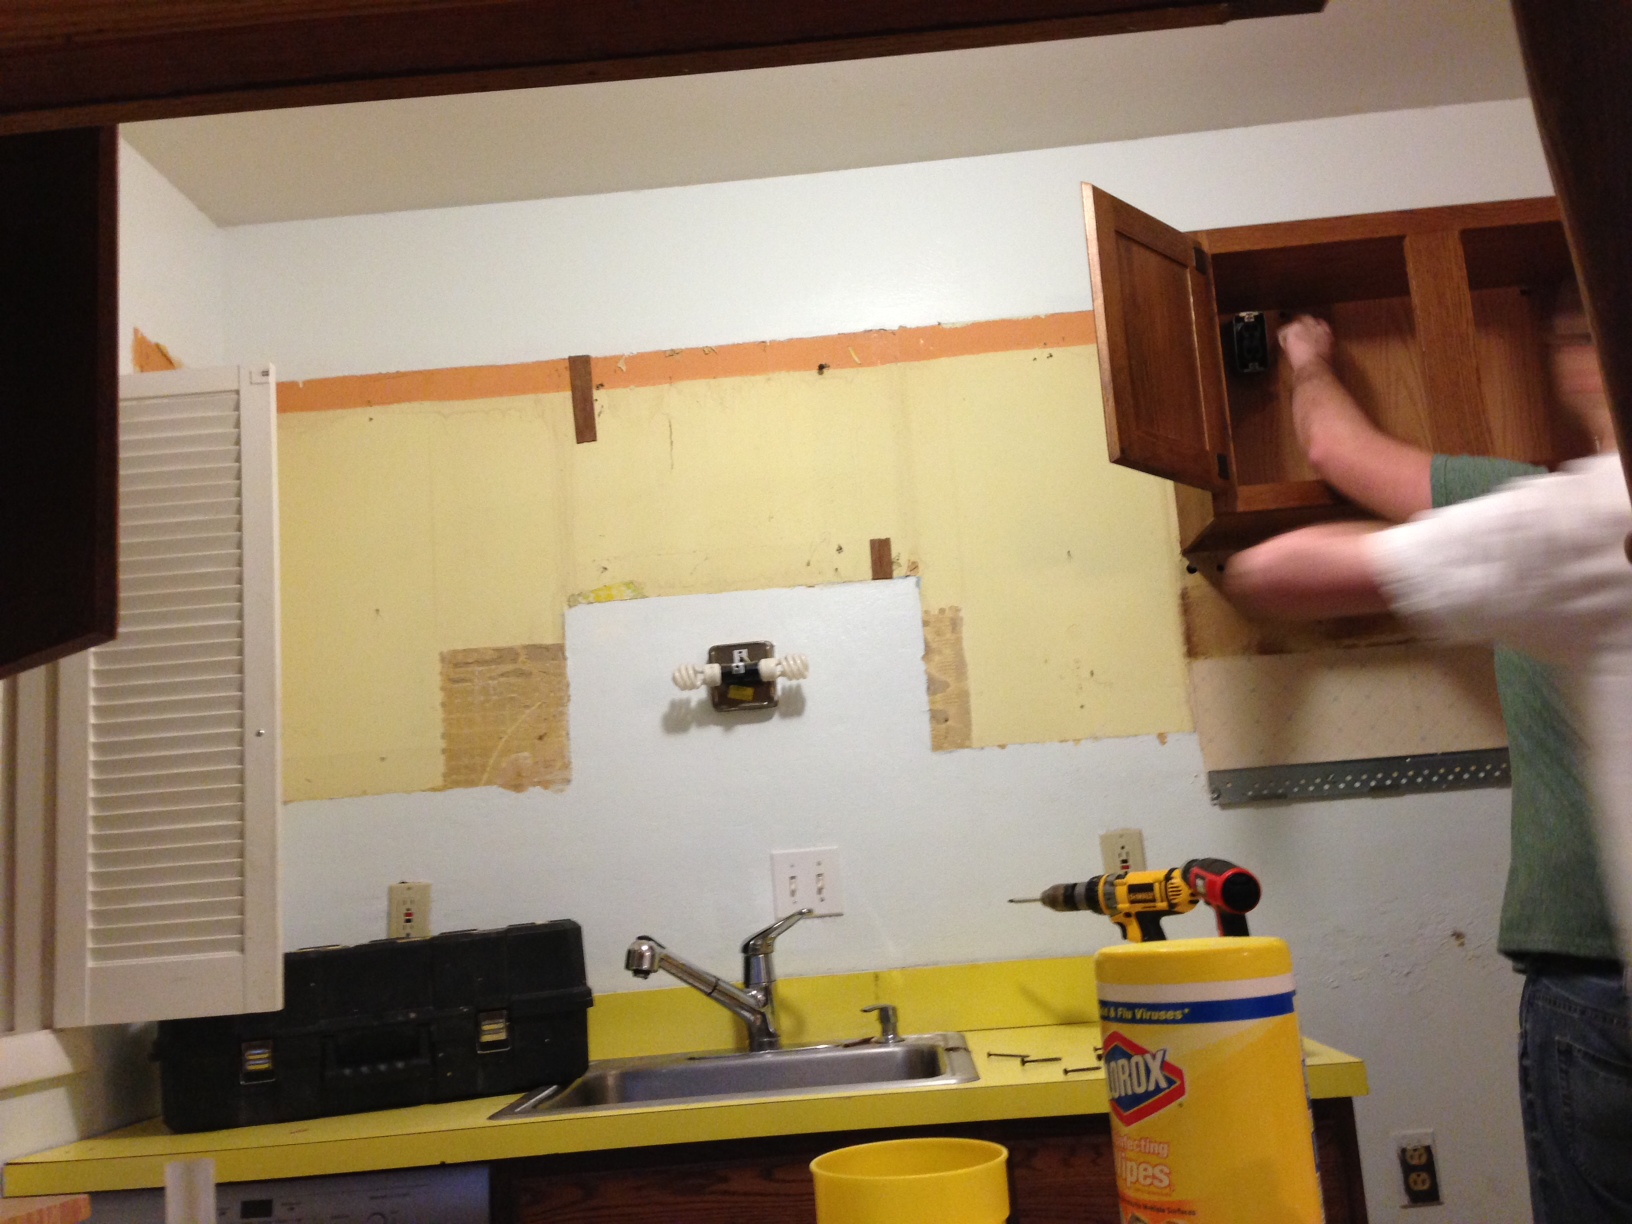
Day 1 – The first of the cabinets are out!
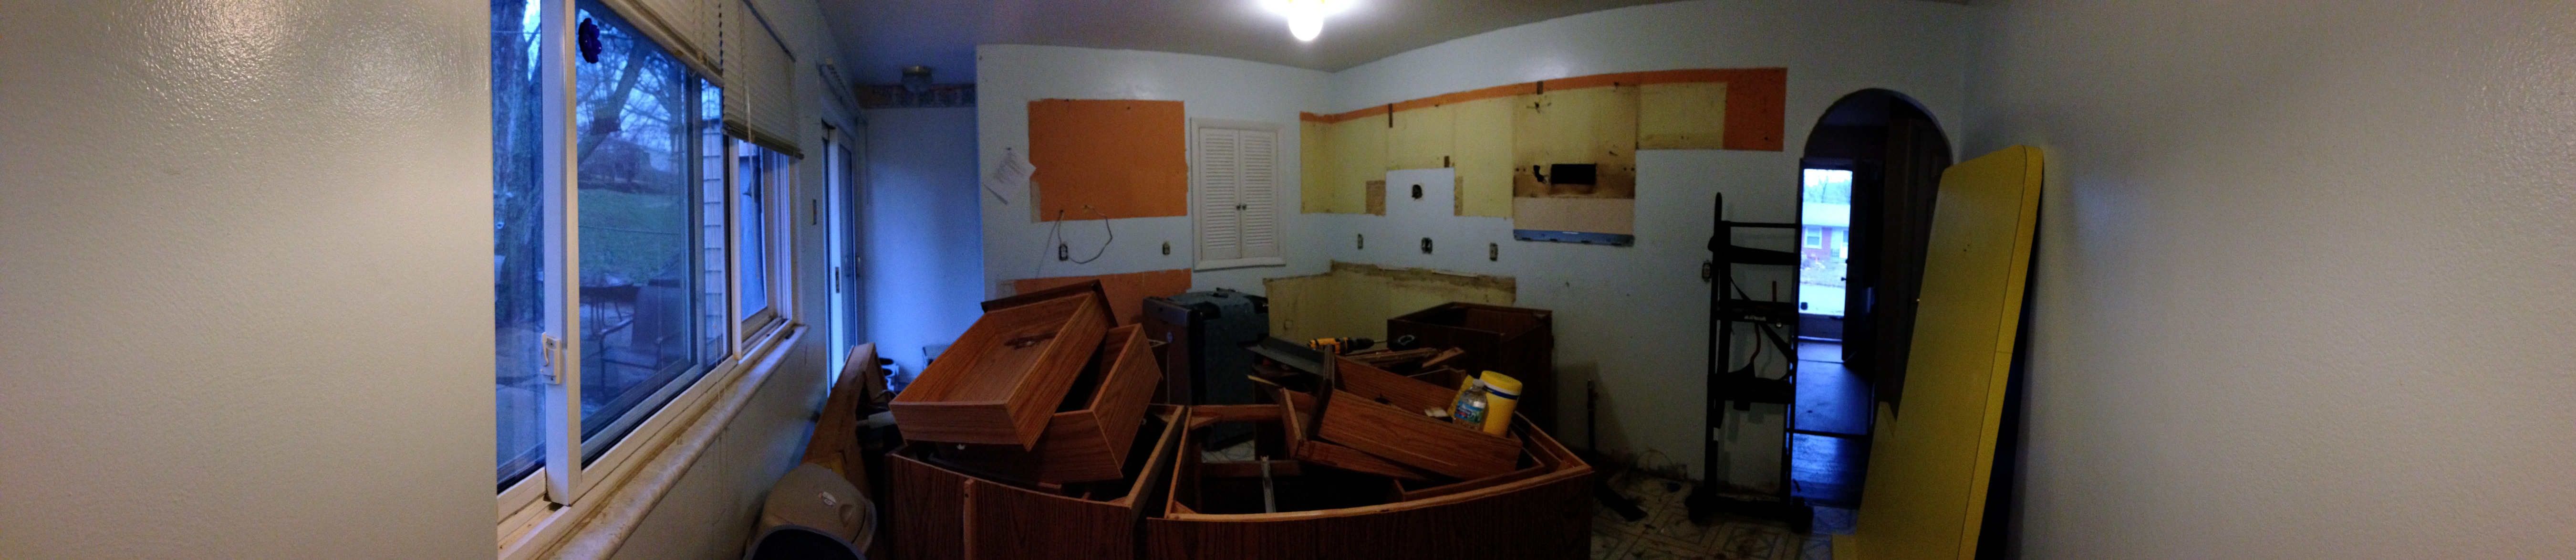
Day 1 – Panoramic view of the kitchen after all the cabinets have been removed.
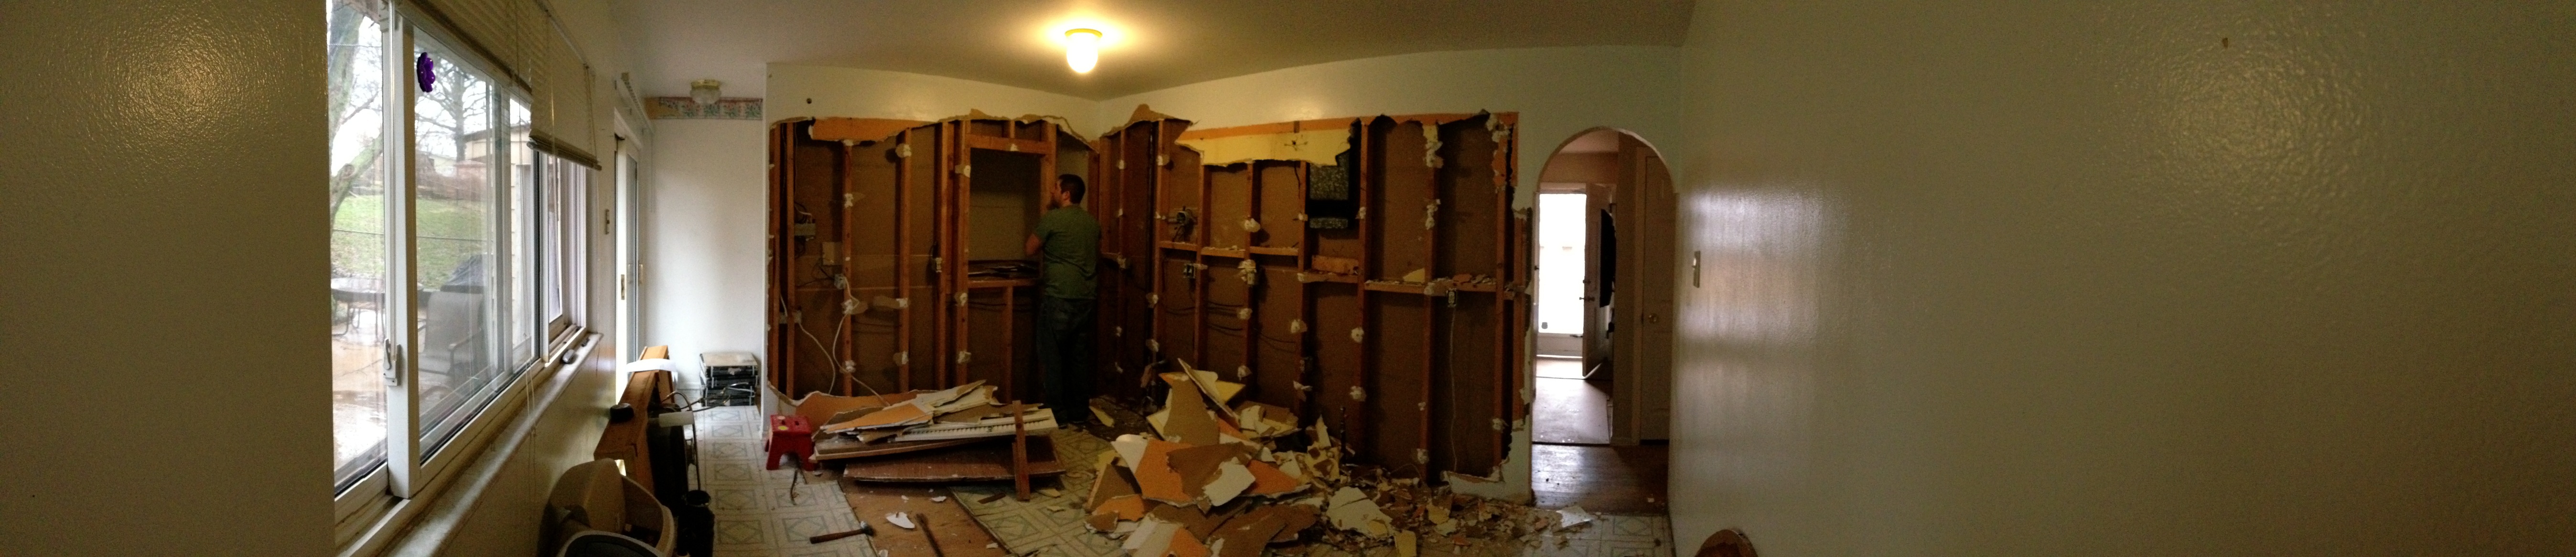
Day 1 – Panoramic view of the kitchen after some of the dry wall has been removed.
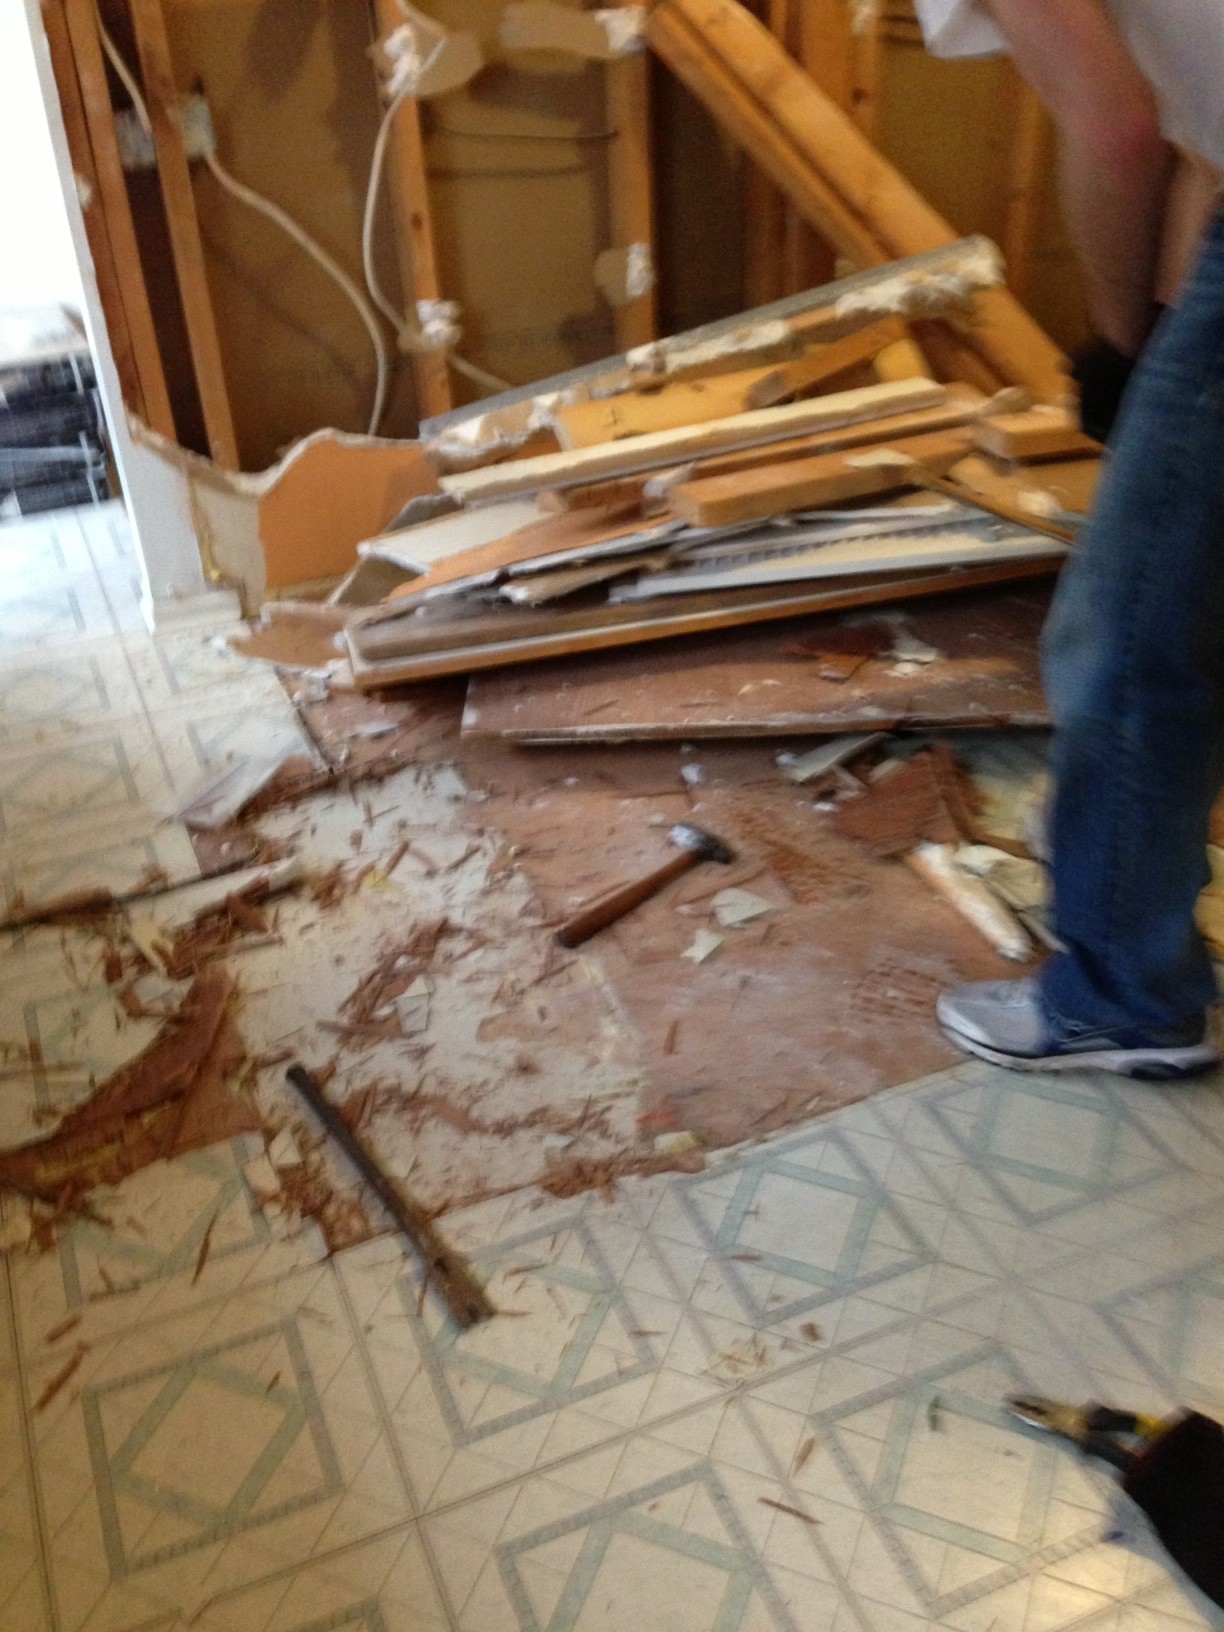
Day 1 – Sooo dusty and messy 🙁
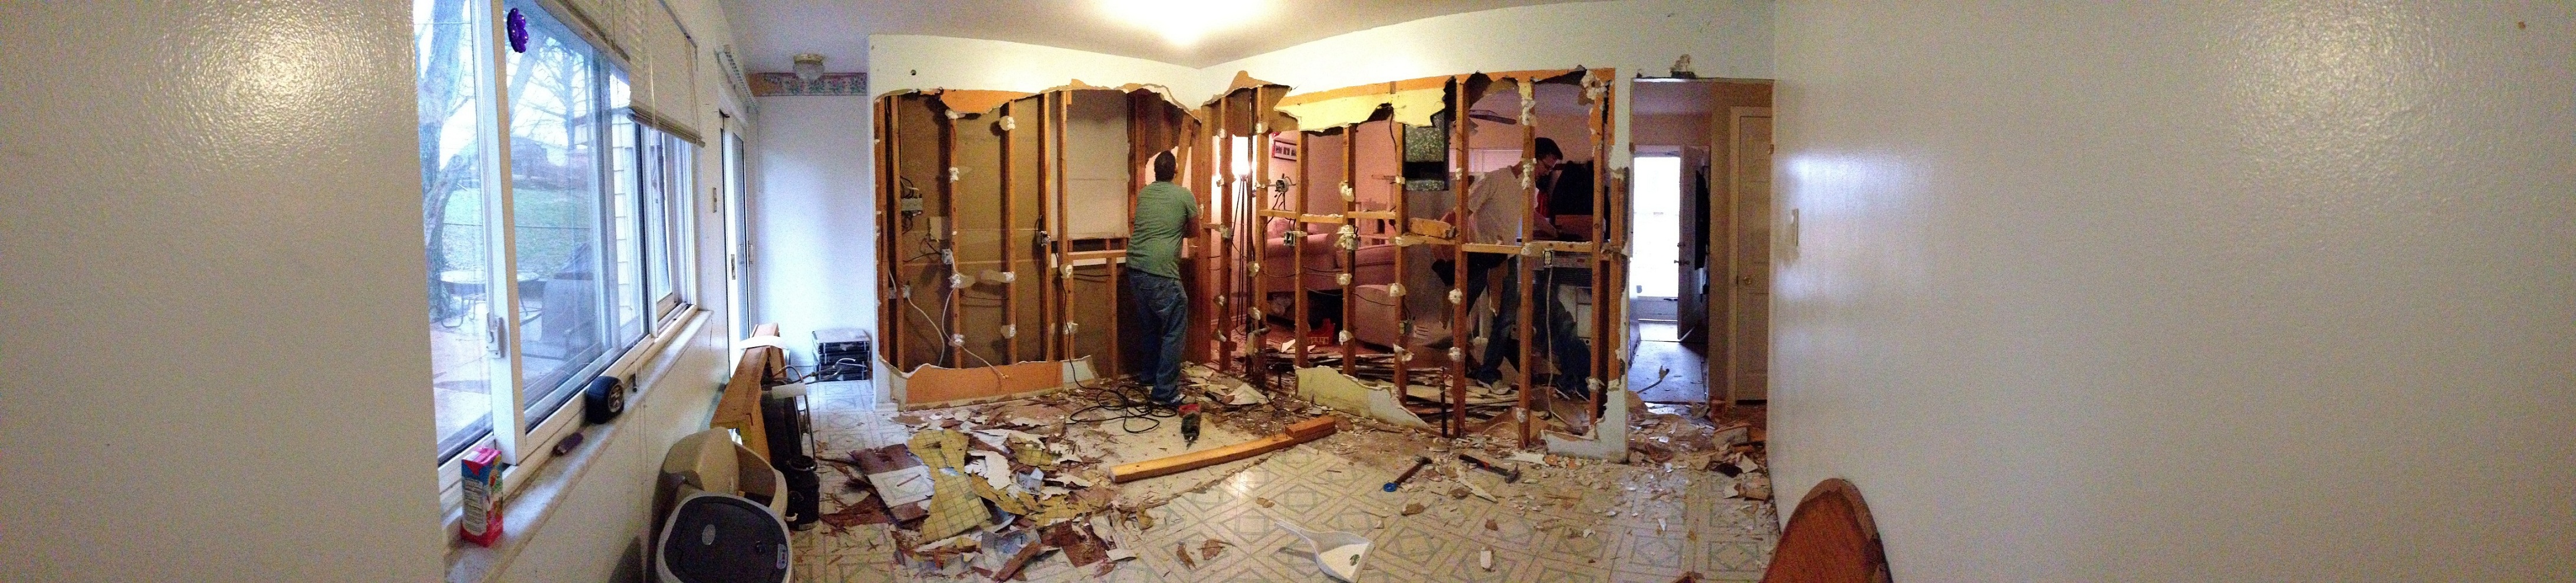
Day 1 – Now we can see thru to the living room from the kitchen!
Day 2 – All the dry wall removed from the living room/kitchen wall.
Day 2 – View of the kitchen from the living room.
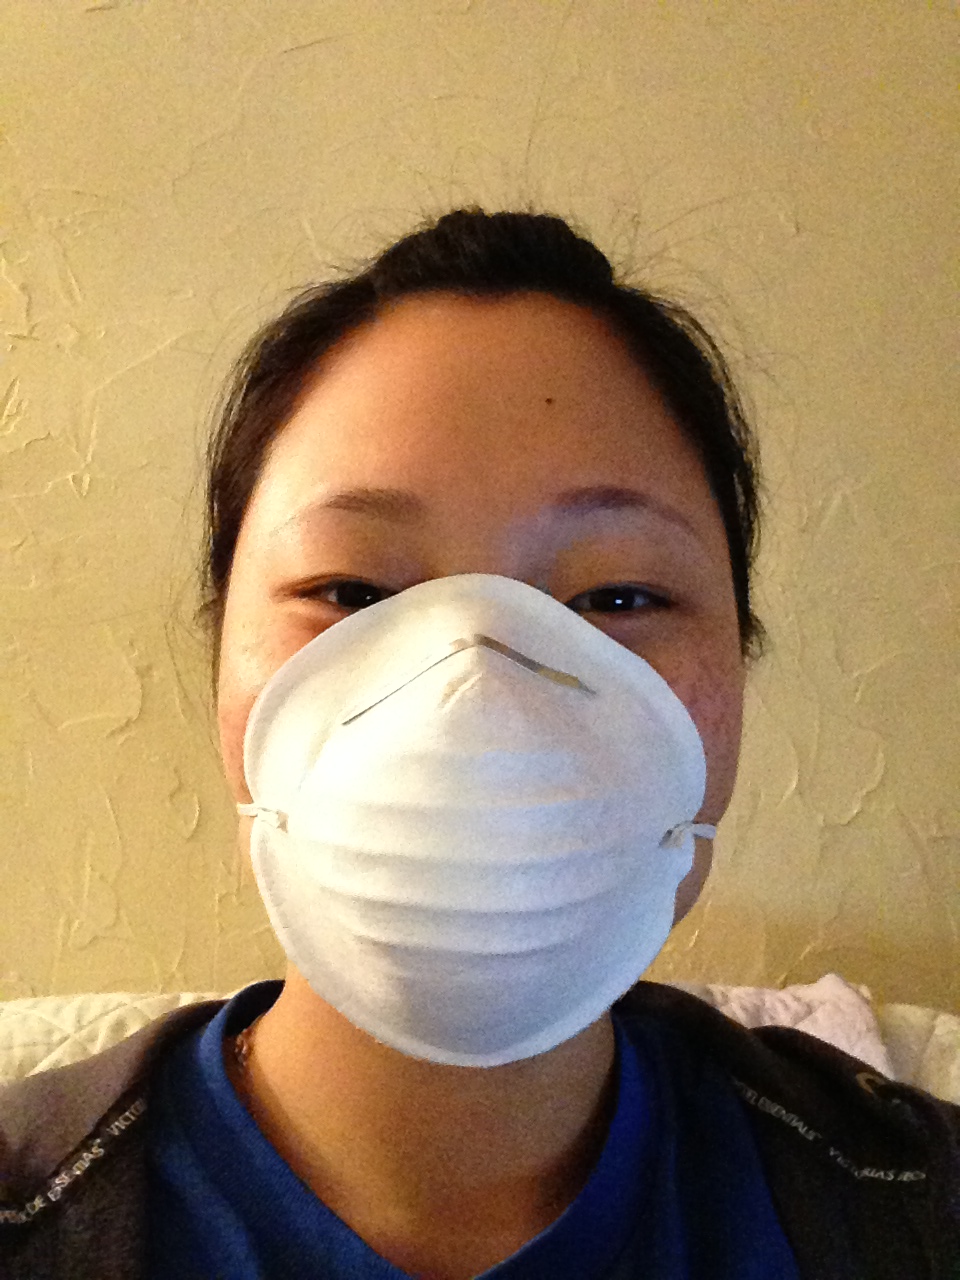
Day 3 – Can’t be inhaling that toxic dust and fiber glass!
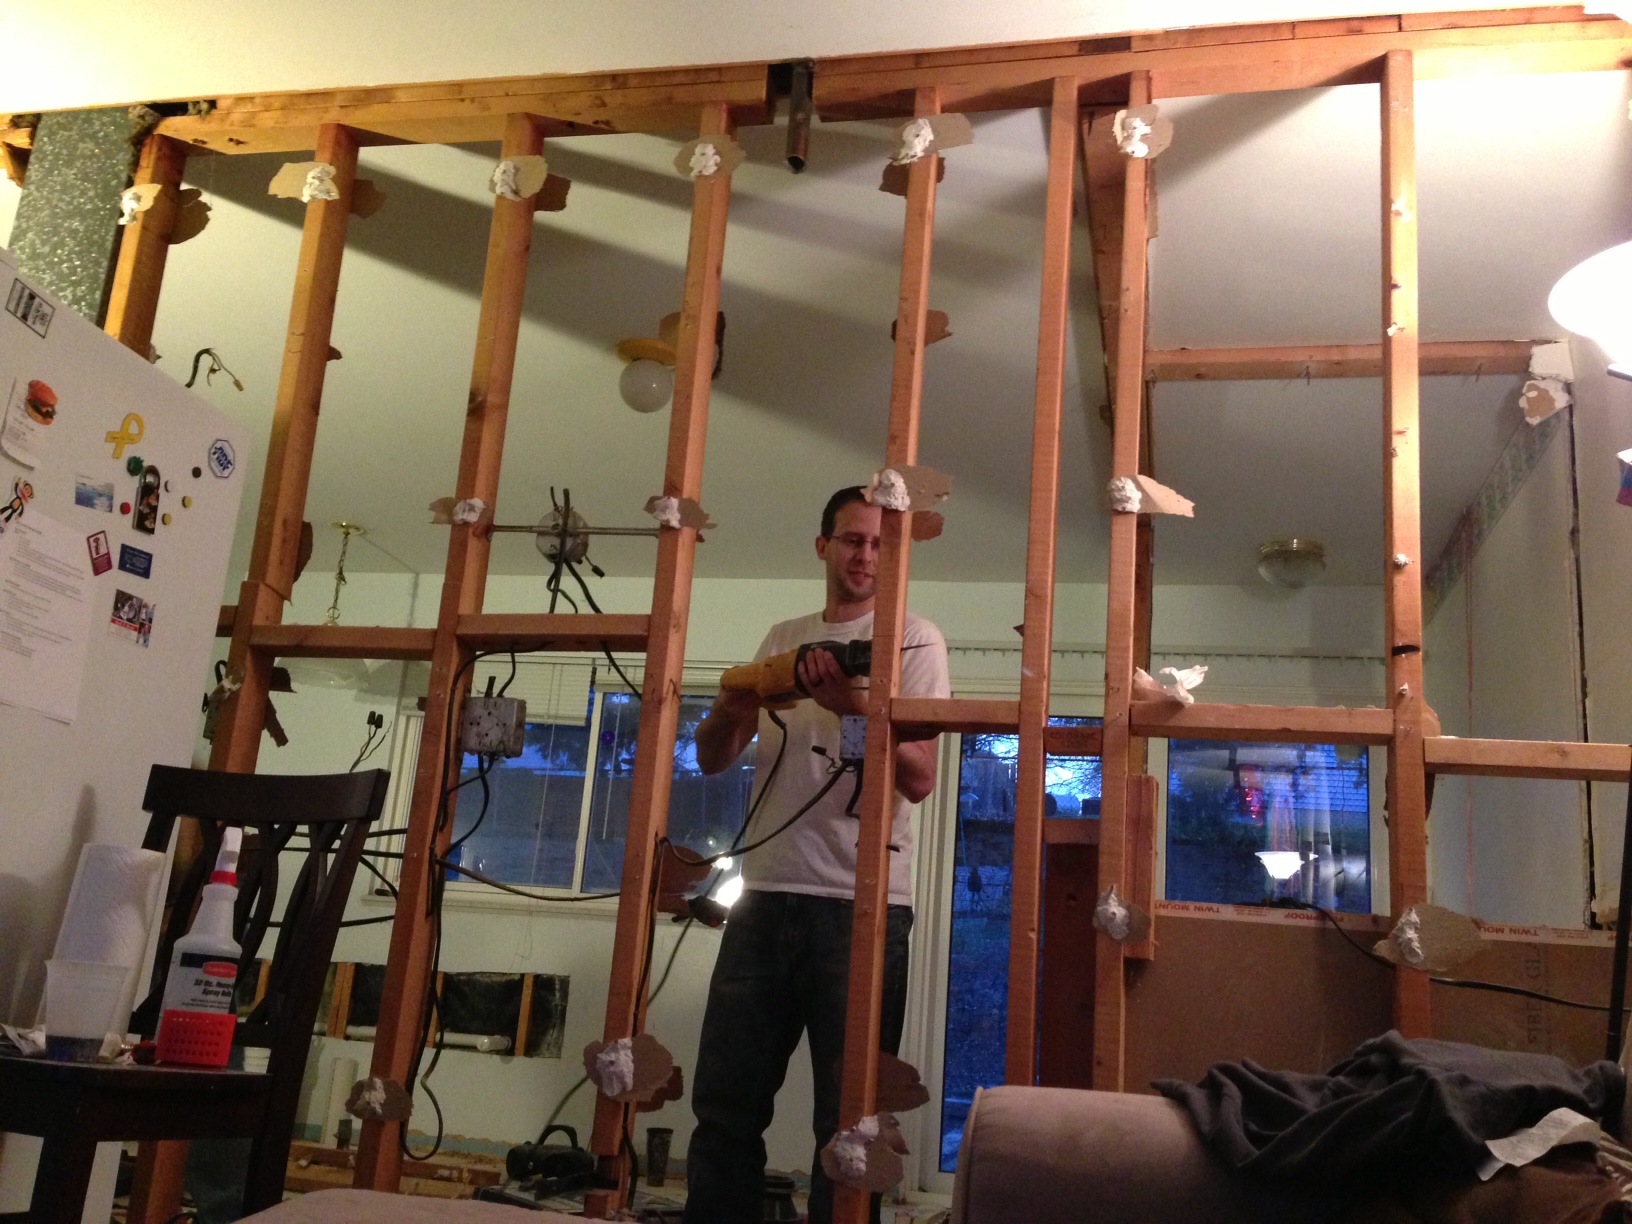
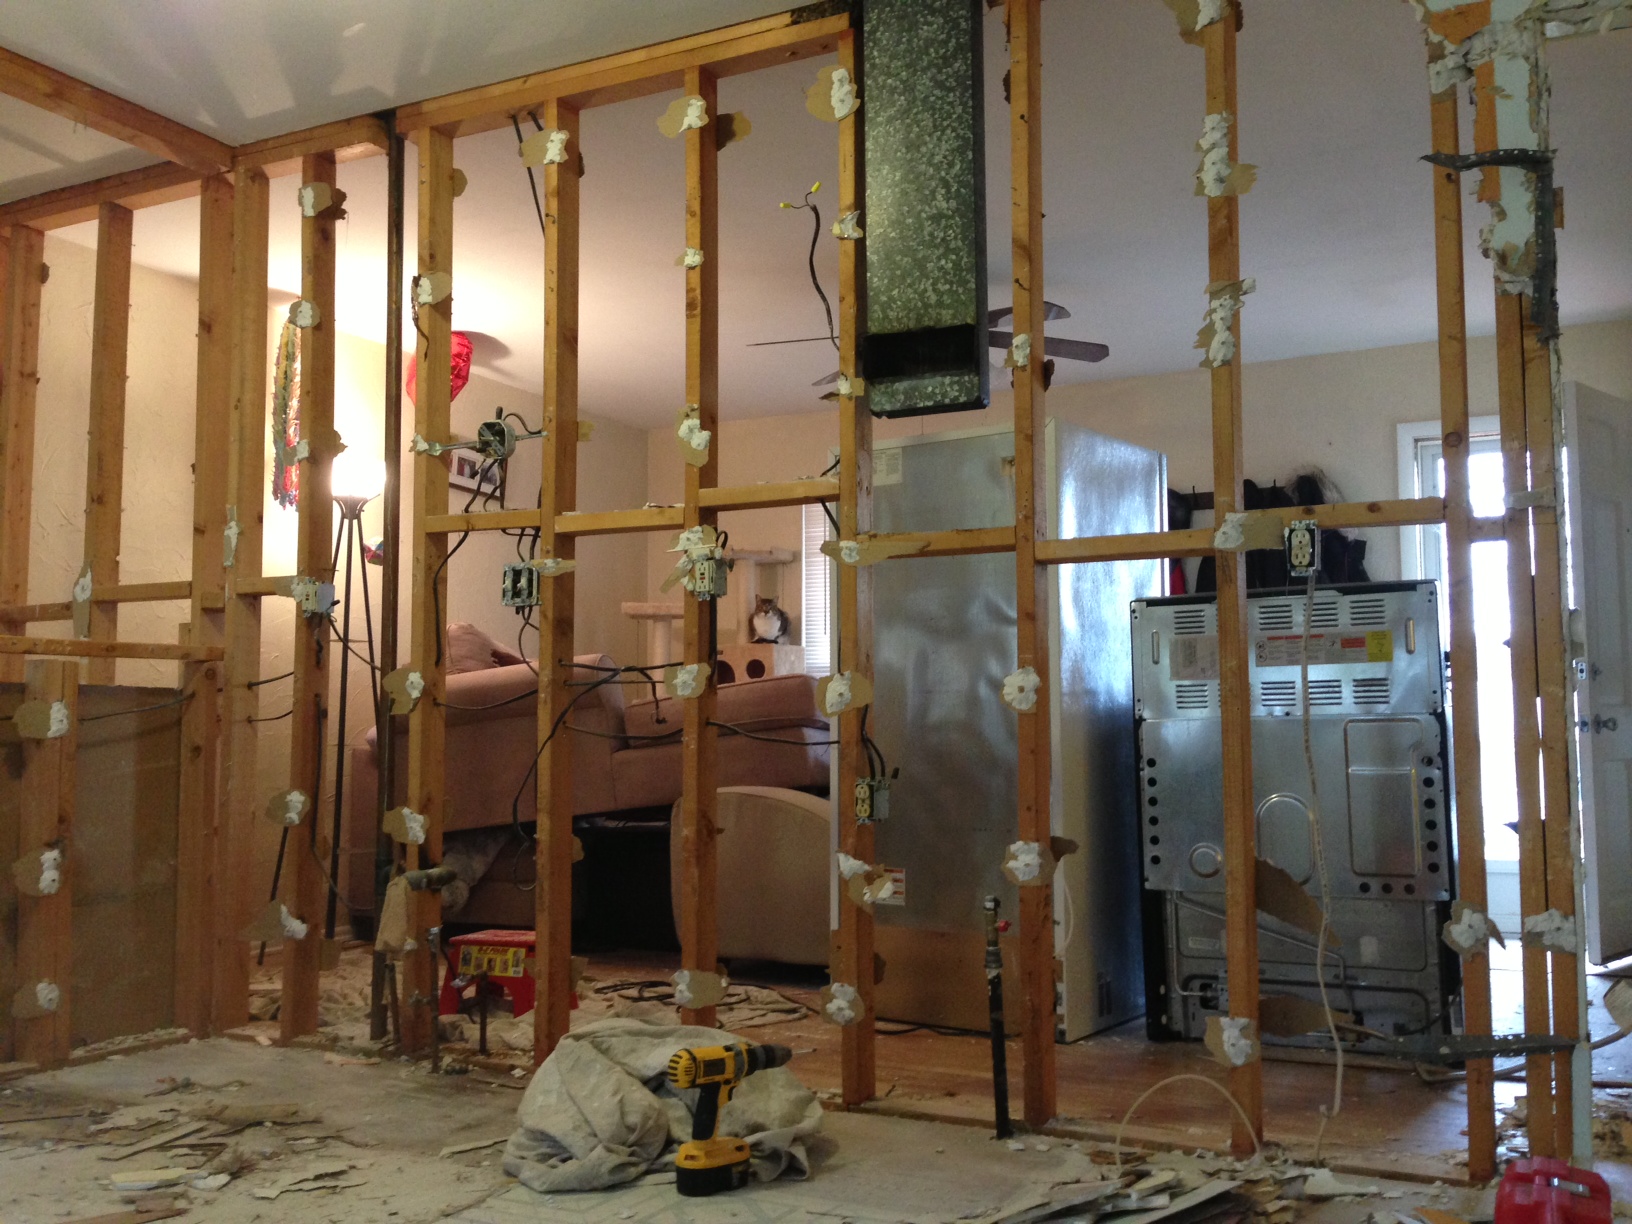
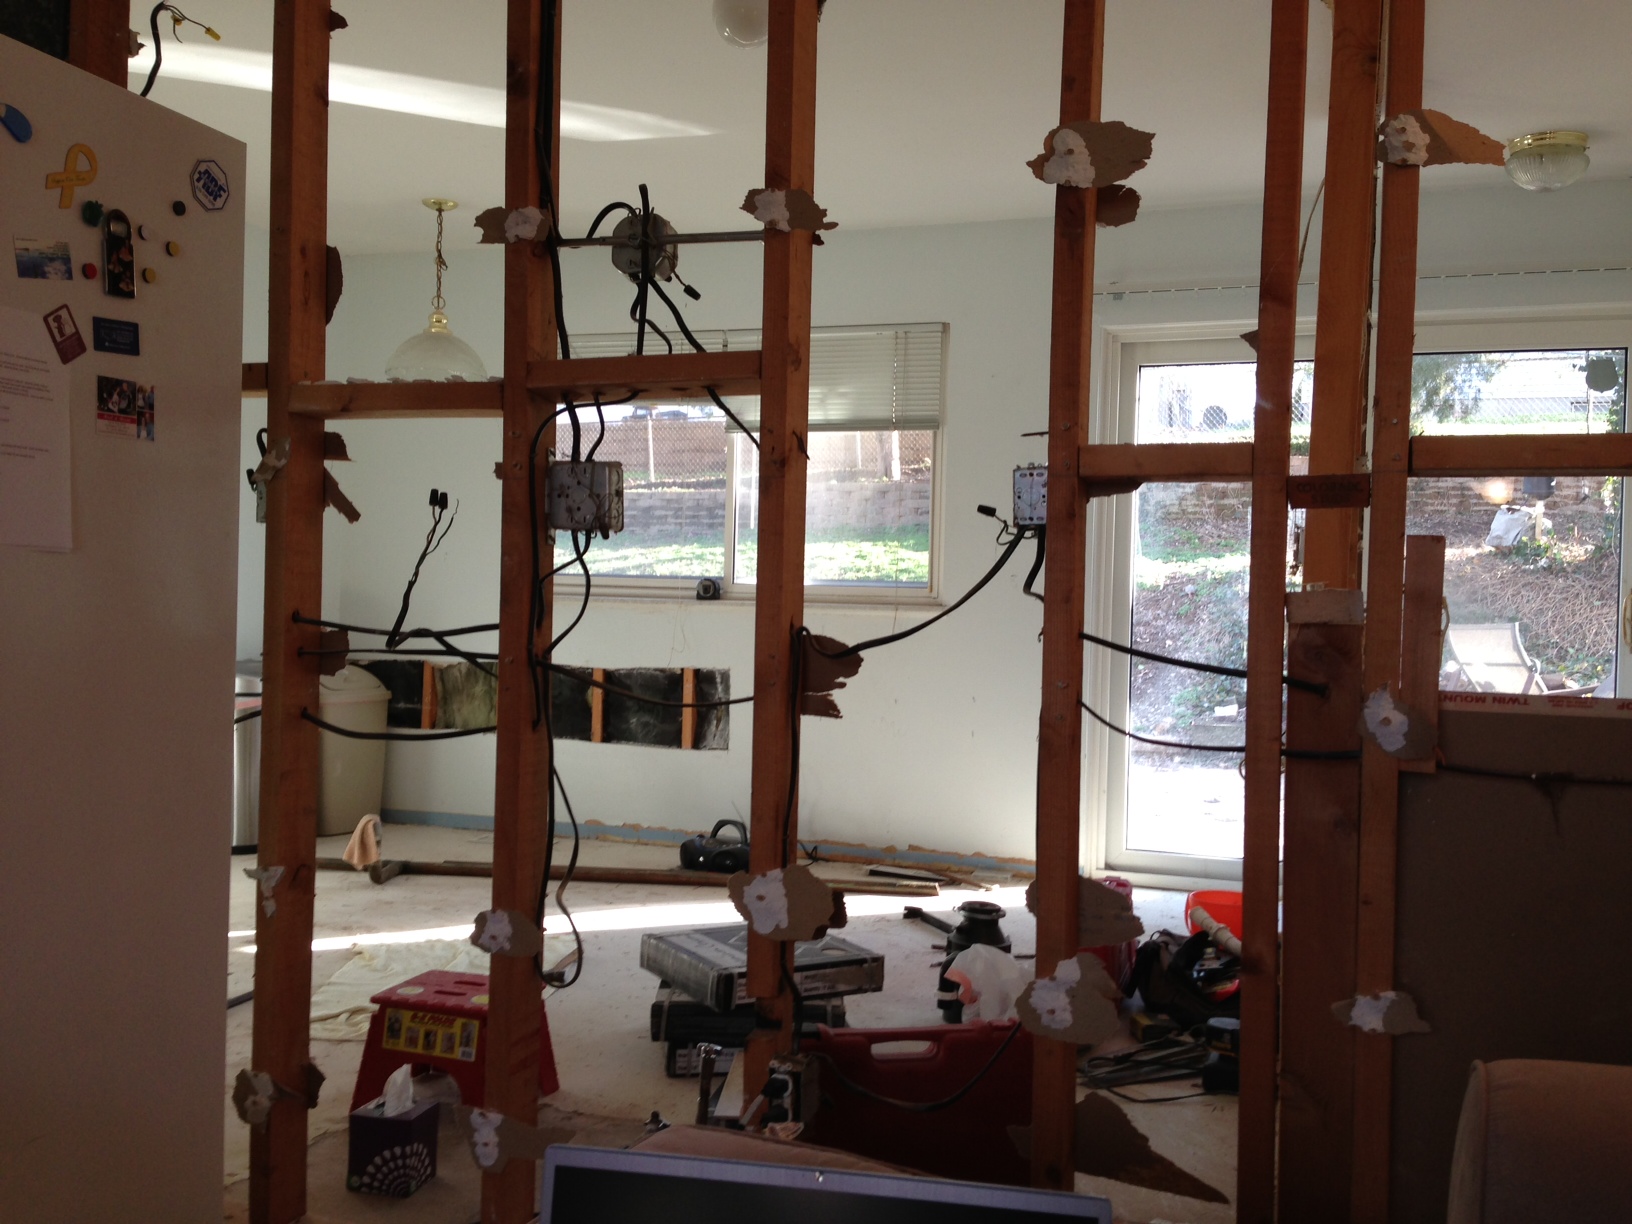
Day 3 – Removing the 2x4s finally.
Day 3 – No more wall between the kitchen and living room!
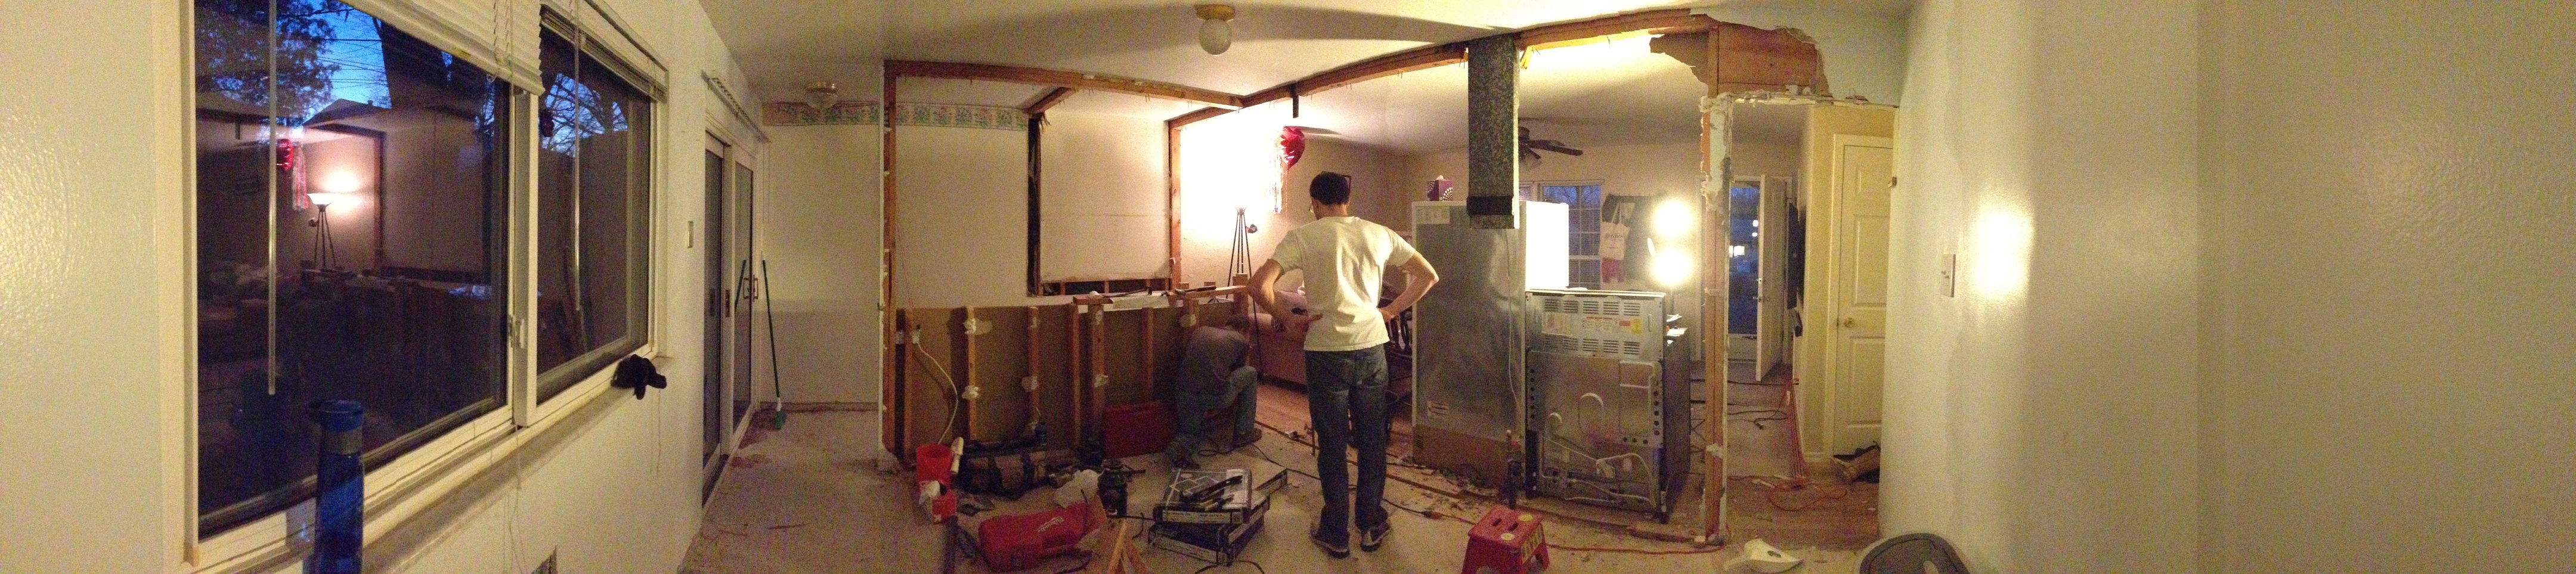
Day 3 – Panoramic view of the kitchen after the wall has been removed.
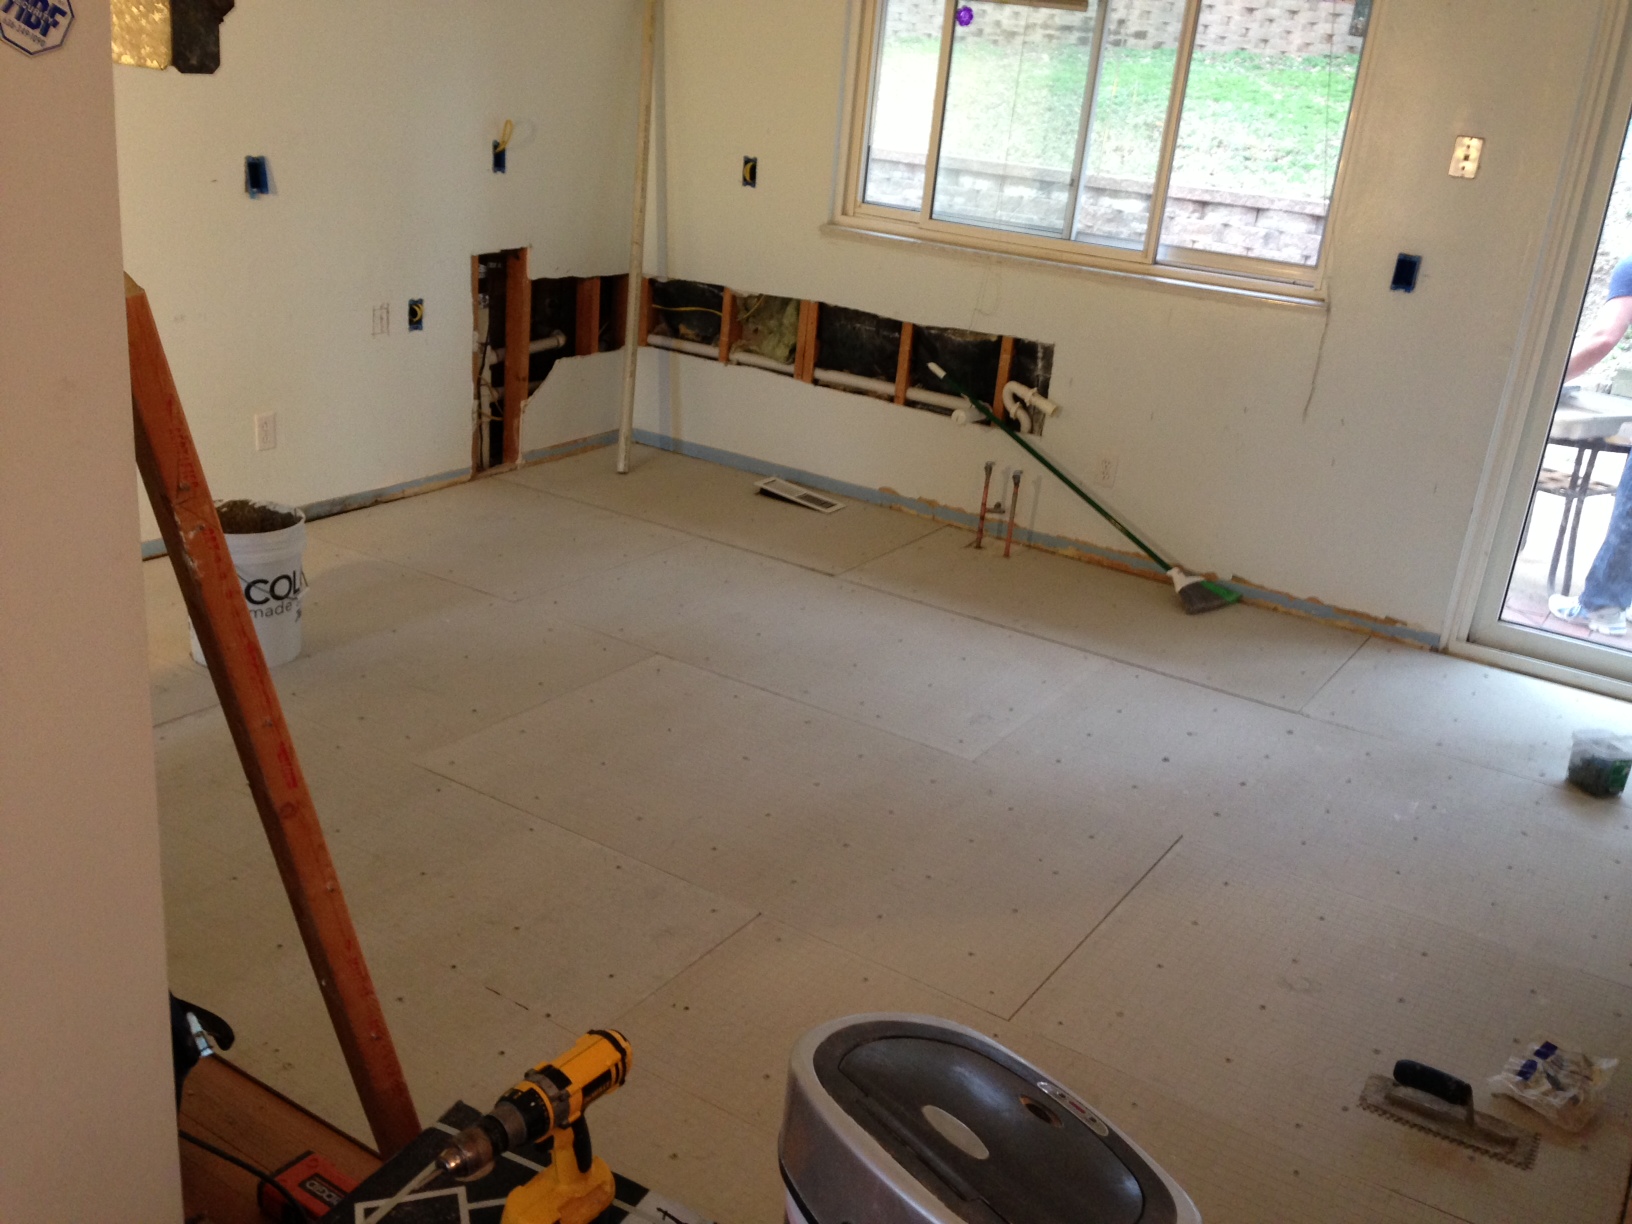
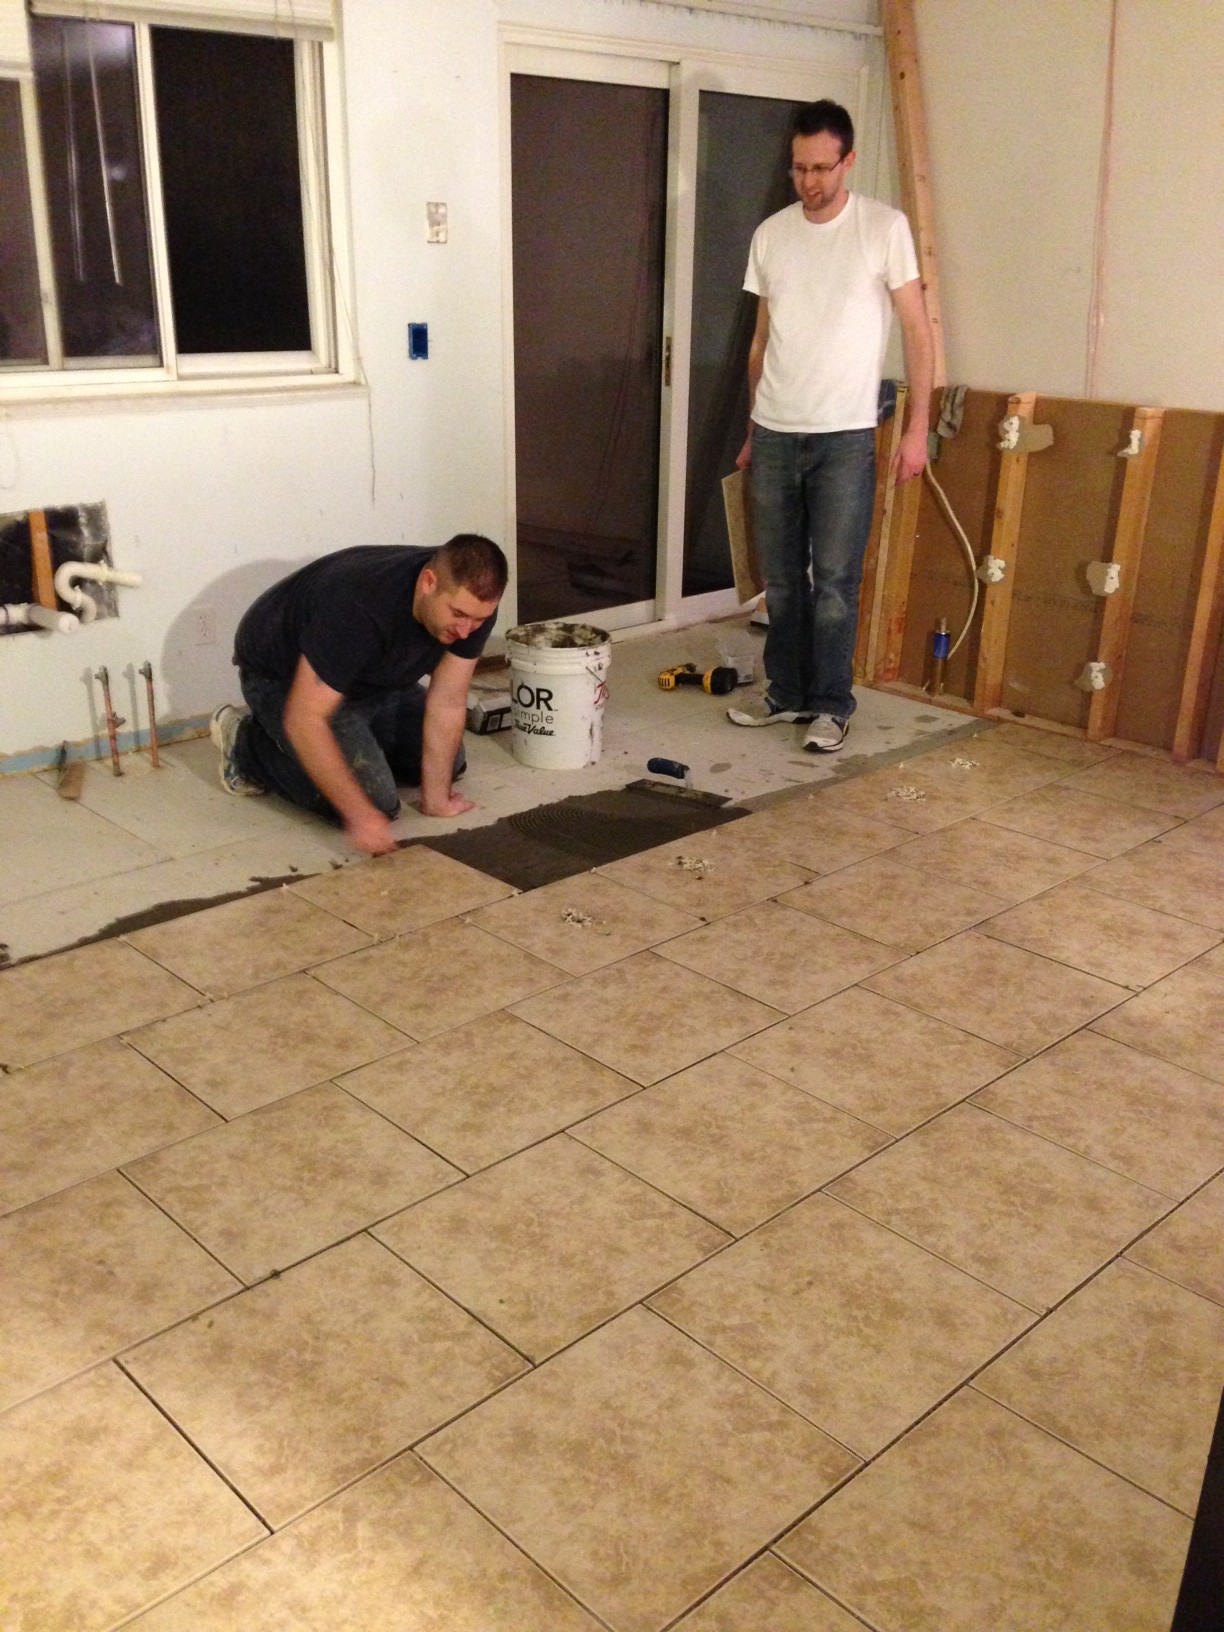
Day 6 – Clean, new floor base to start layin’ tile on!
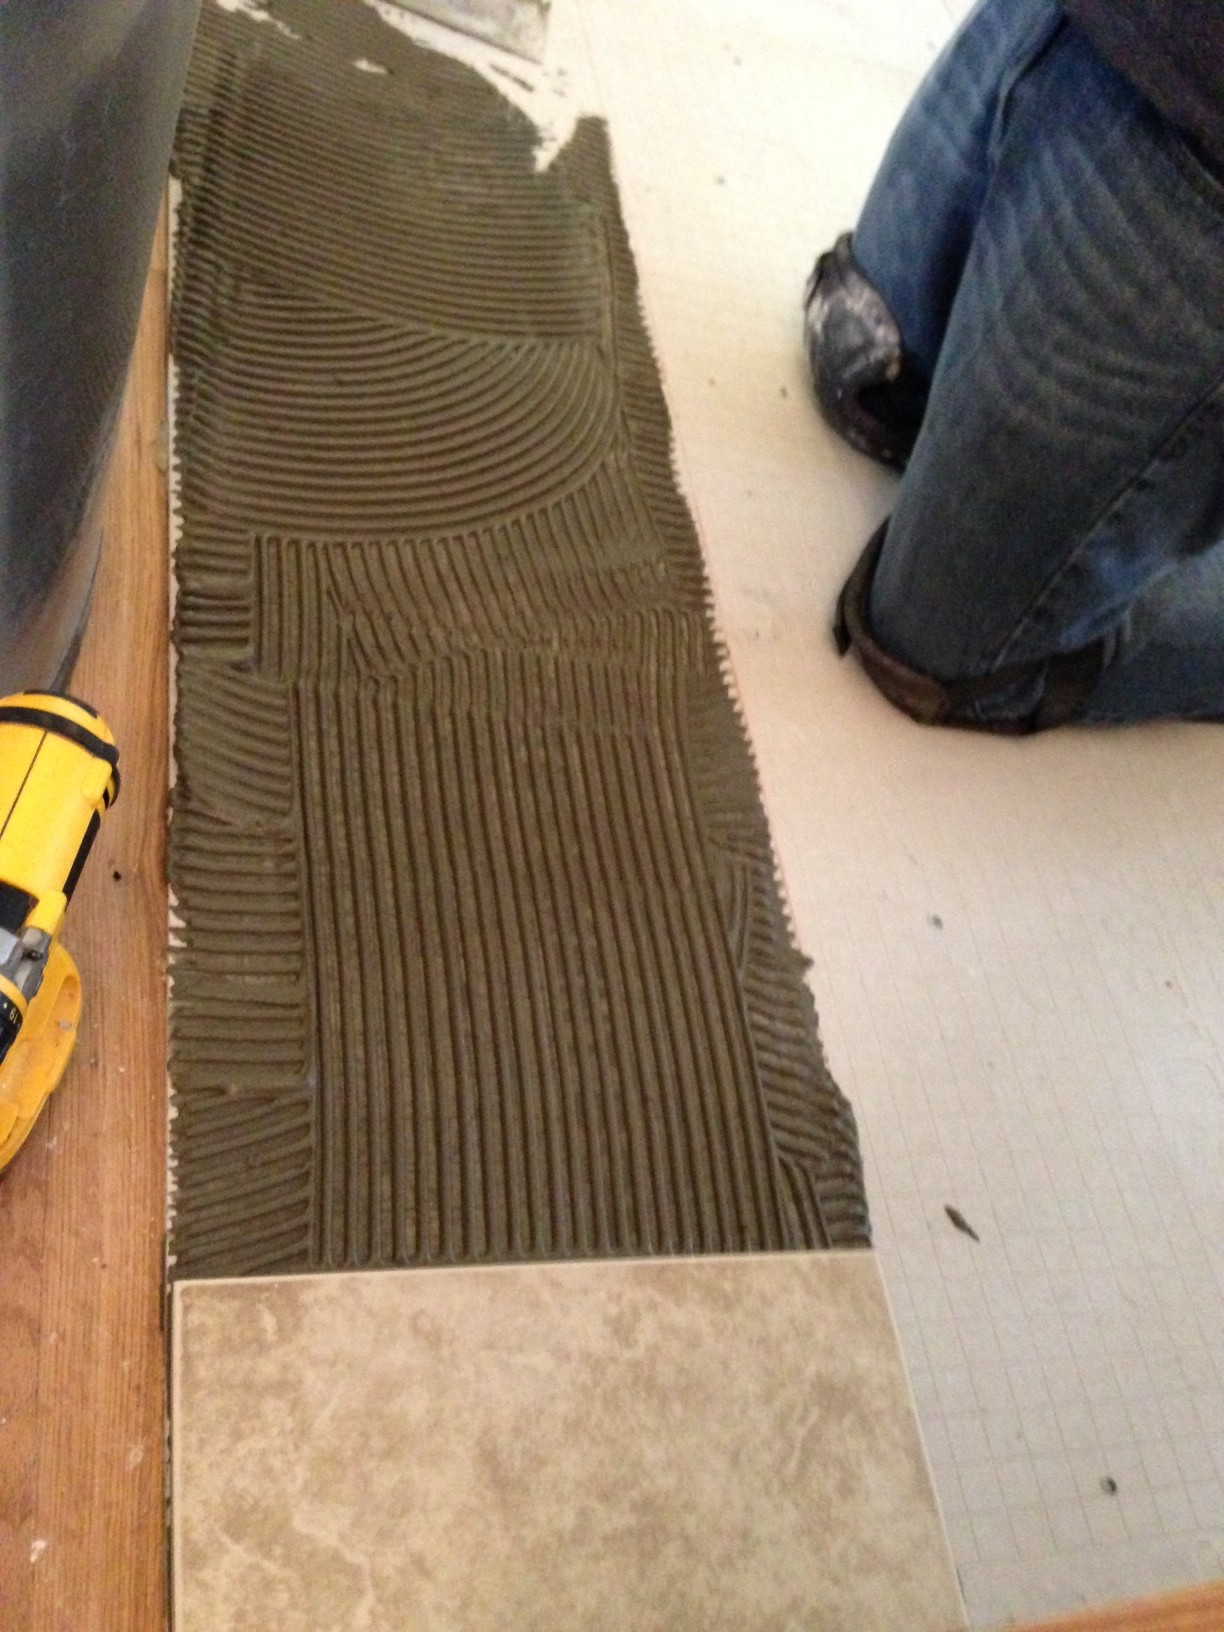
Day 6 – The glue is on and the first tile has been laid!
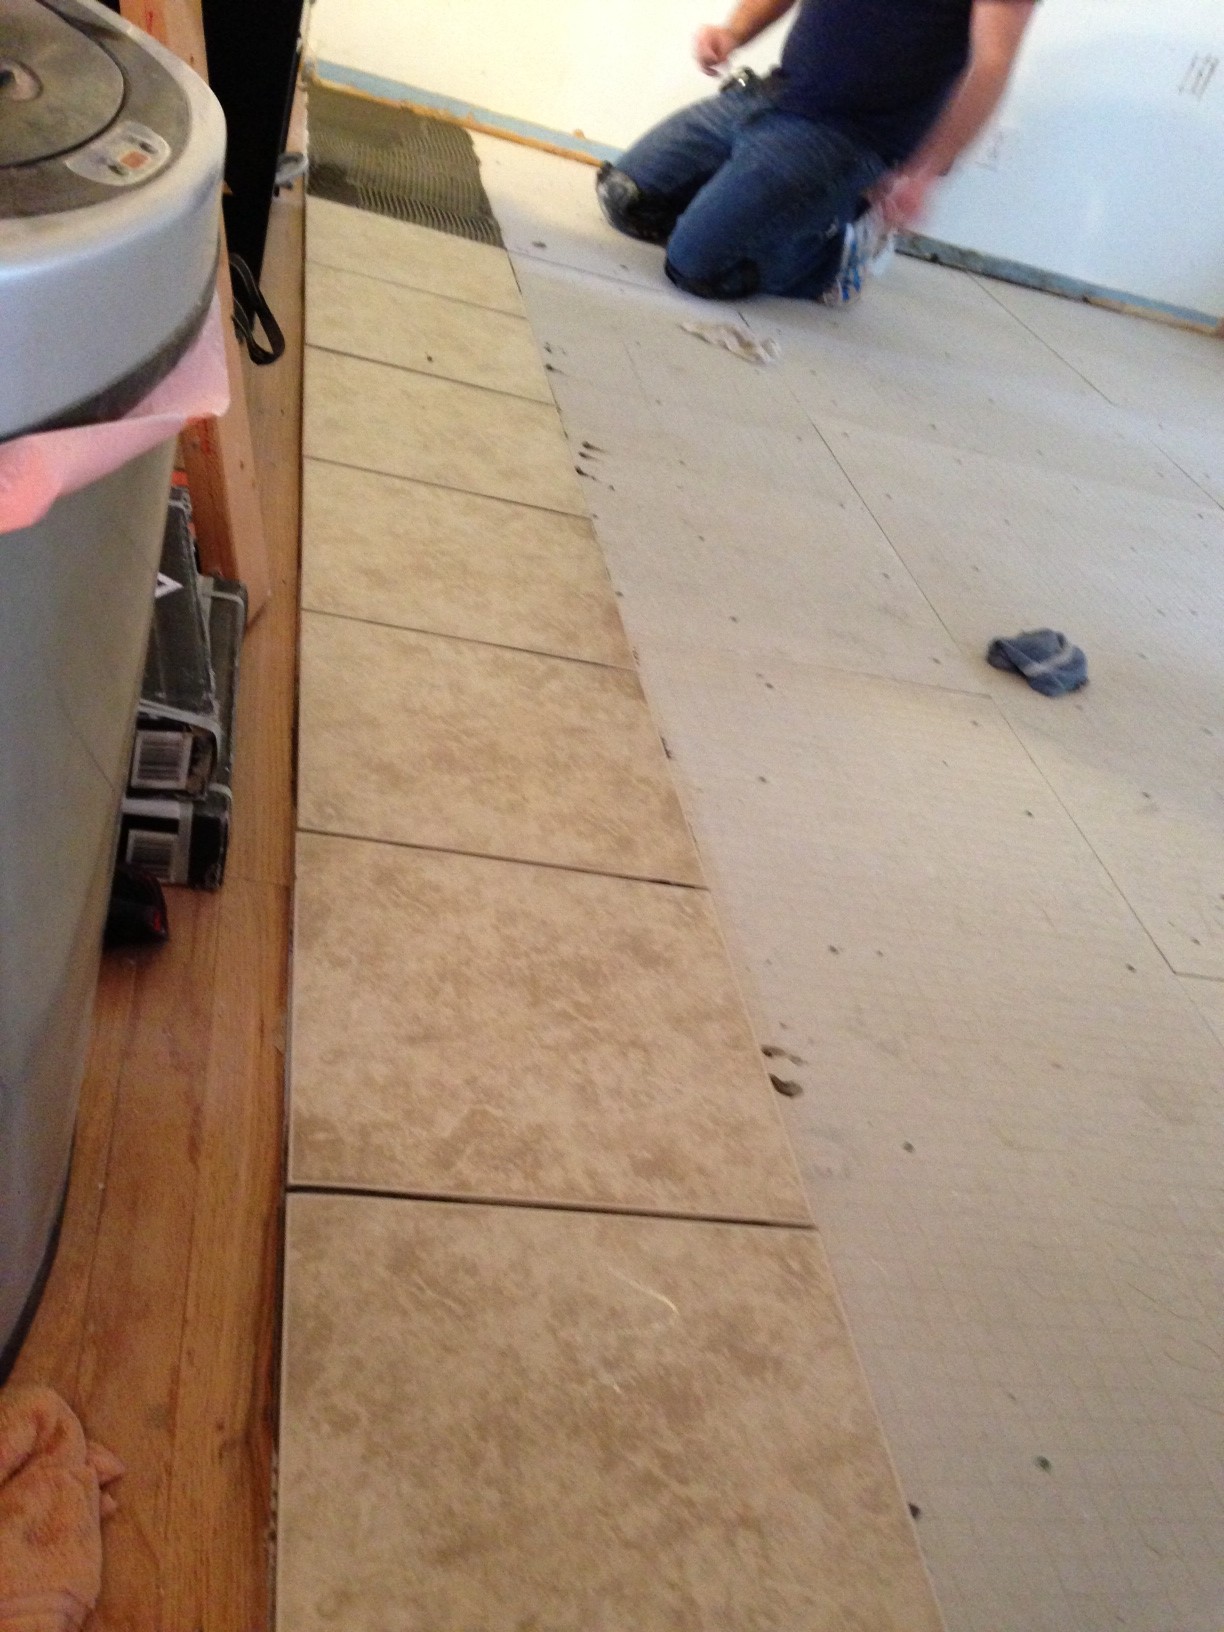
Day 6 – Lookin’ good.
Day 6 – Flooring.
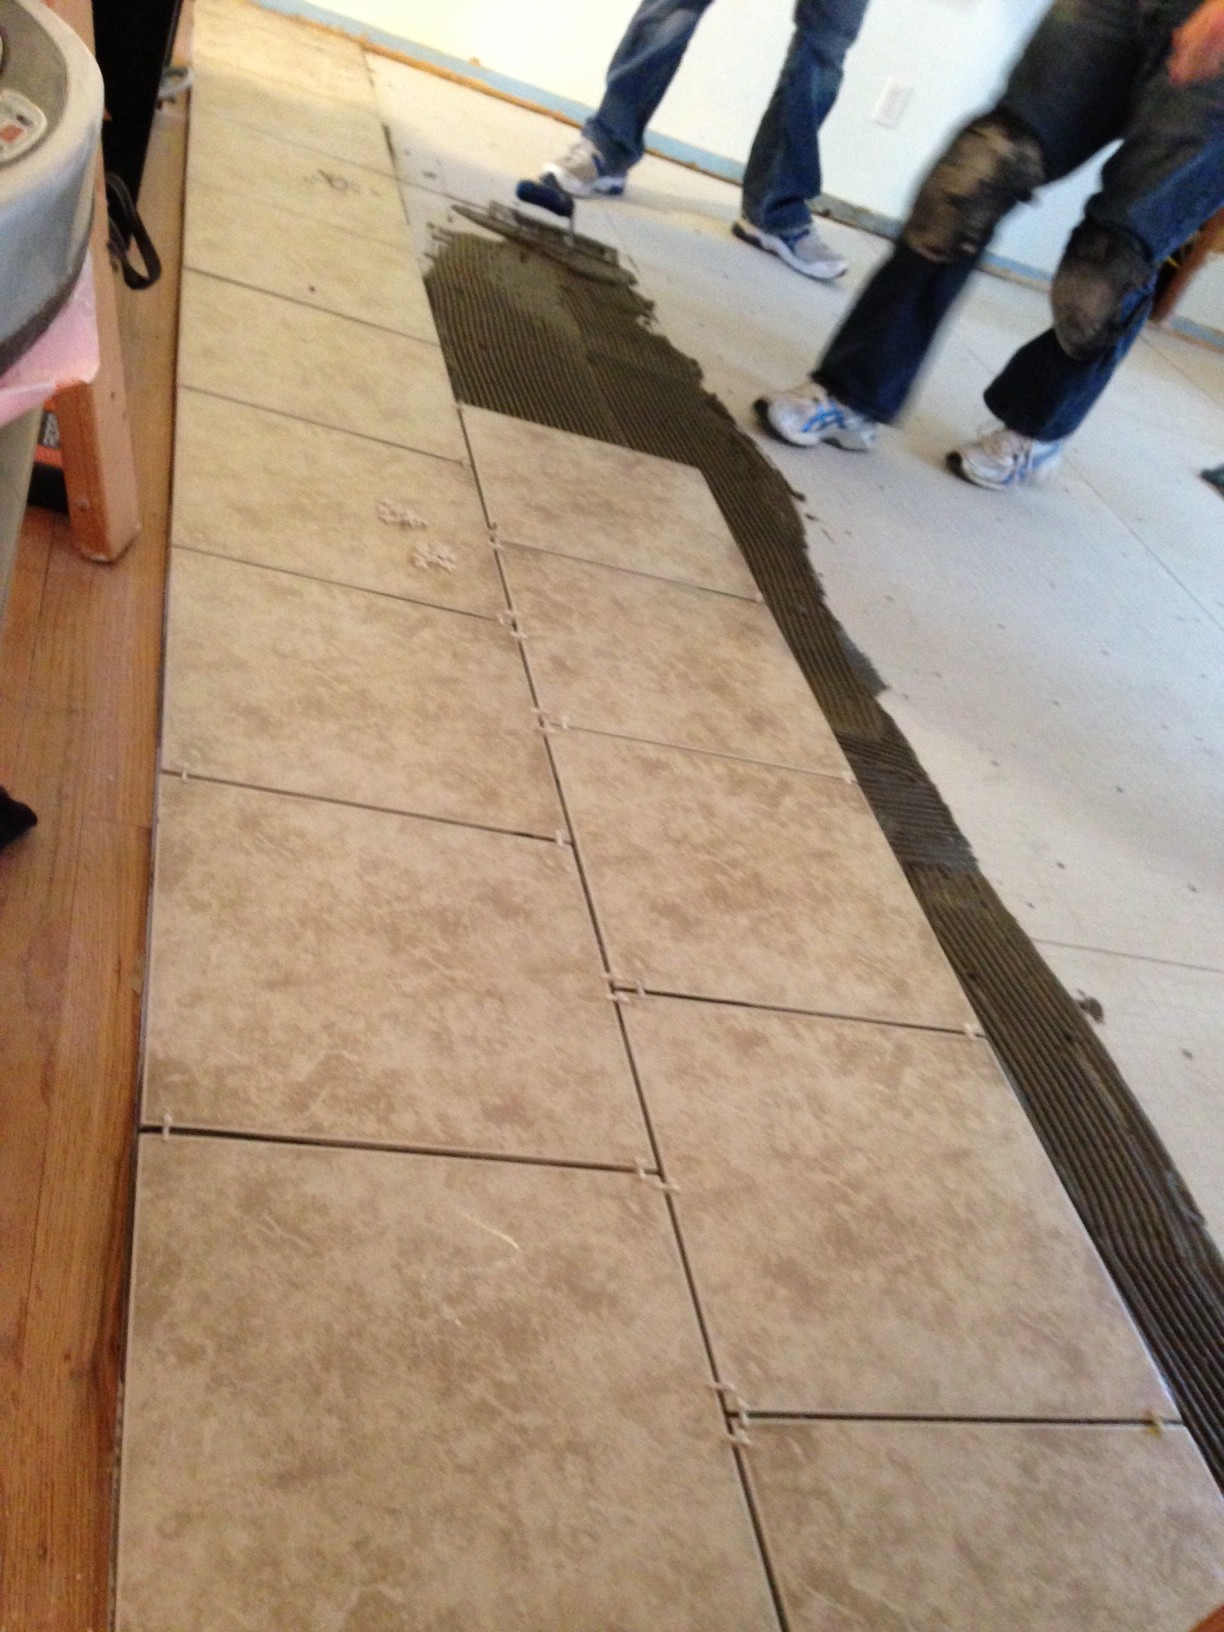
Day 6 – Almost done!
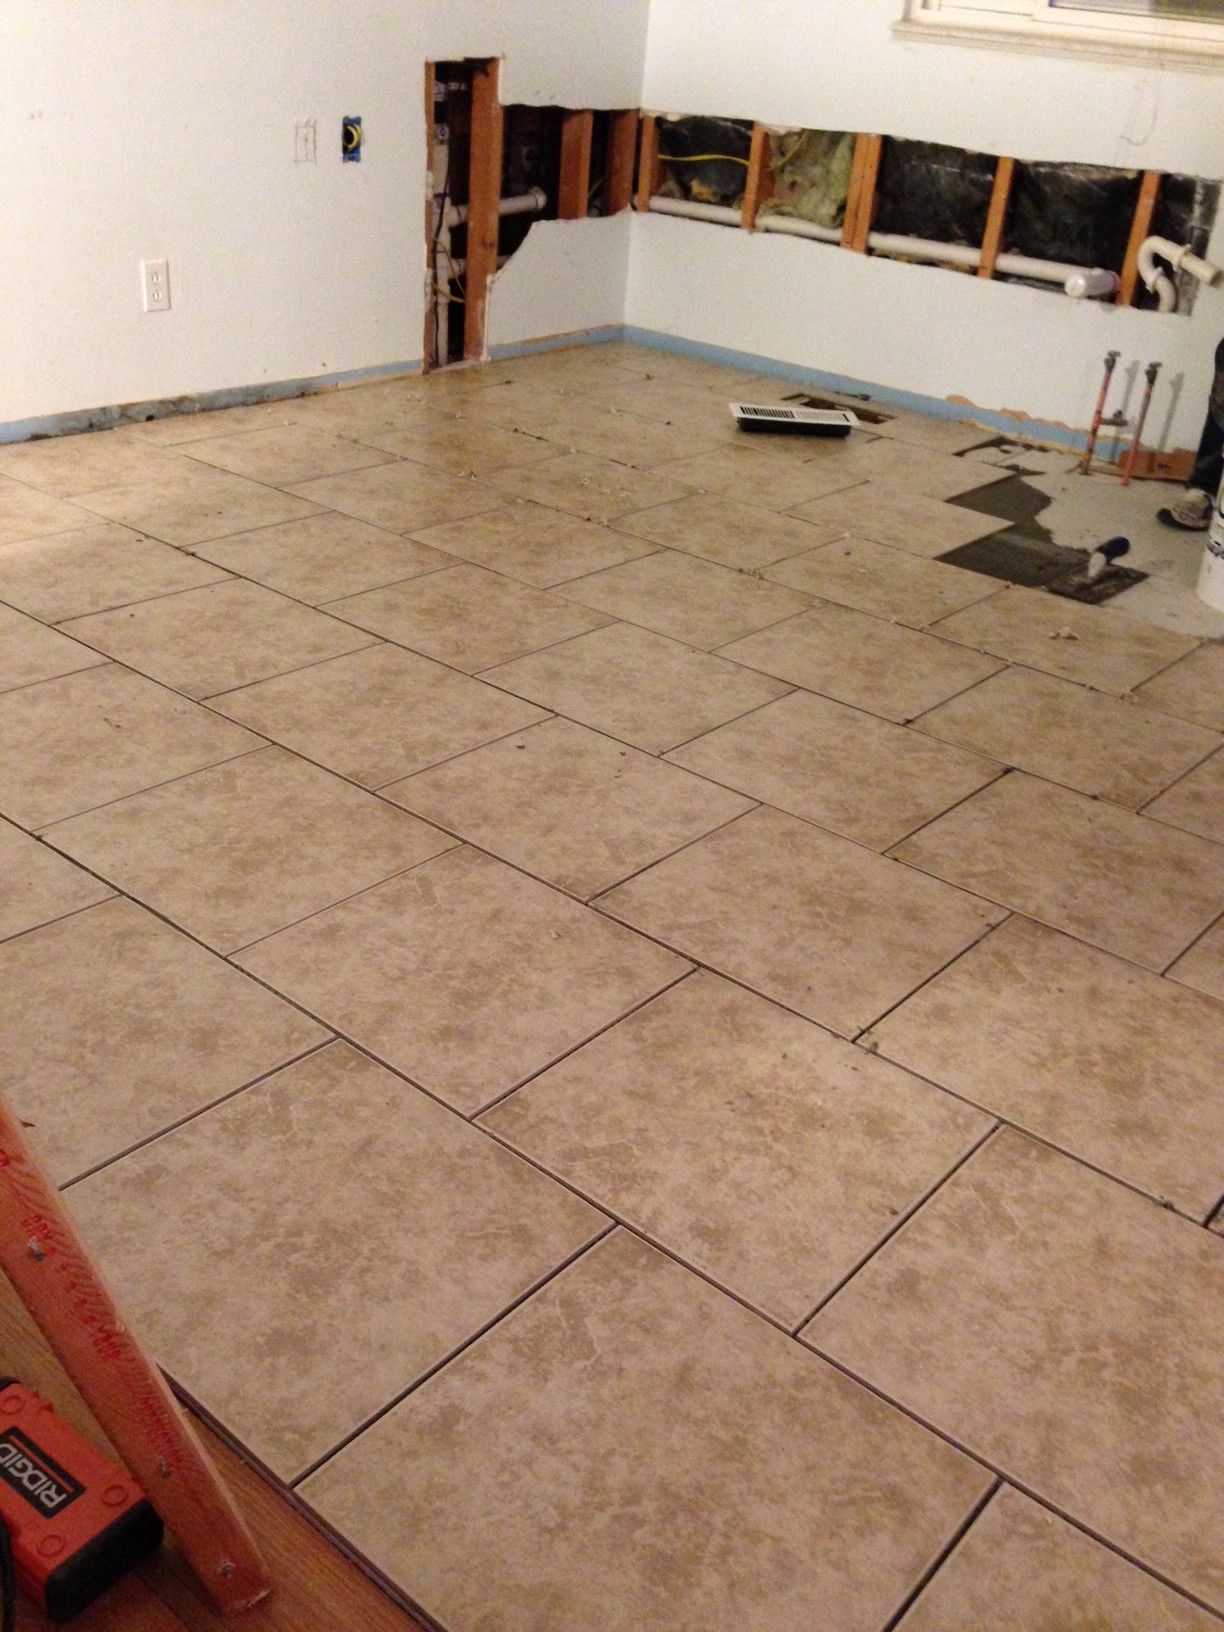
Day 6 – Floor is just about done. Had to leave that little space to the right open so we could cut out the new vent that is going there.
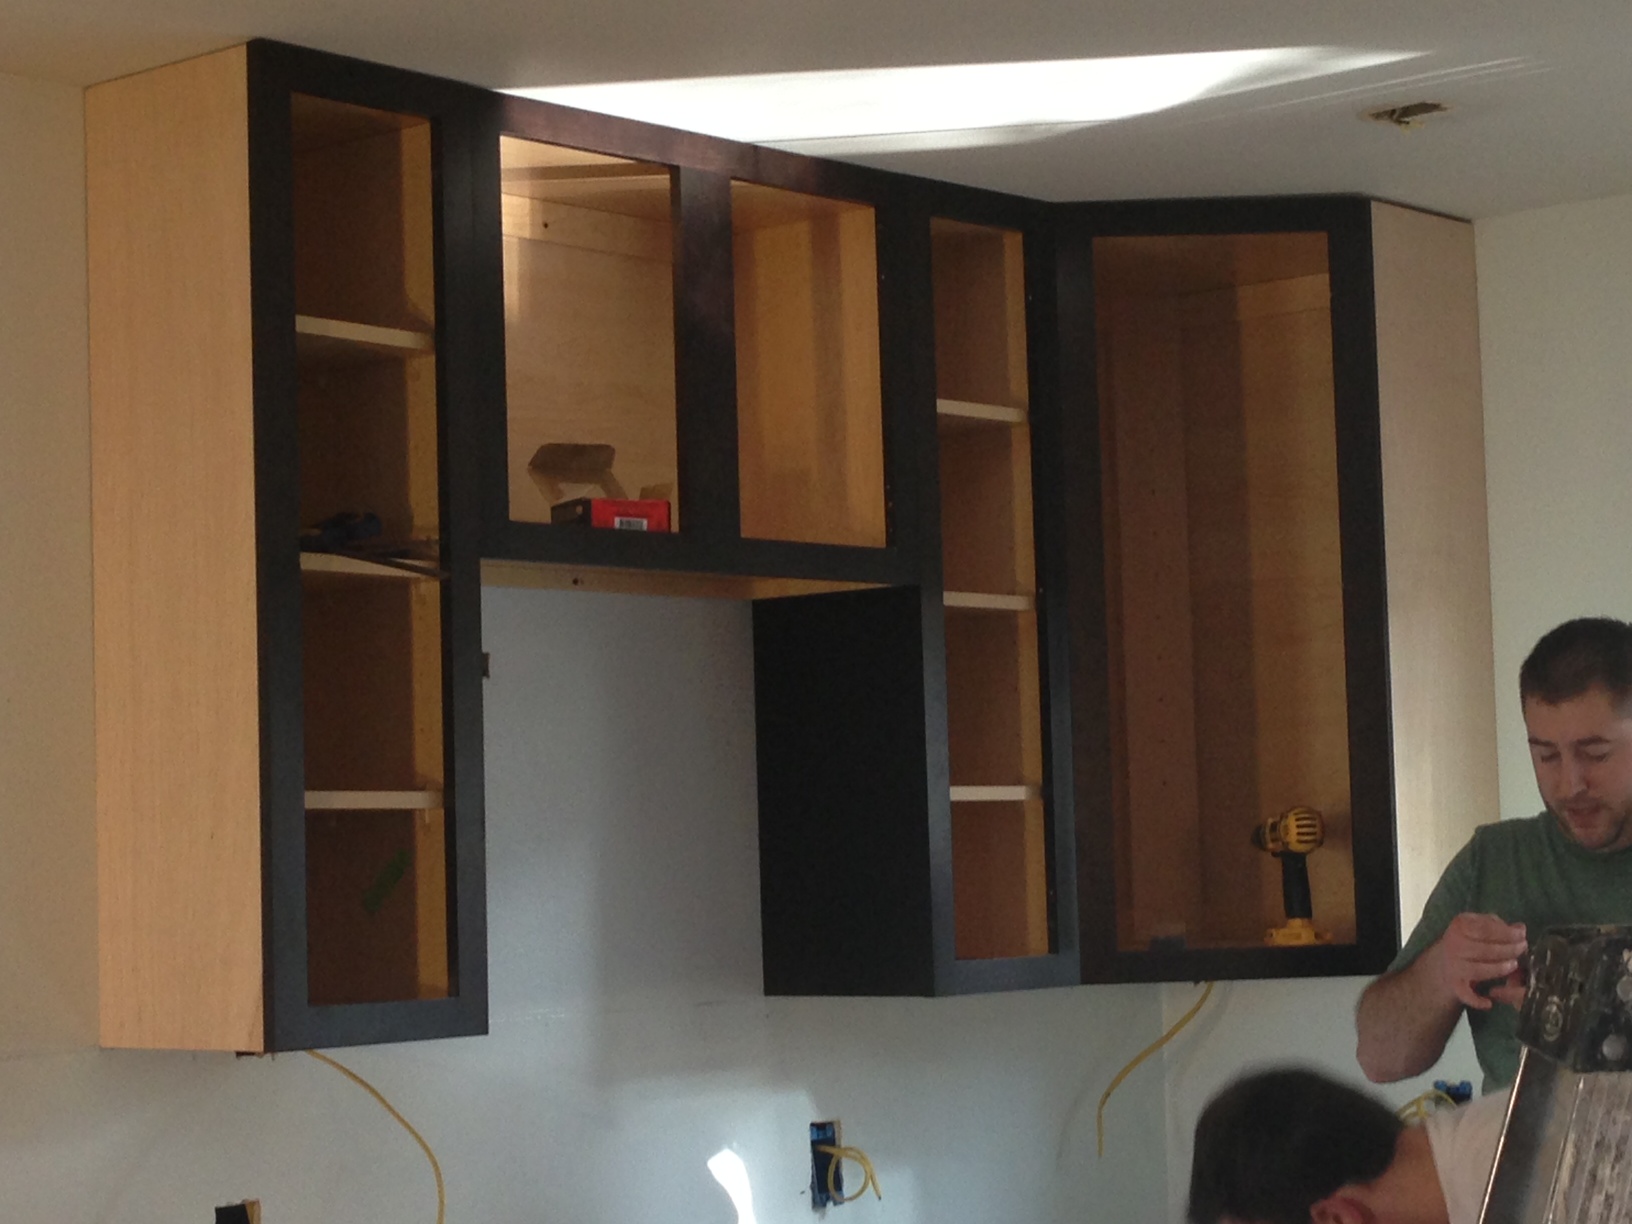
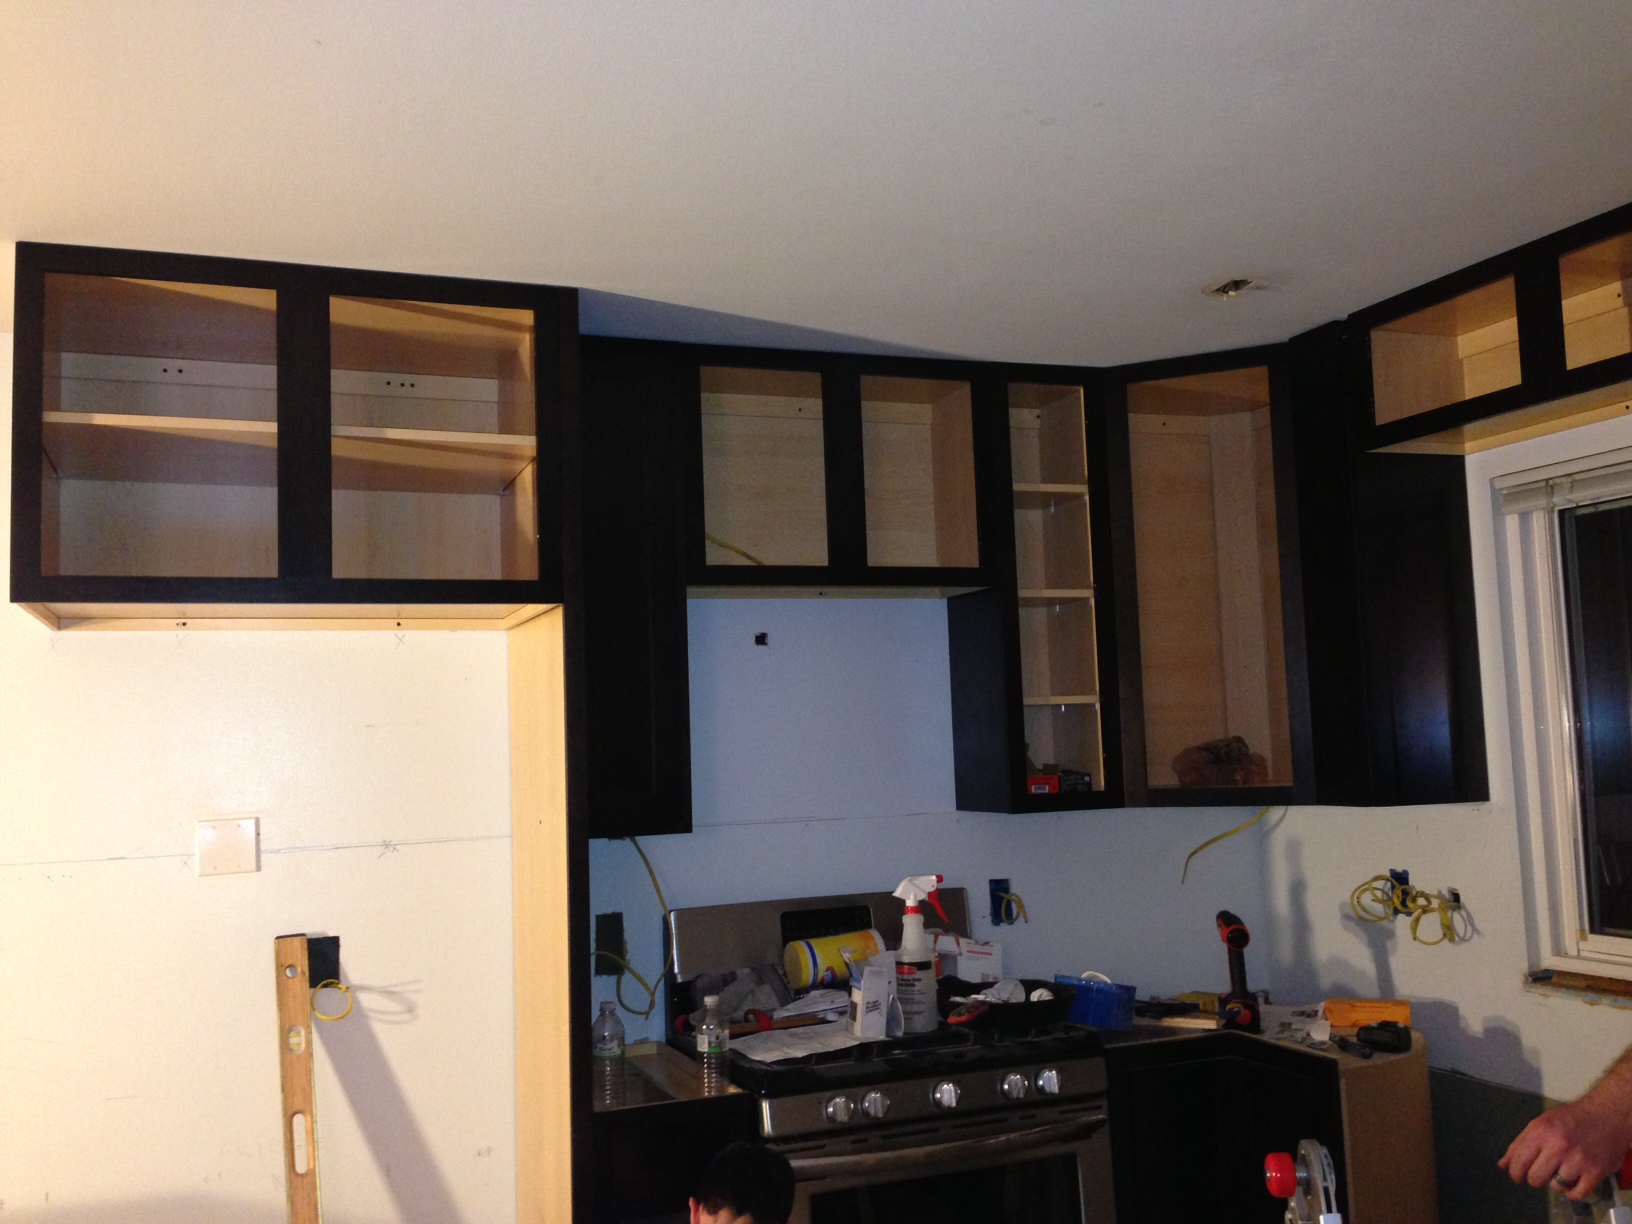
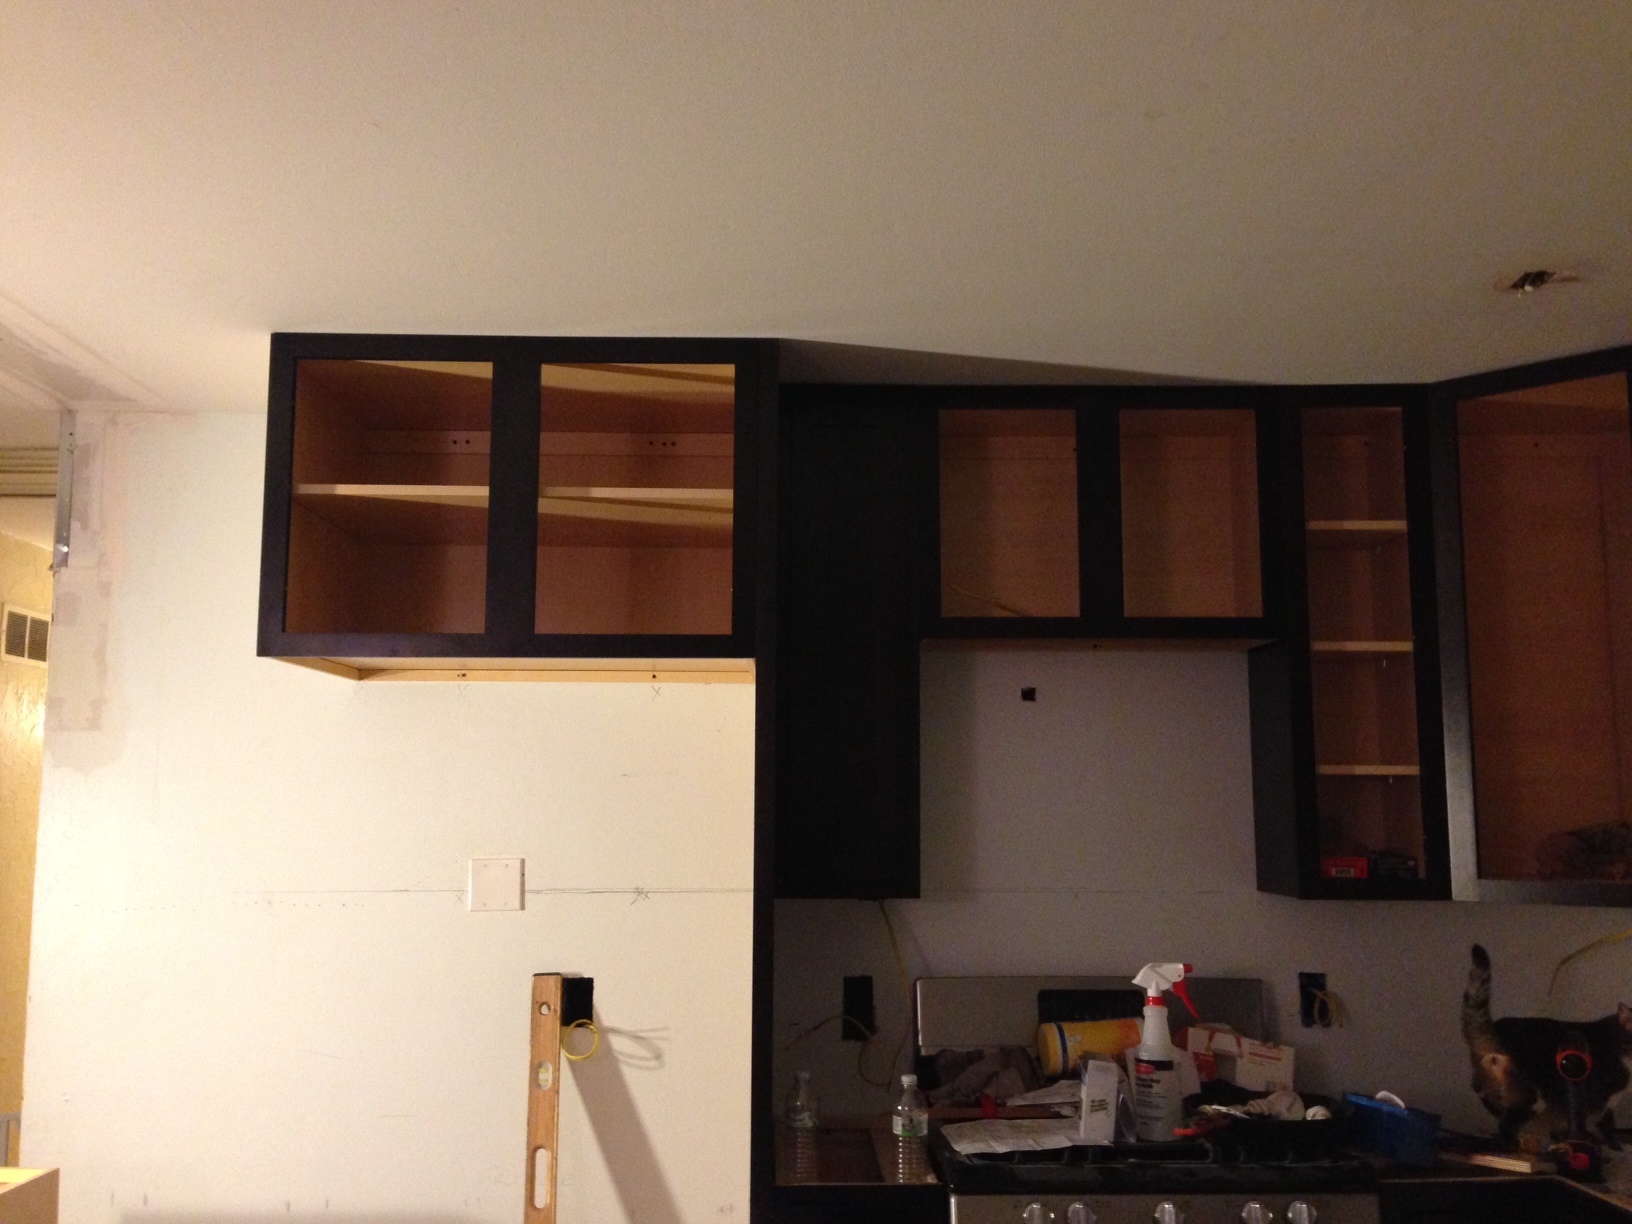
Day 9 – Cabinets already going up by the time I got home.
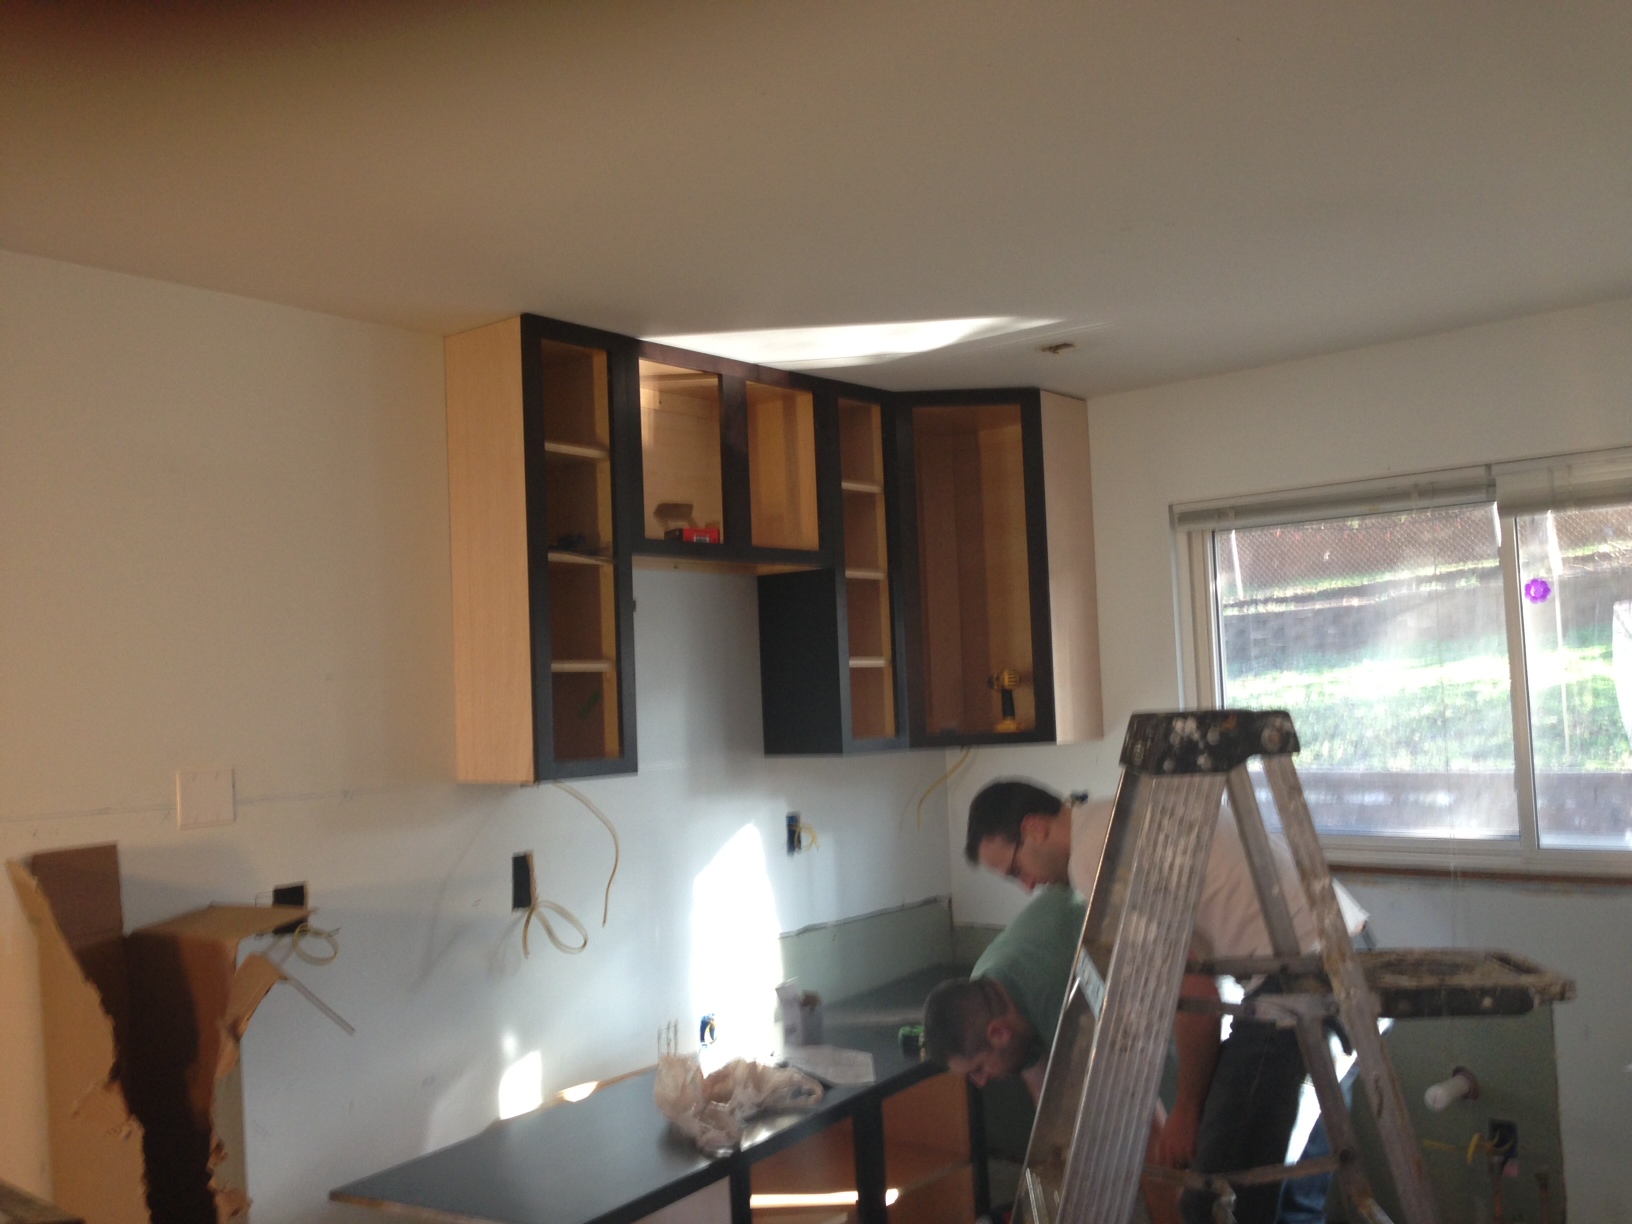
Day 9 – They look pretty good.
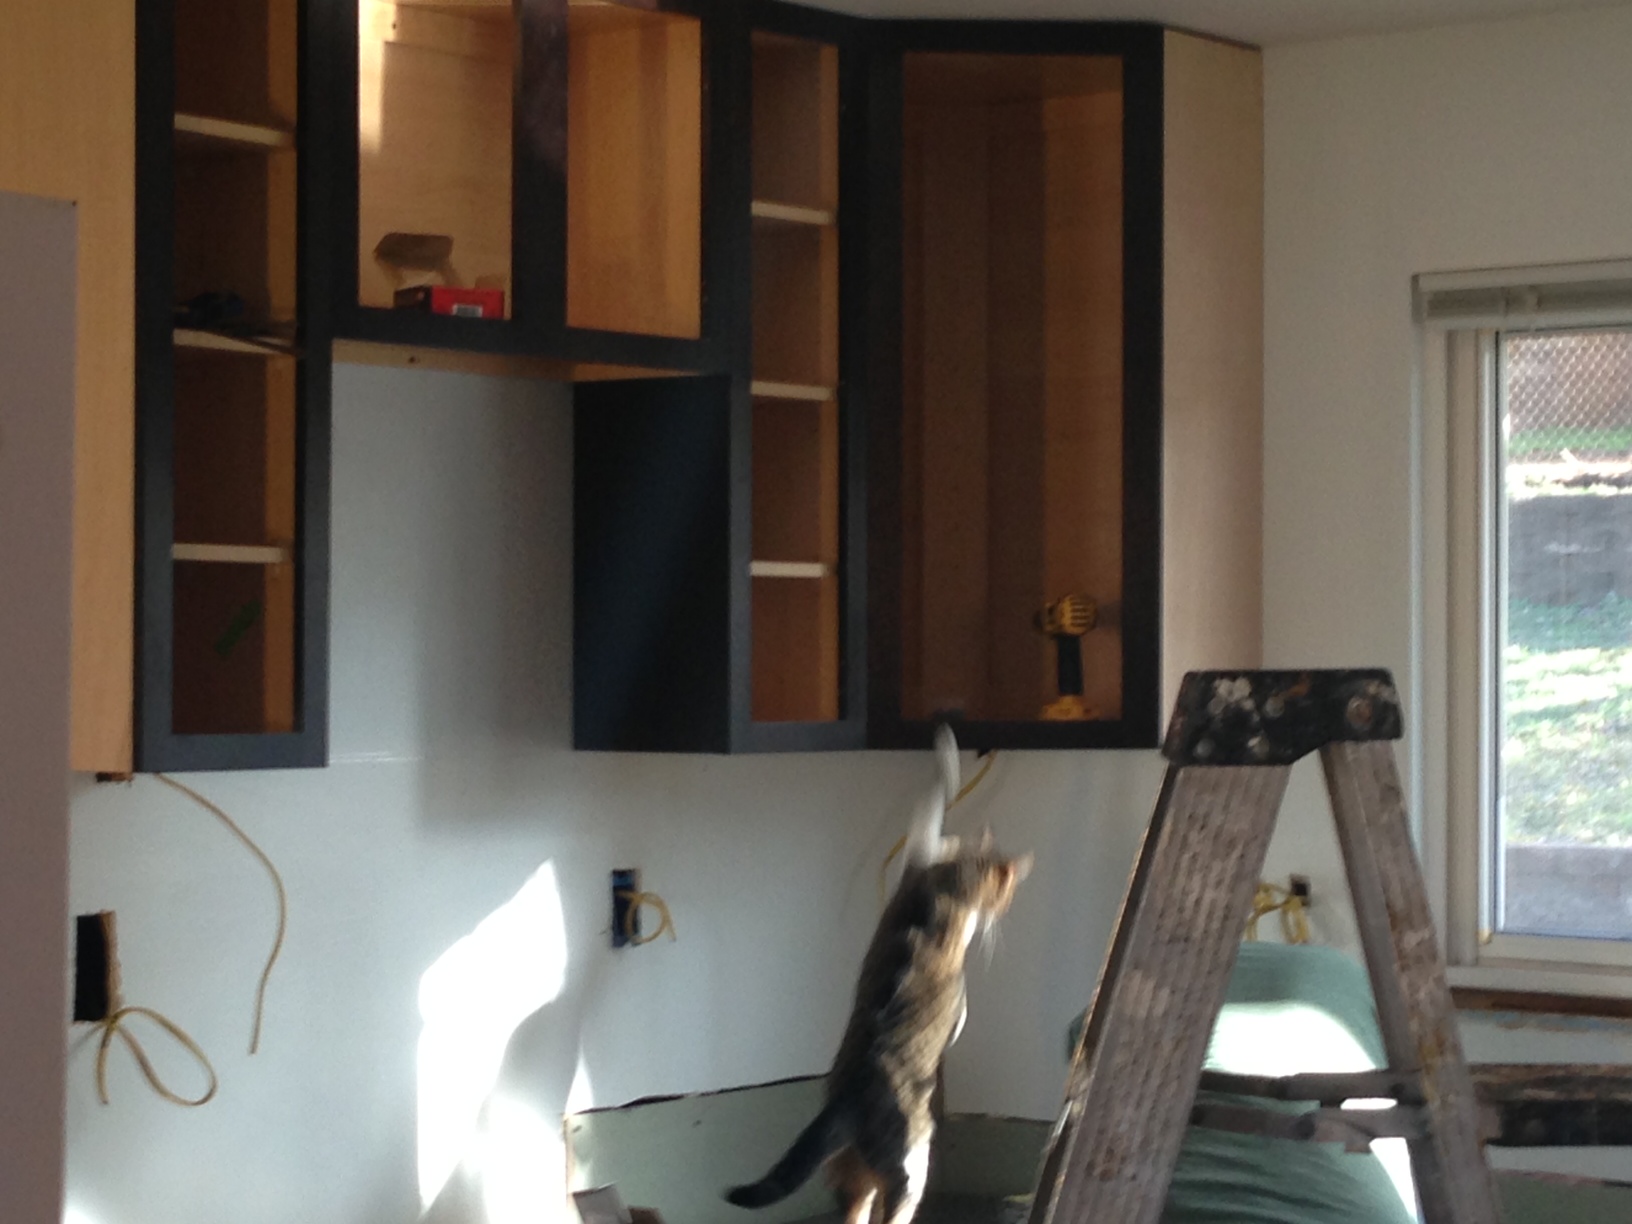
Day 9 – Kitty trying to get in the new cabinets.
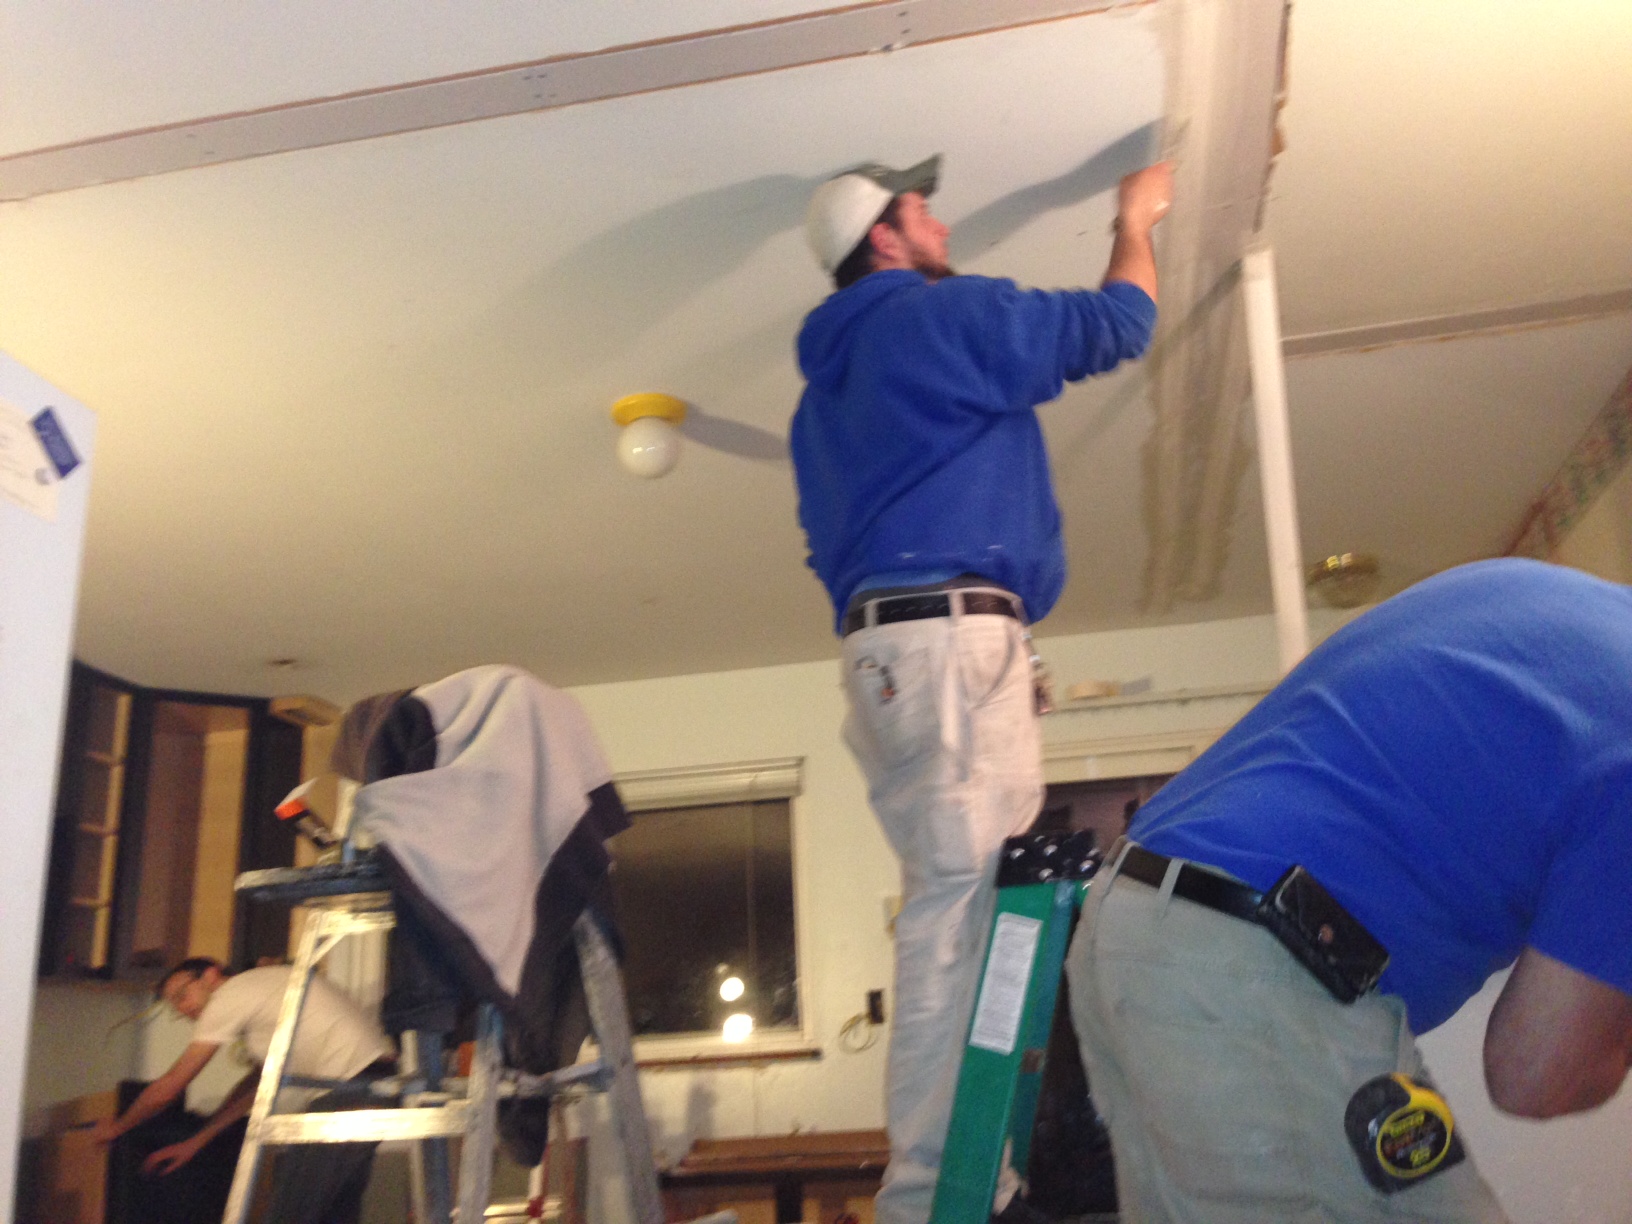
Day 9 – Patching up the ceiling.
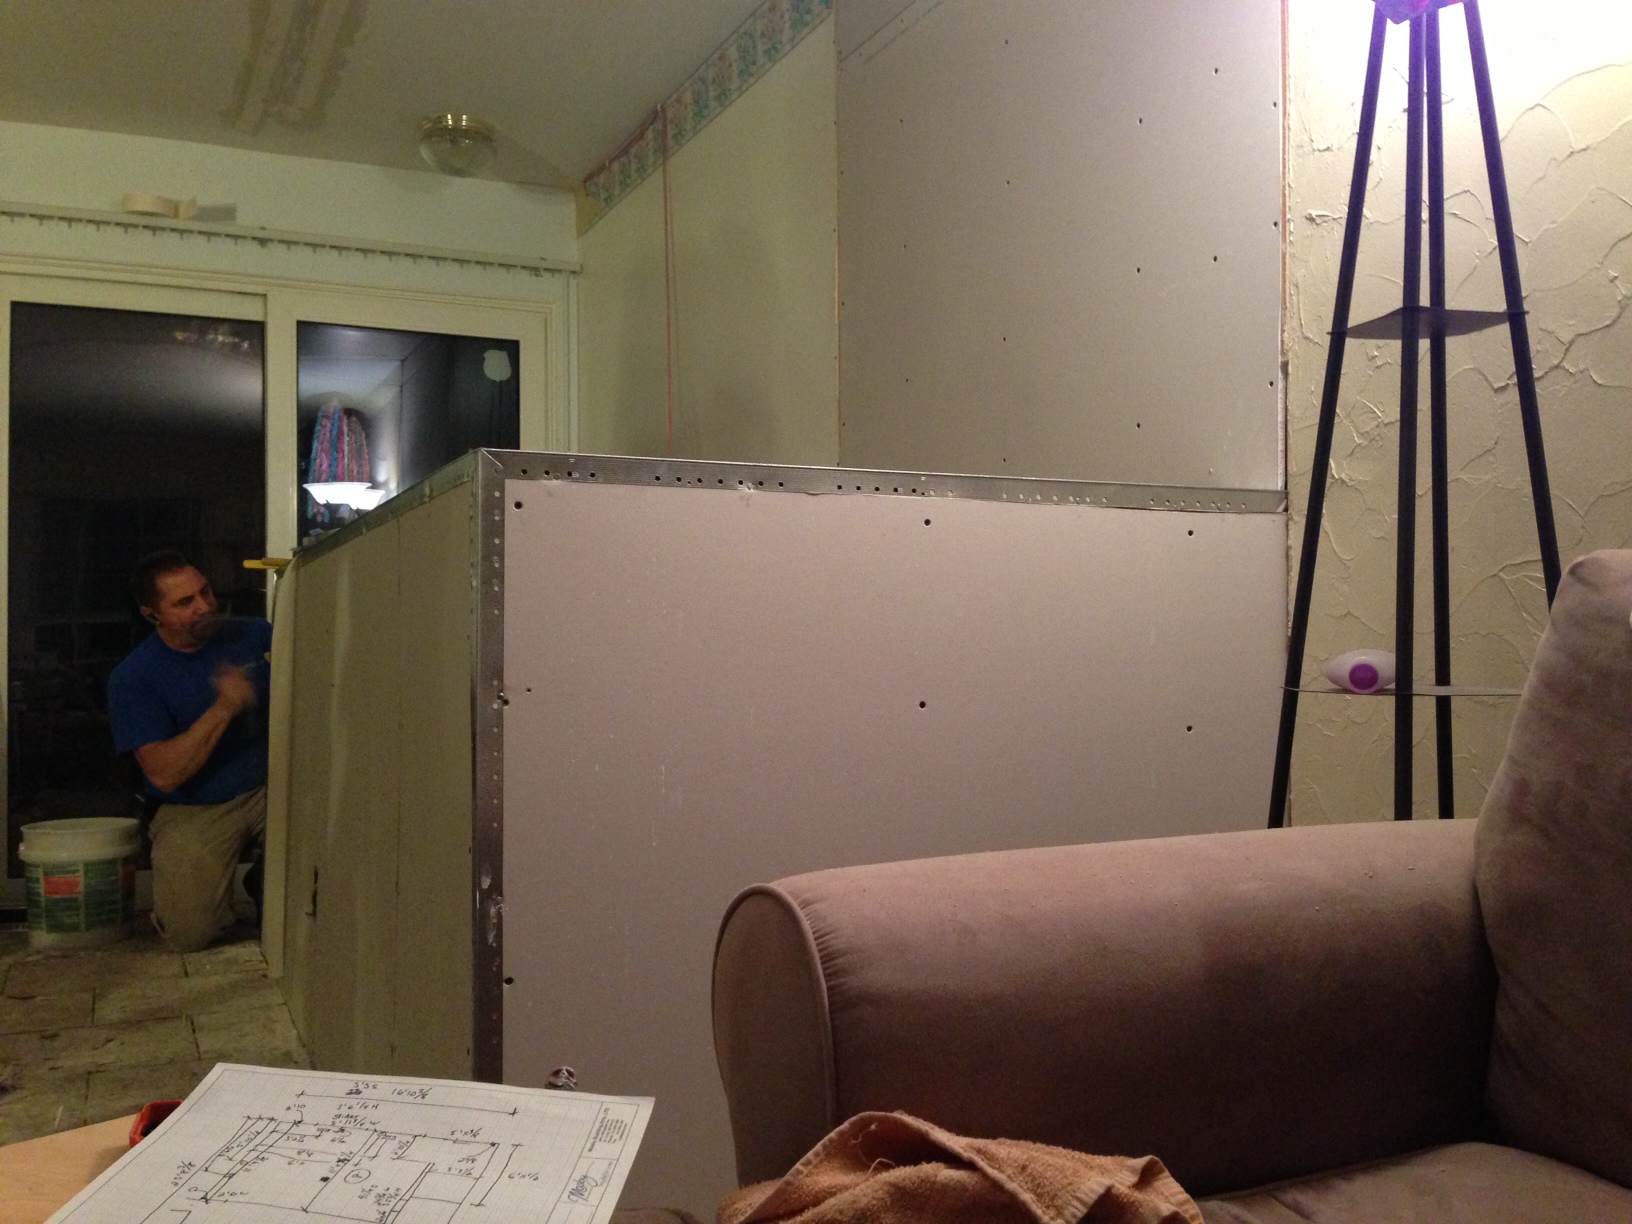
Day 9 – The new half wall to the basement is looking fabulous.

Day 9 – Wall
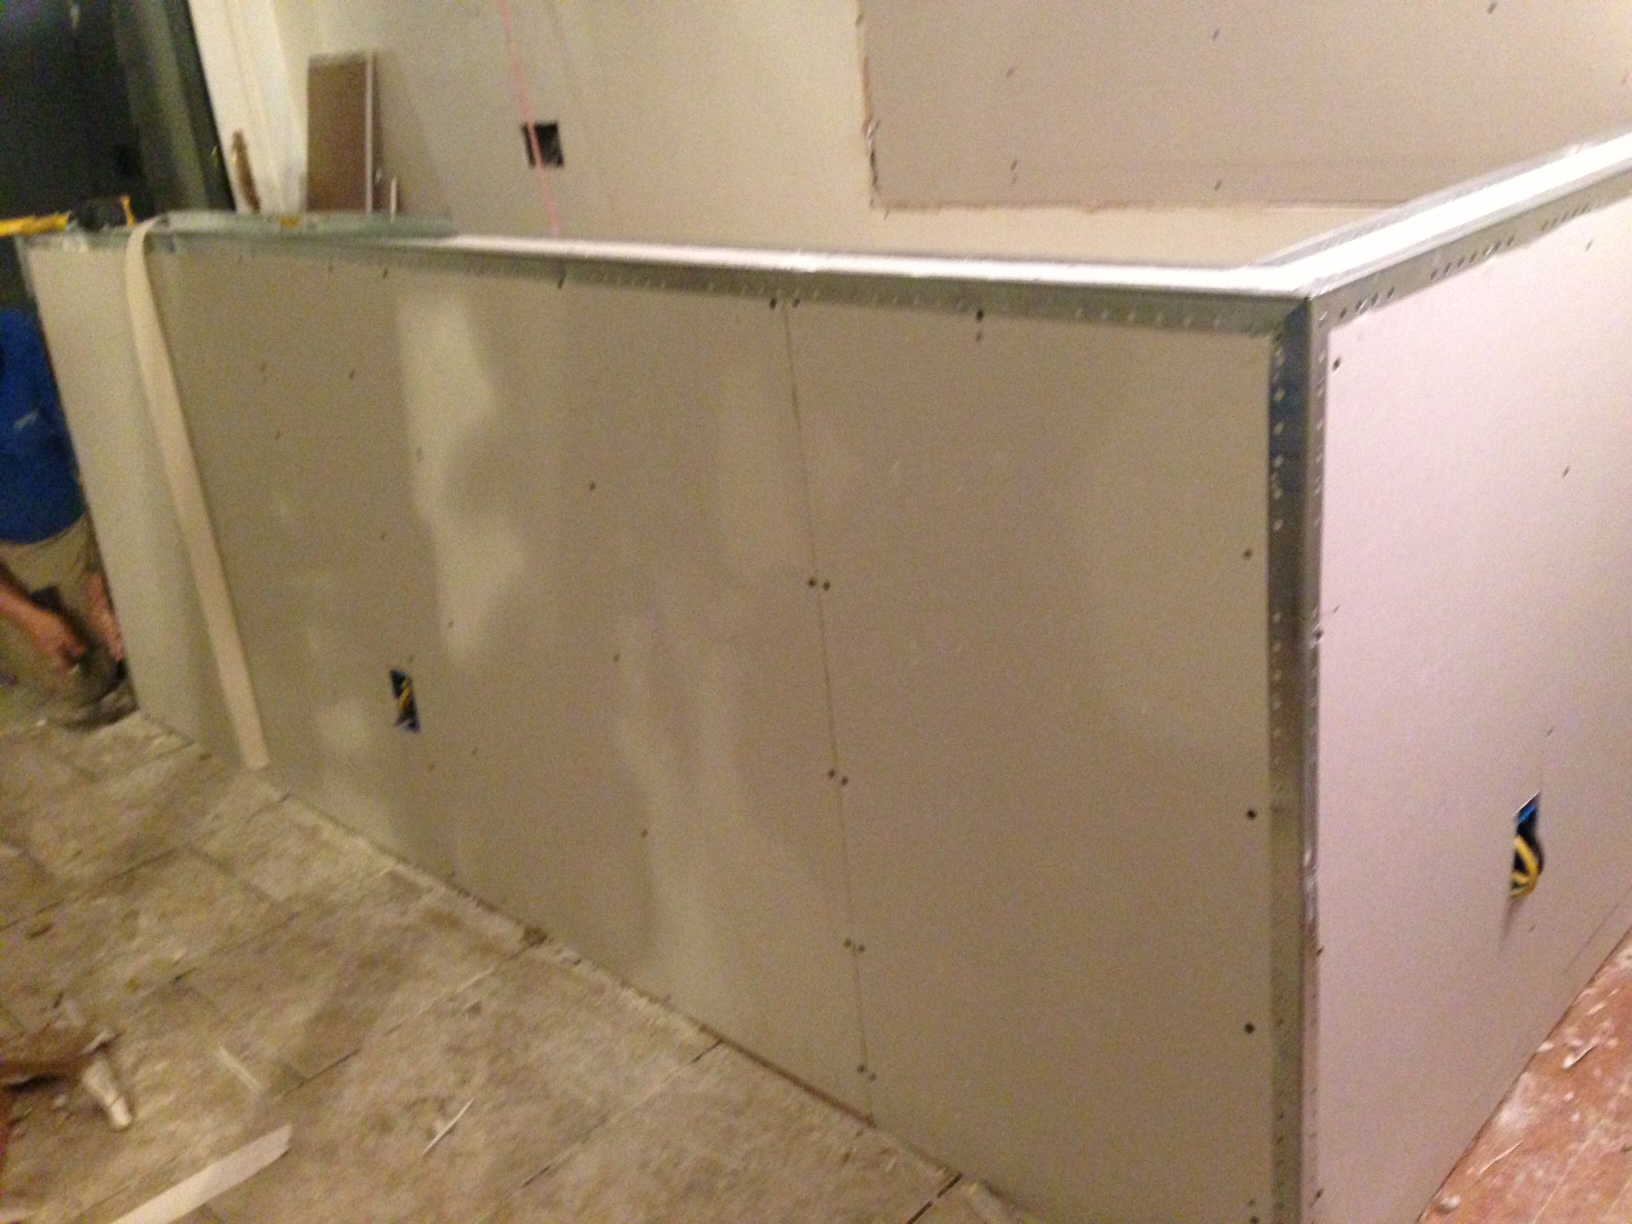
Day 9 – Wall
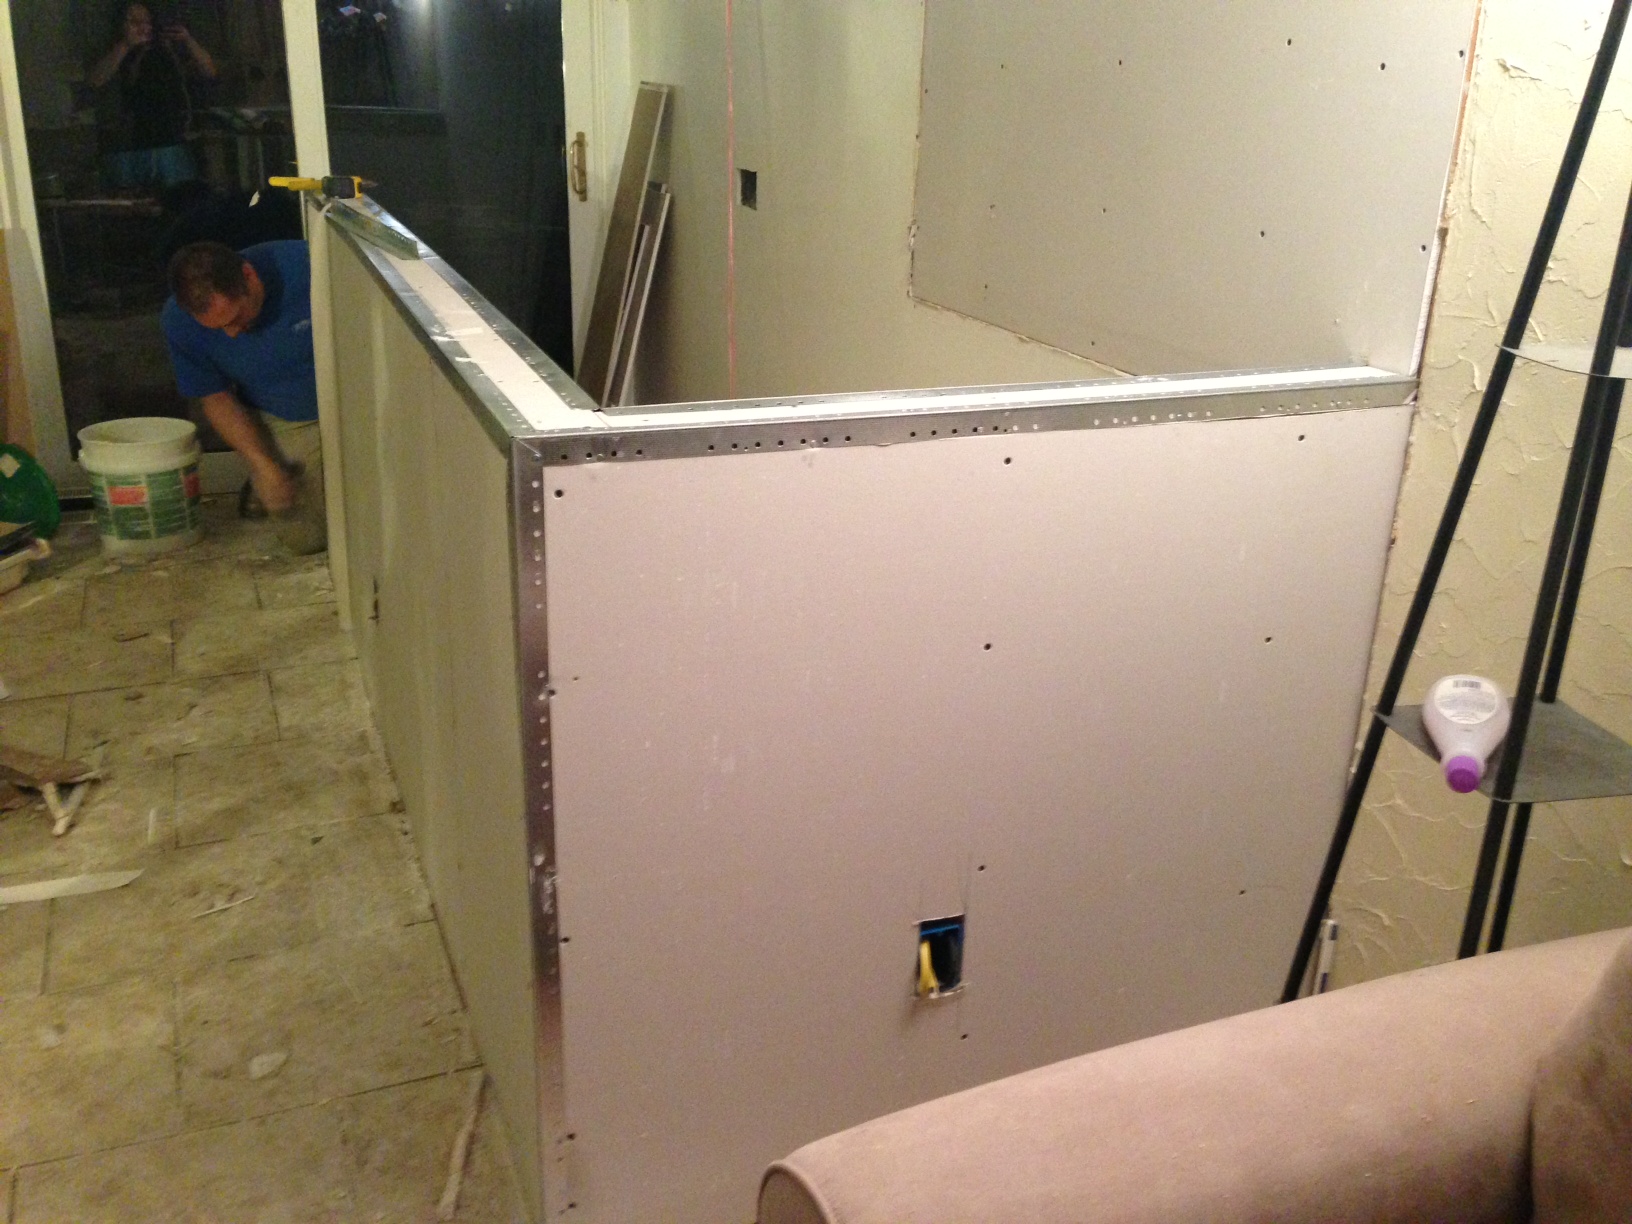
Day 9 – Wall
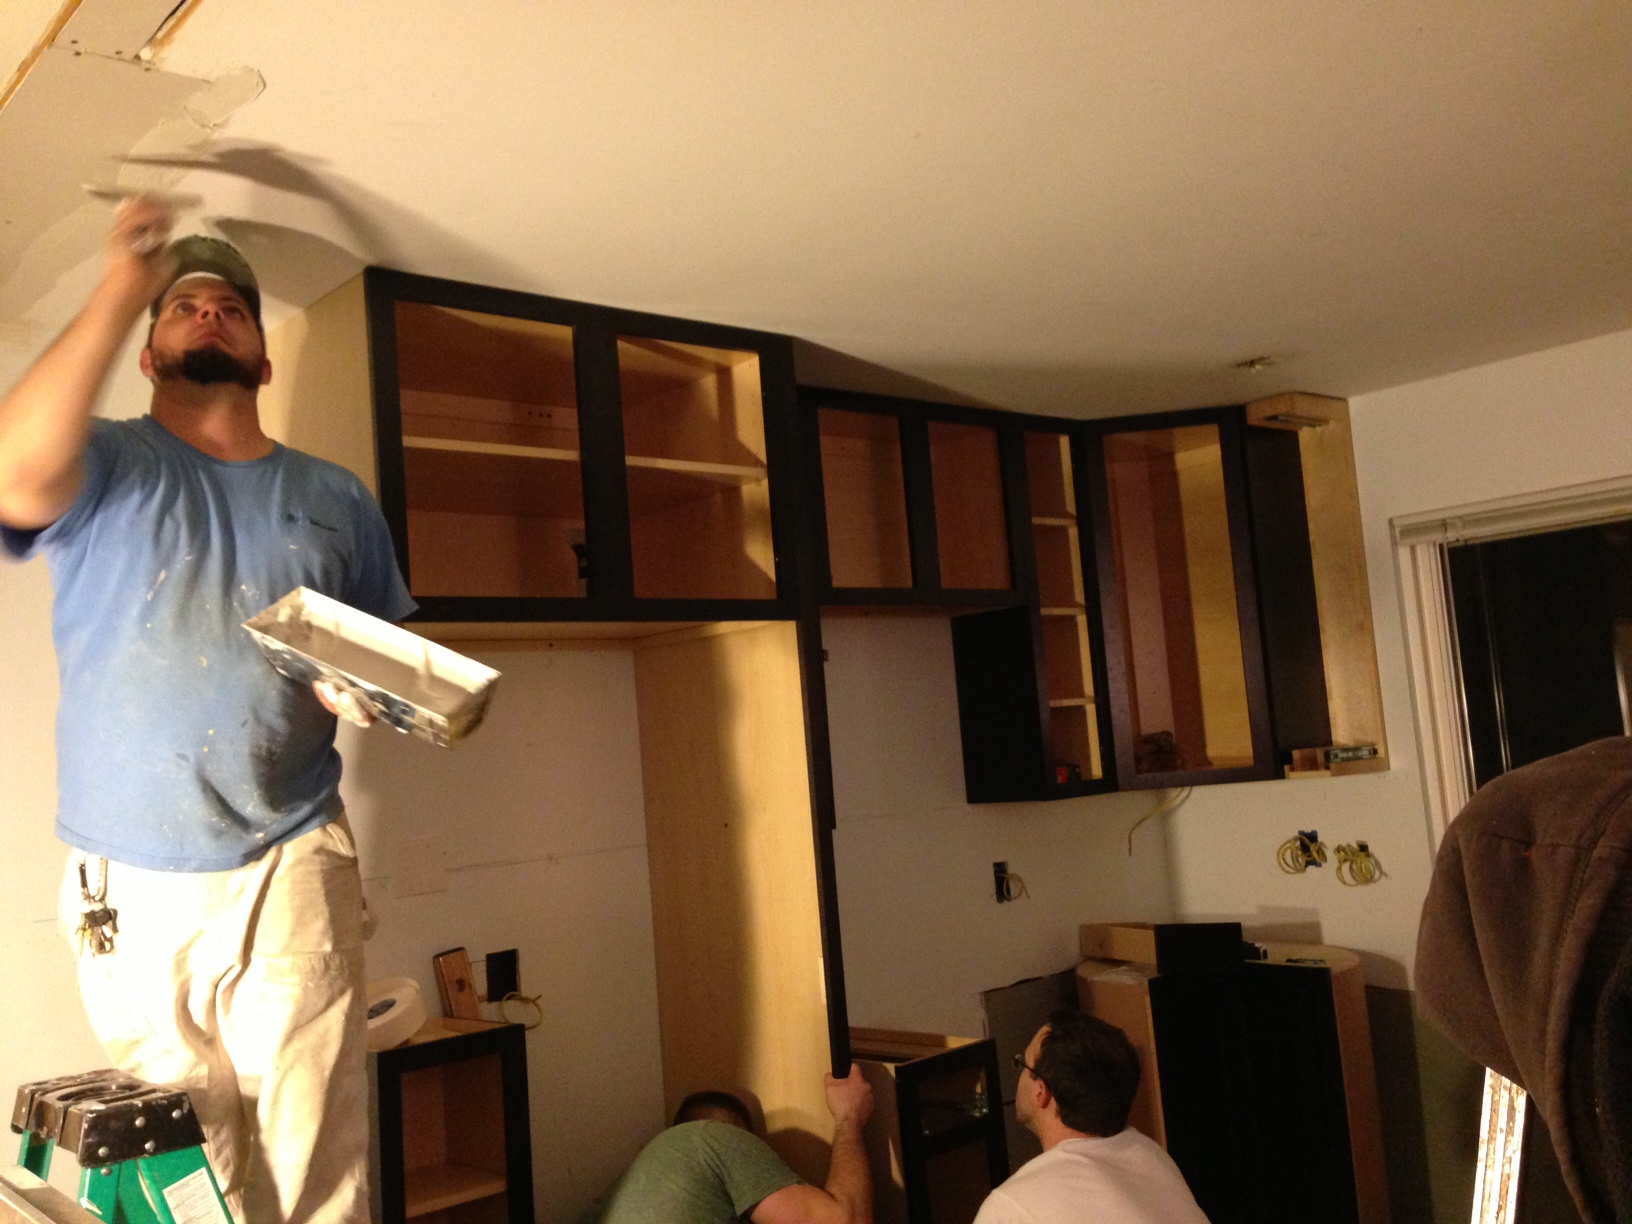
Day 9 – Ceiling.
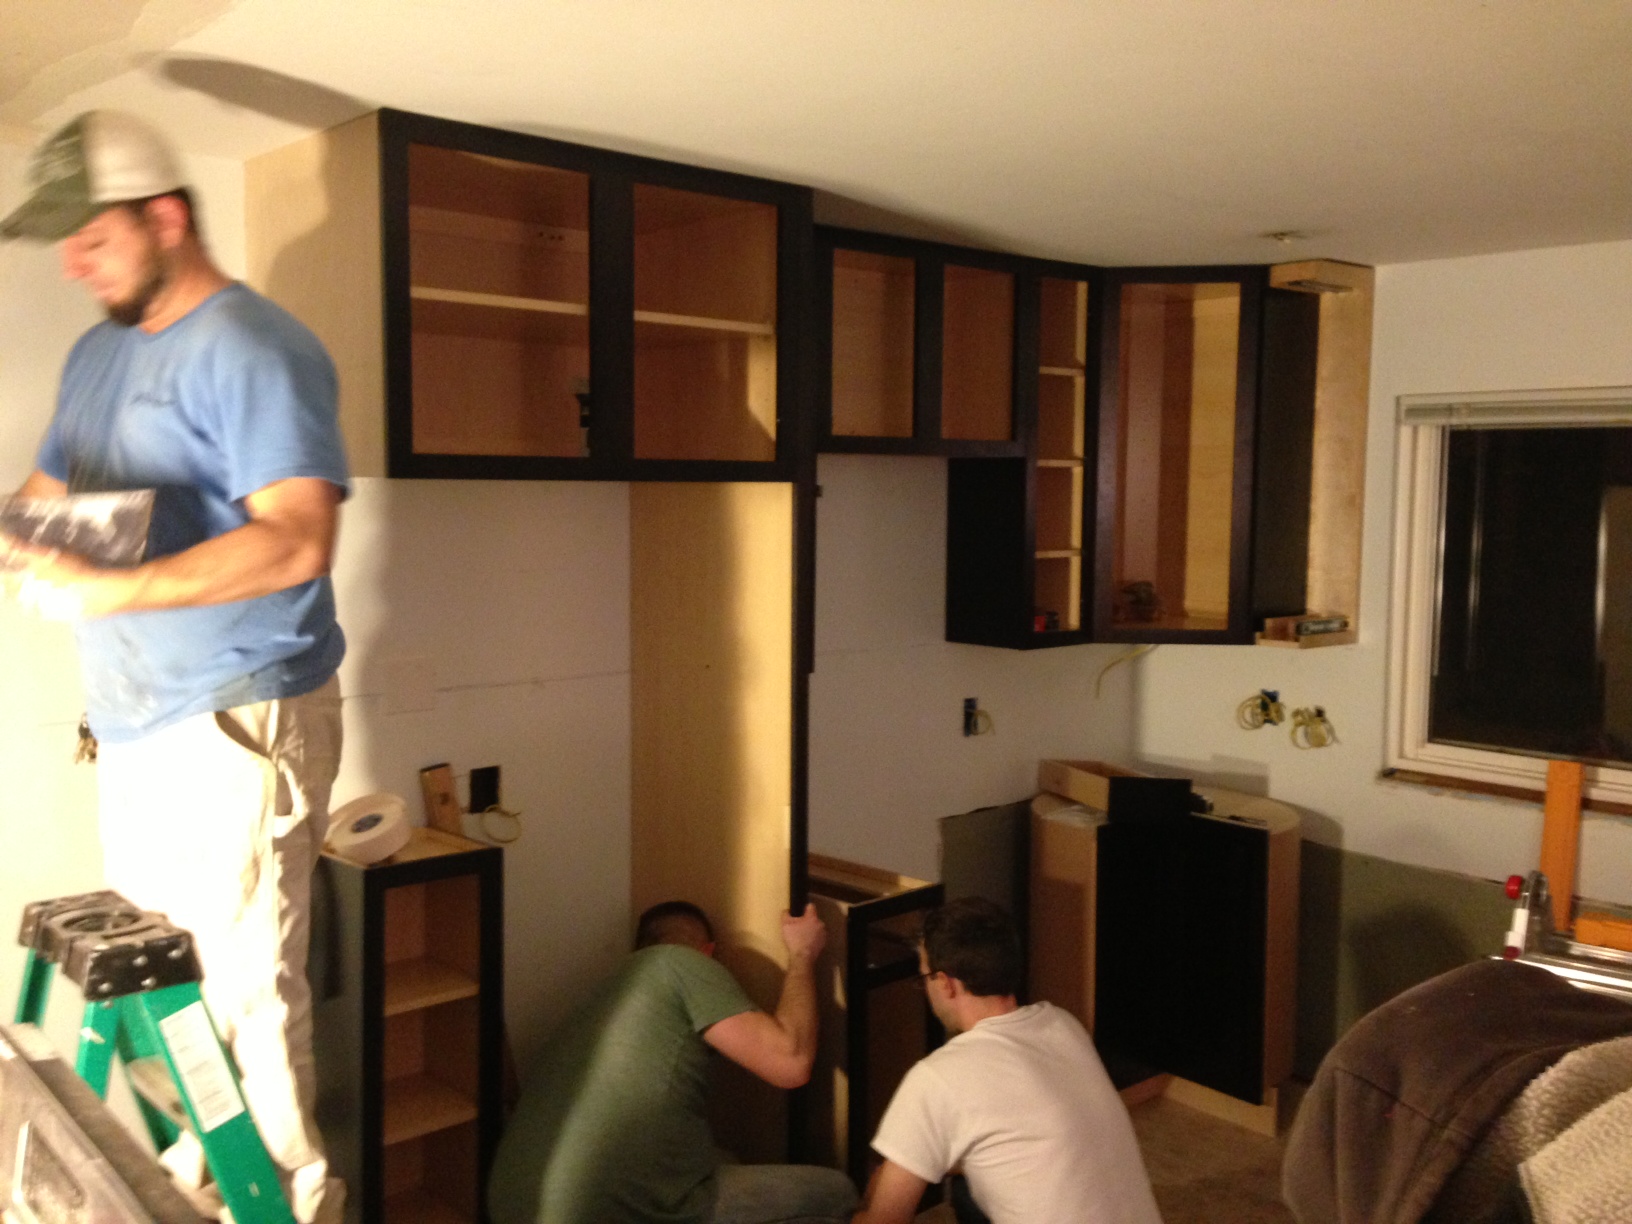
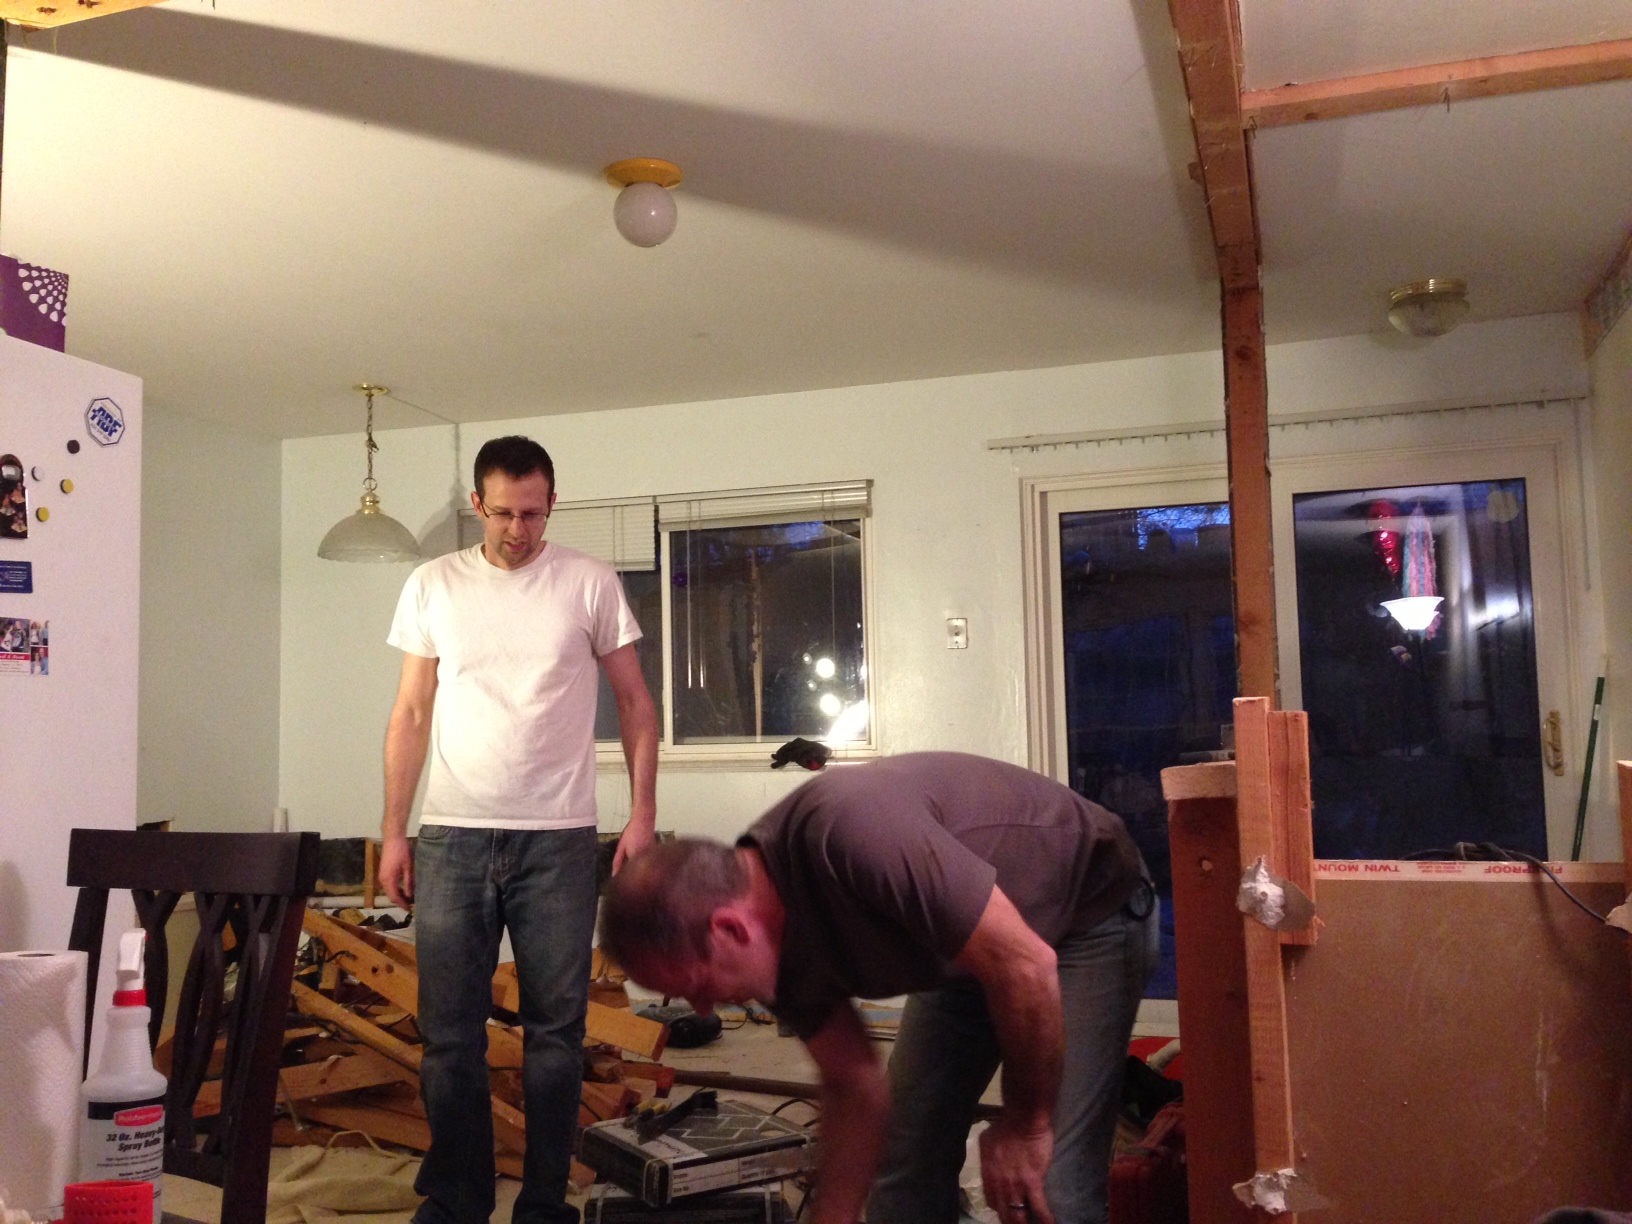
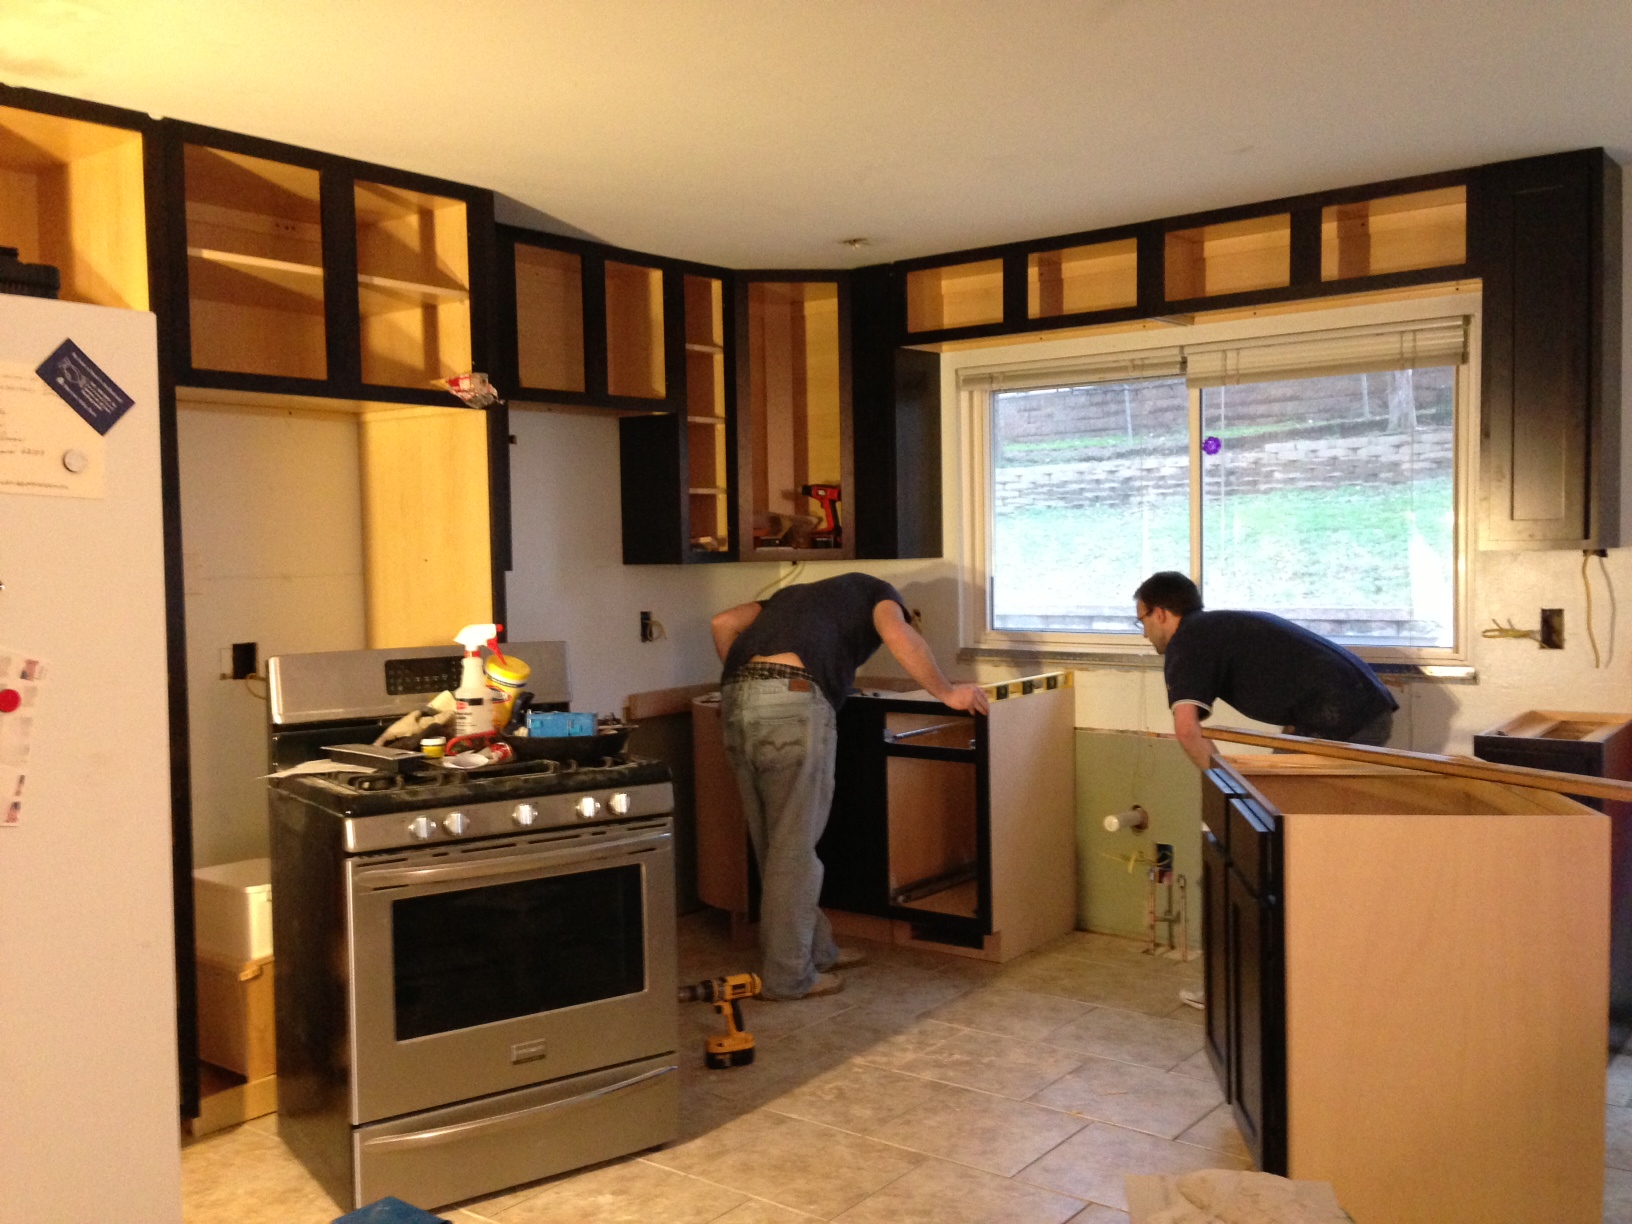
Day 9 – Men @ work.
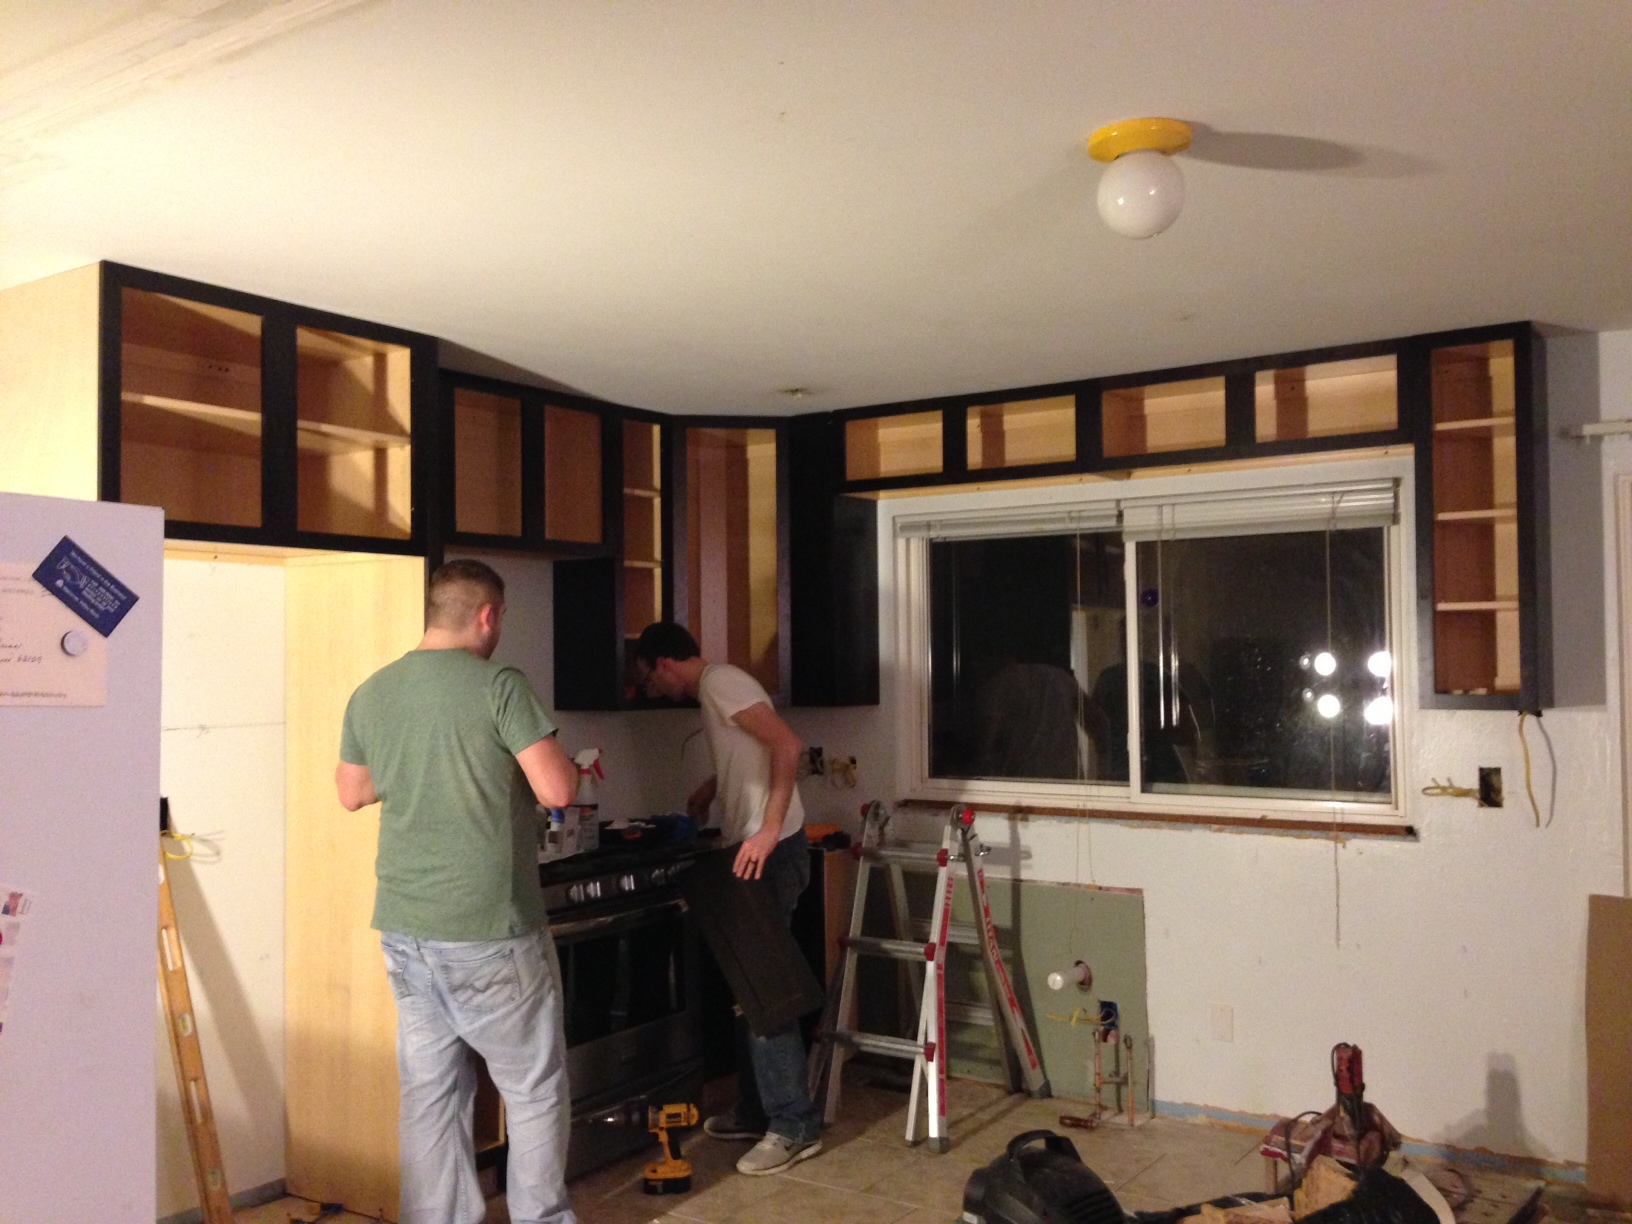
Day 9 – Cabinets.
Day 9 – Cabinets.
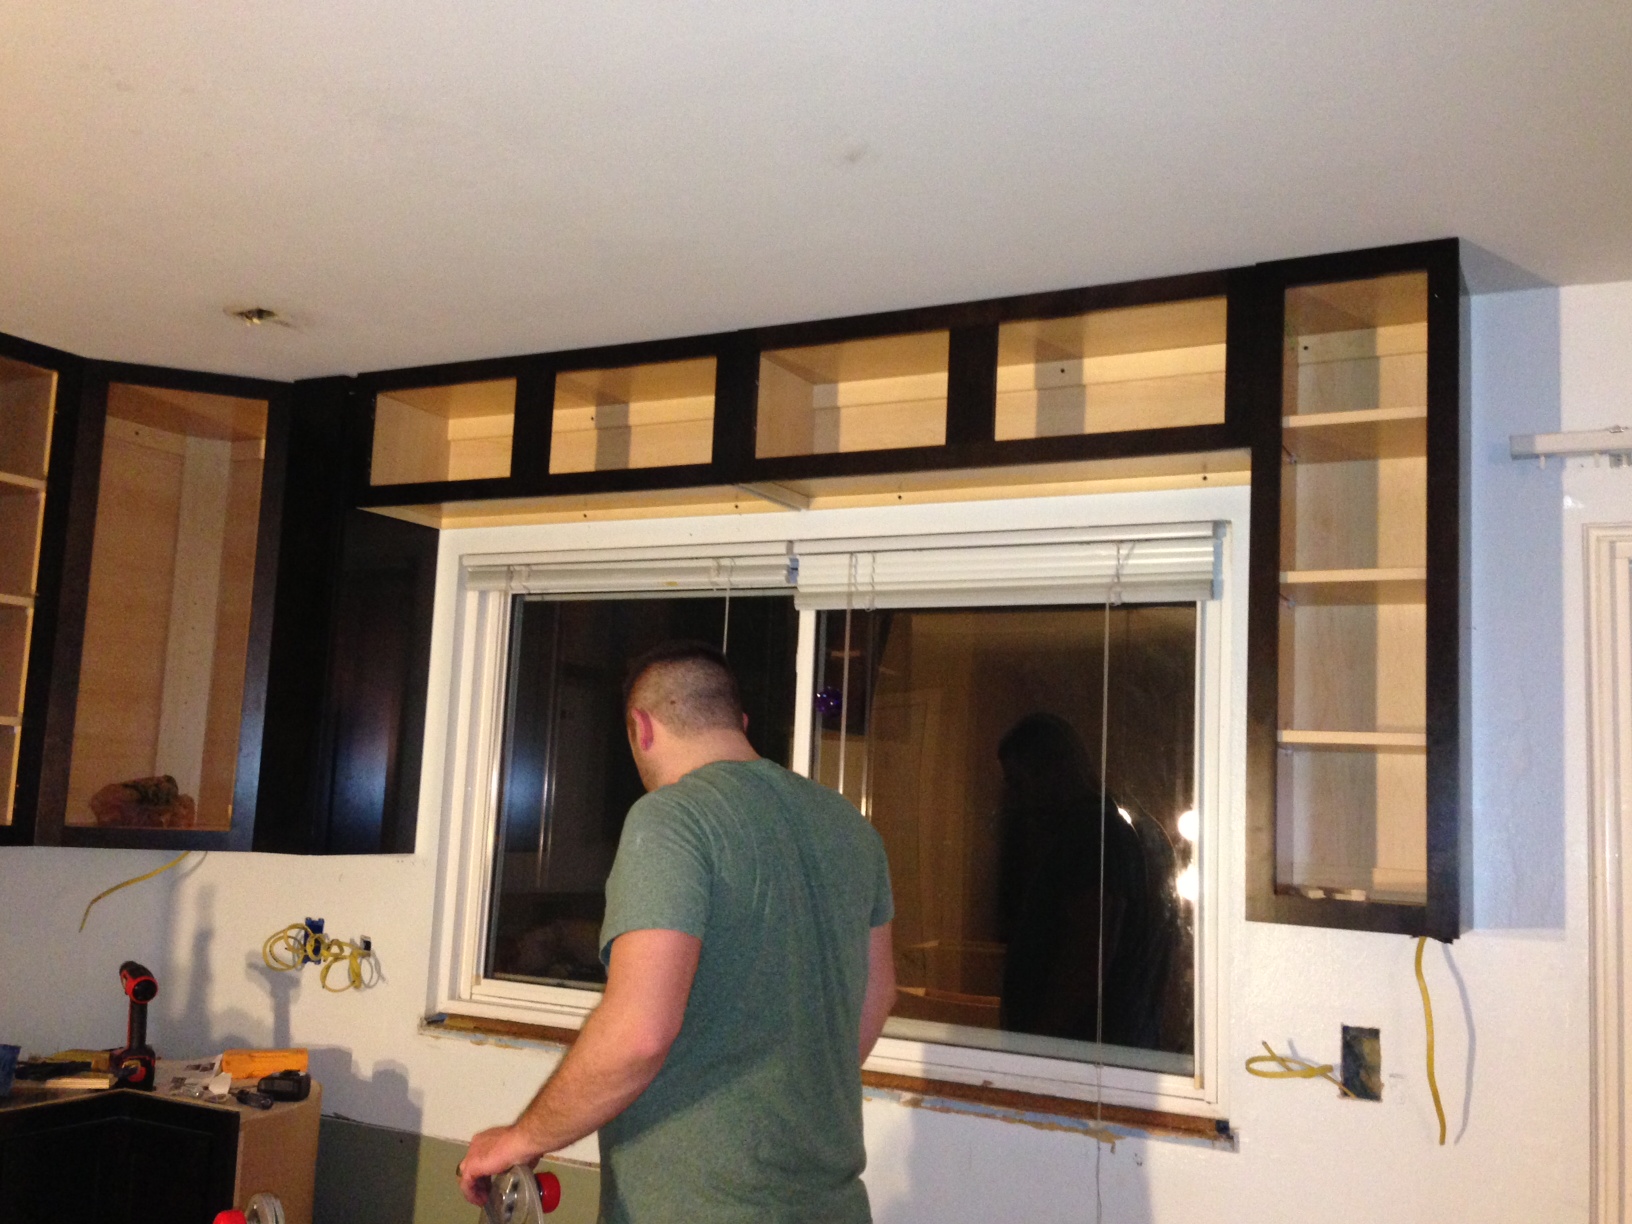
Day 9 – Cabinets.
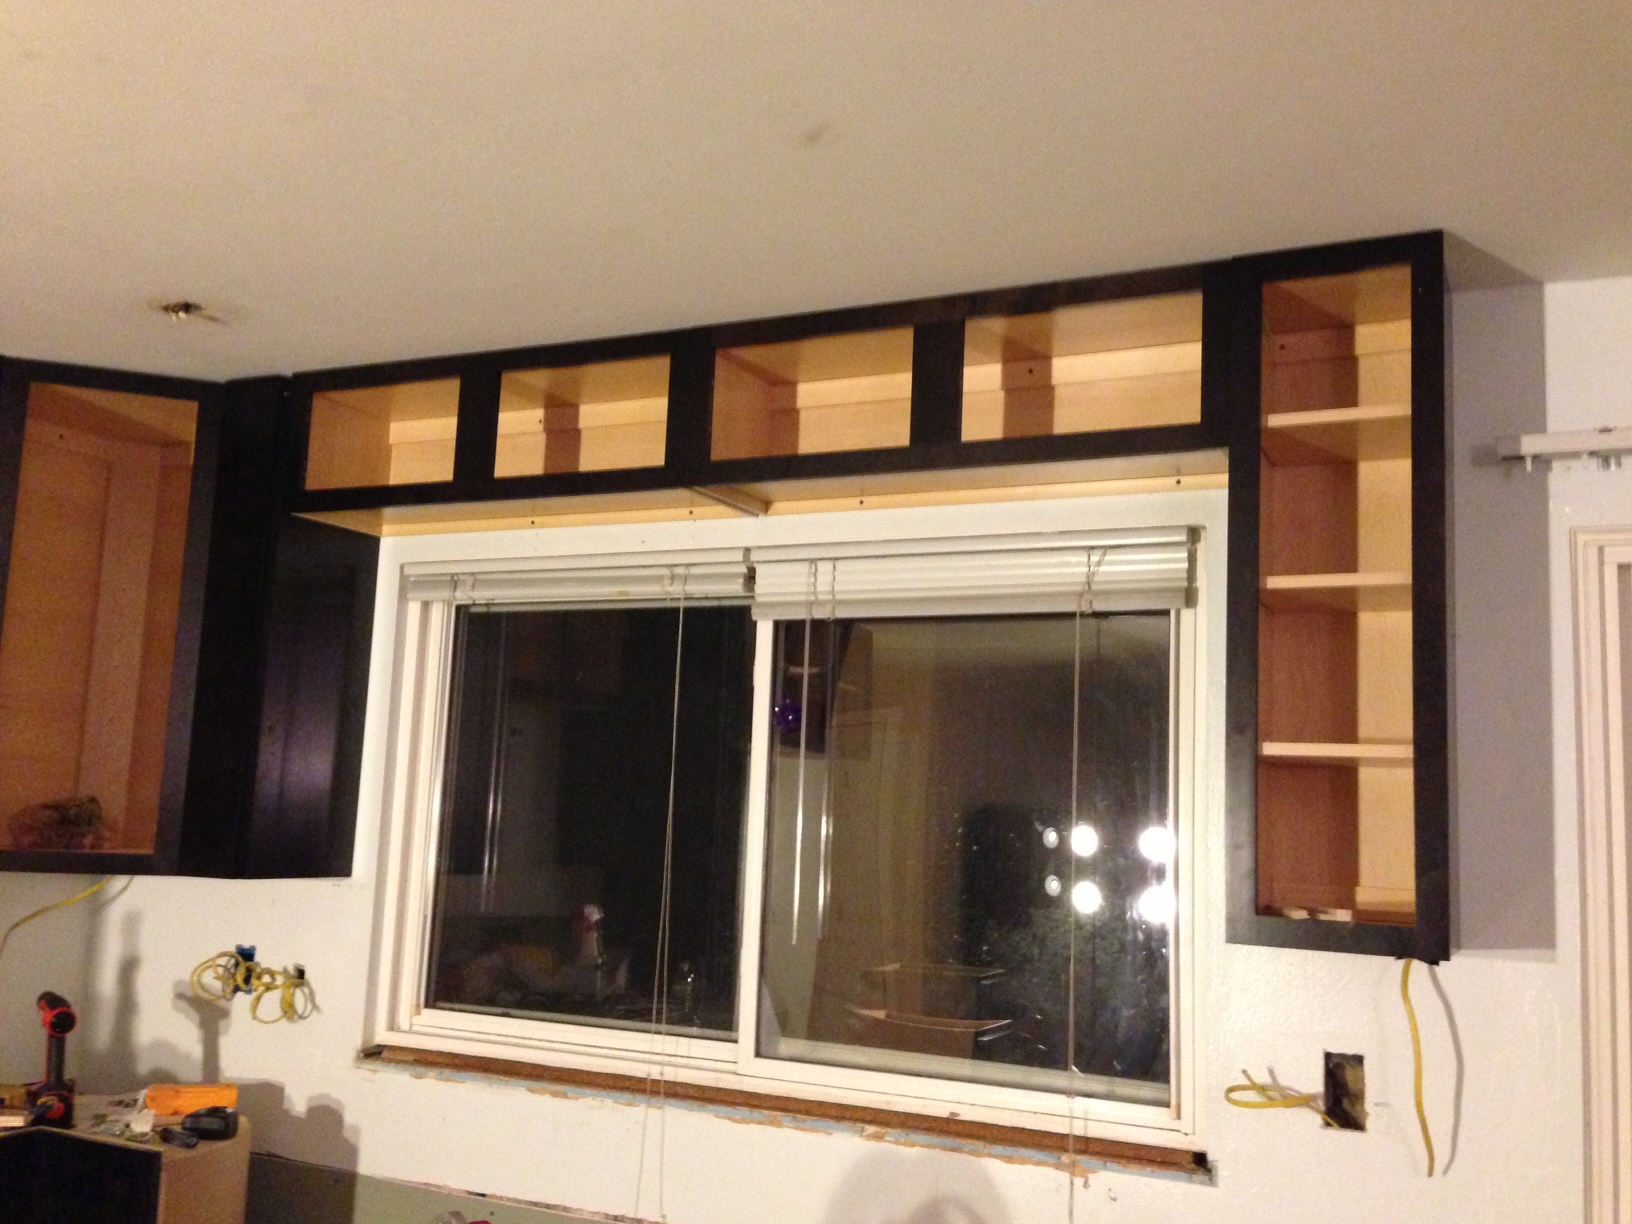
Day 9 – Cabinets.
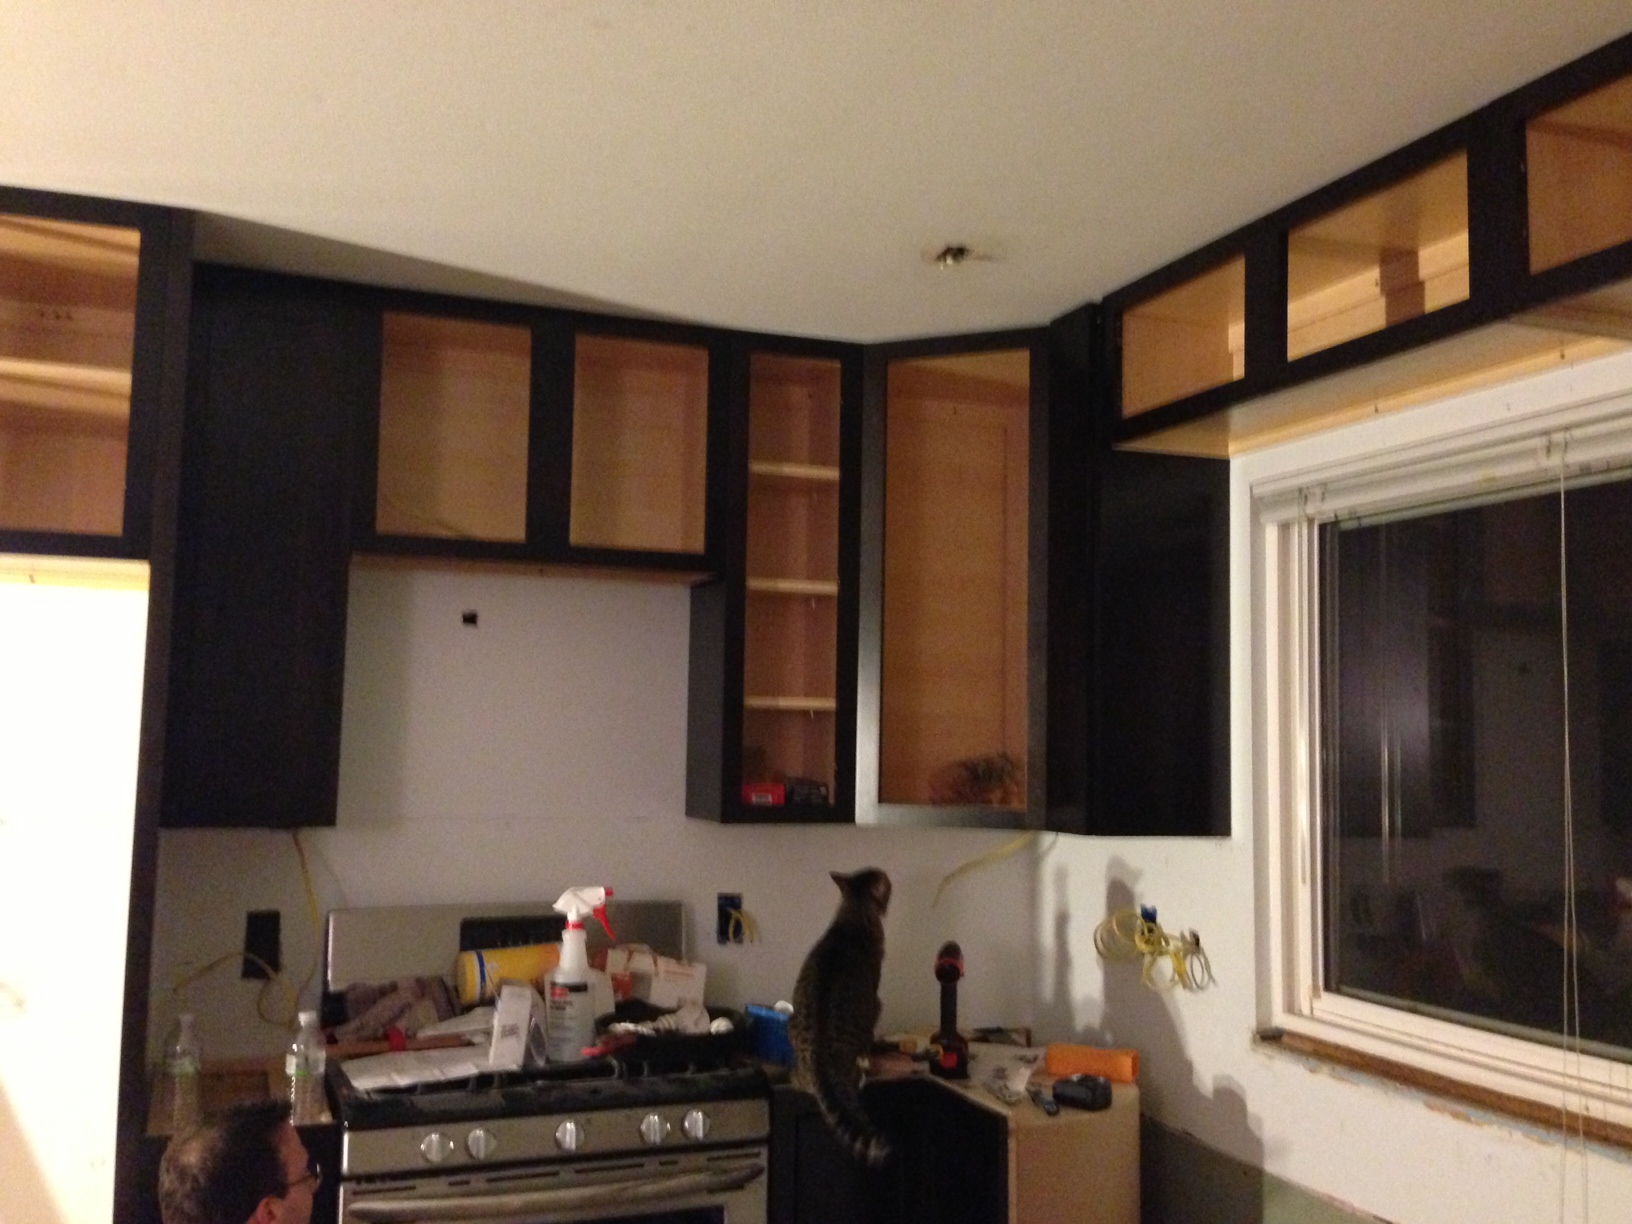
Day 9 – Cabinets.
Day 9 – Cabinets.
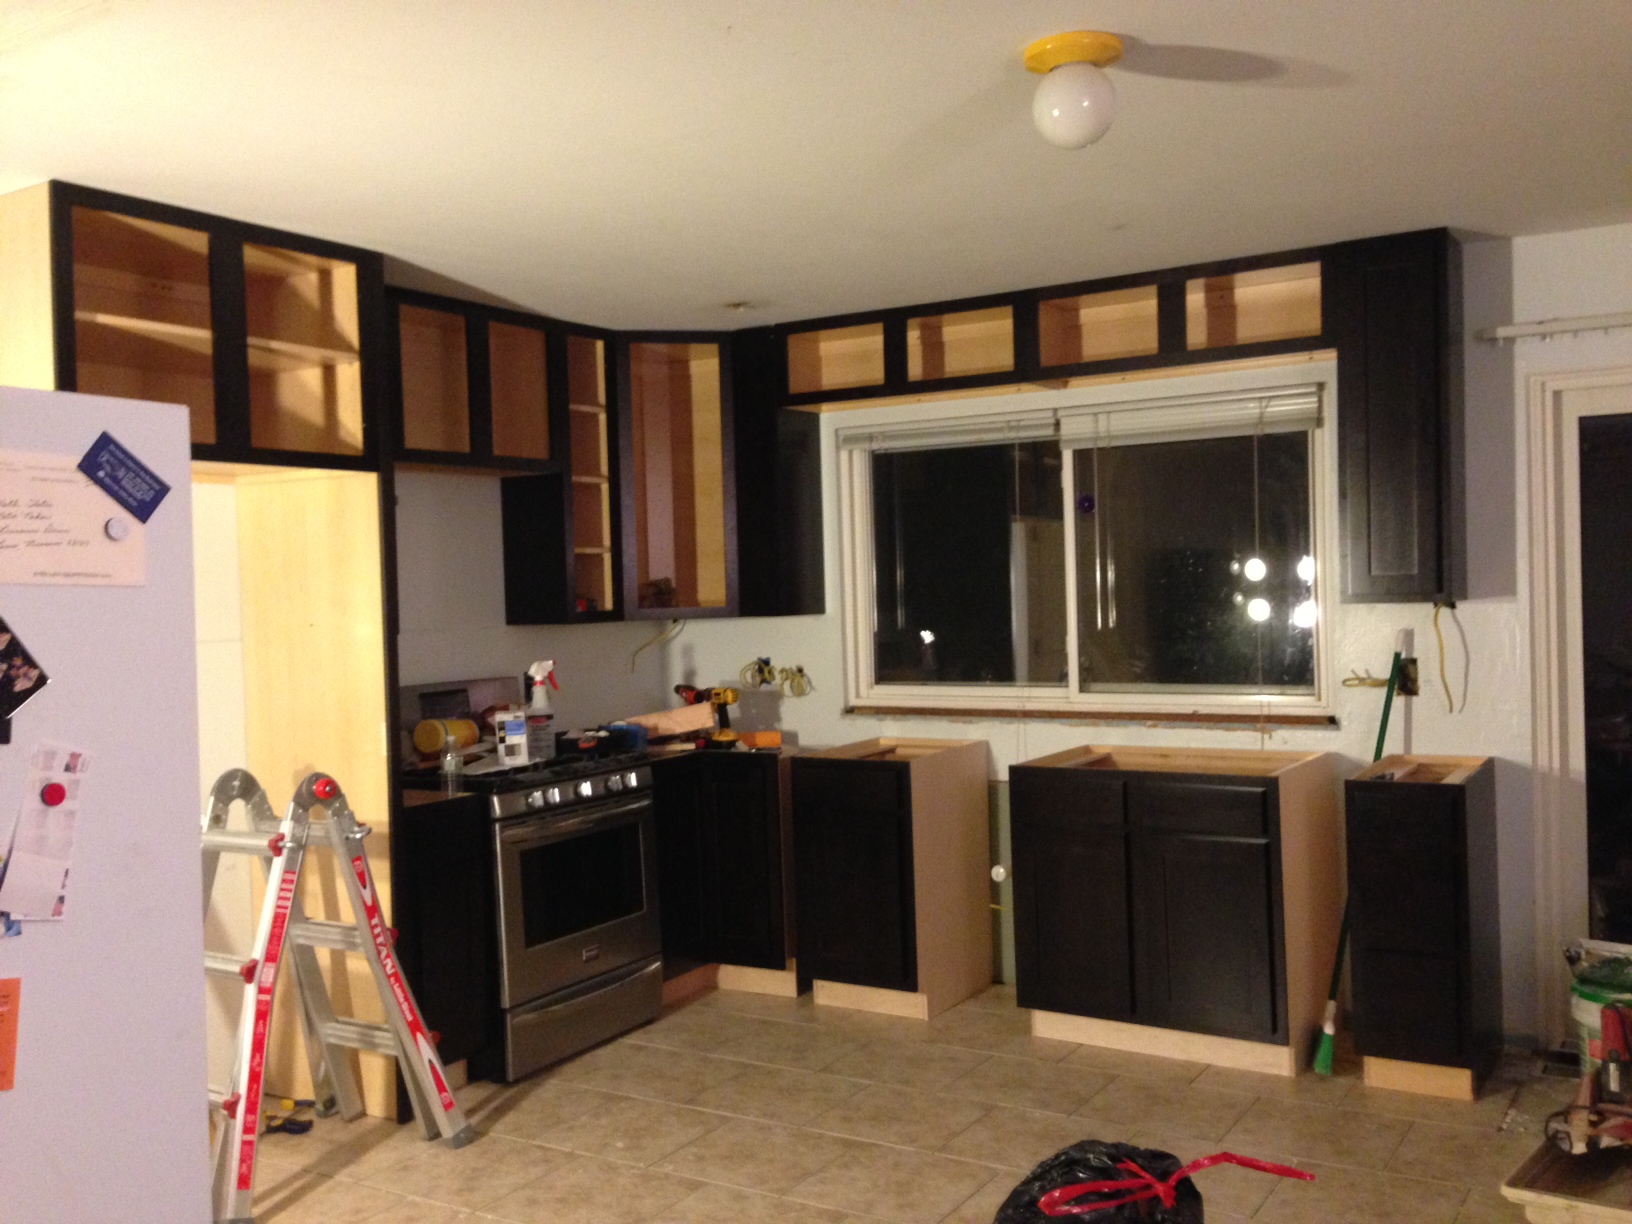
Day 9 – Cabinets.
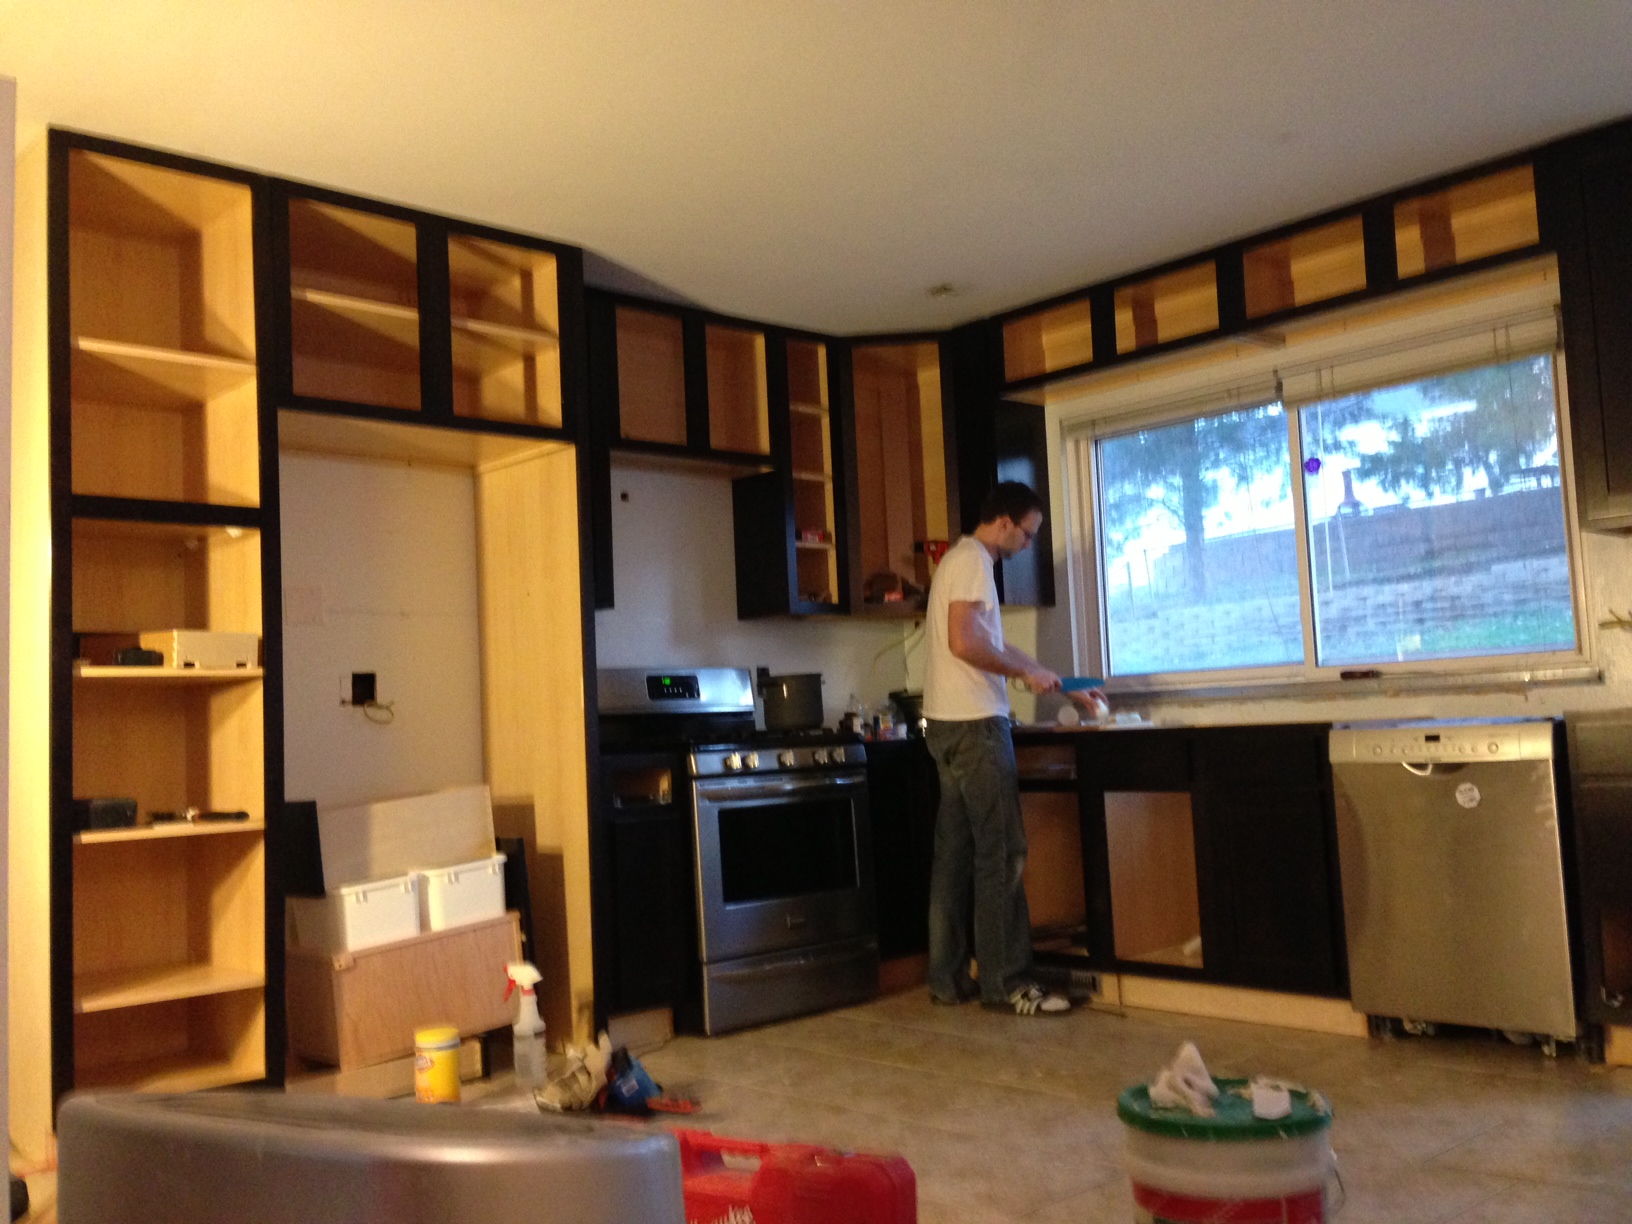
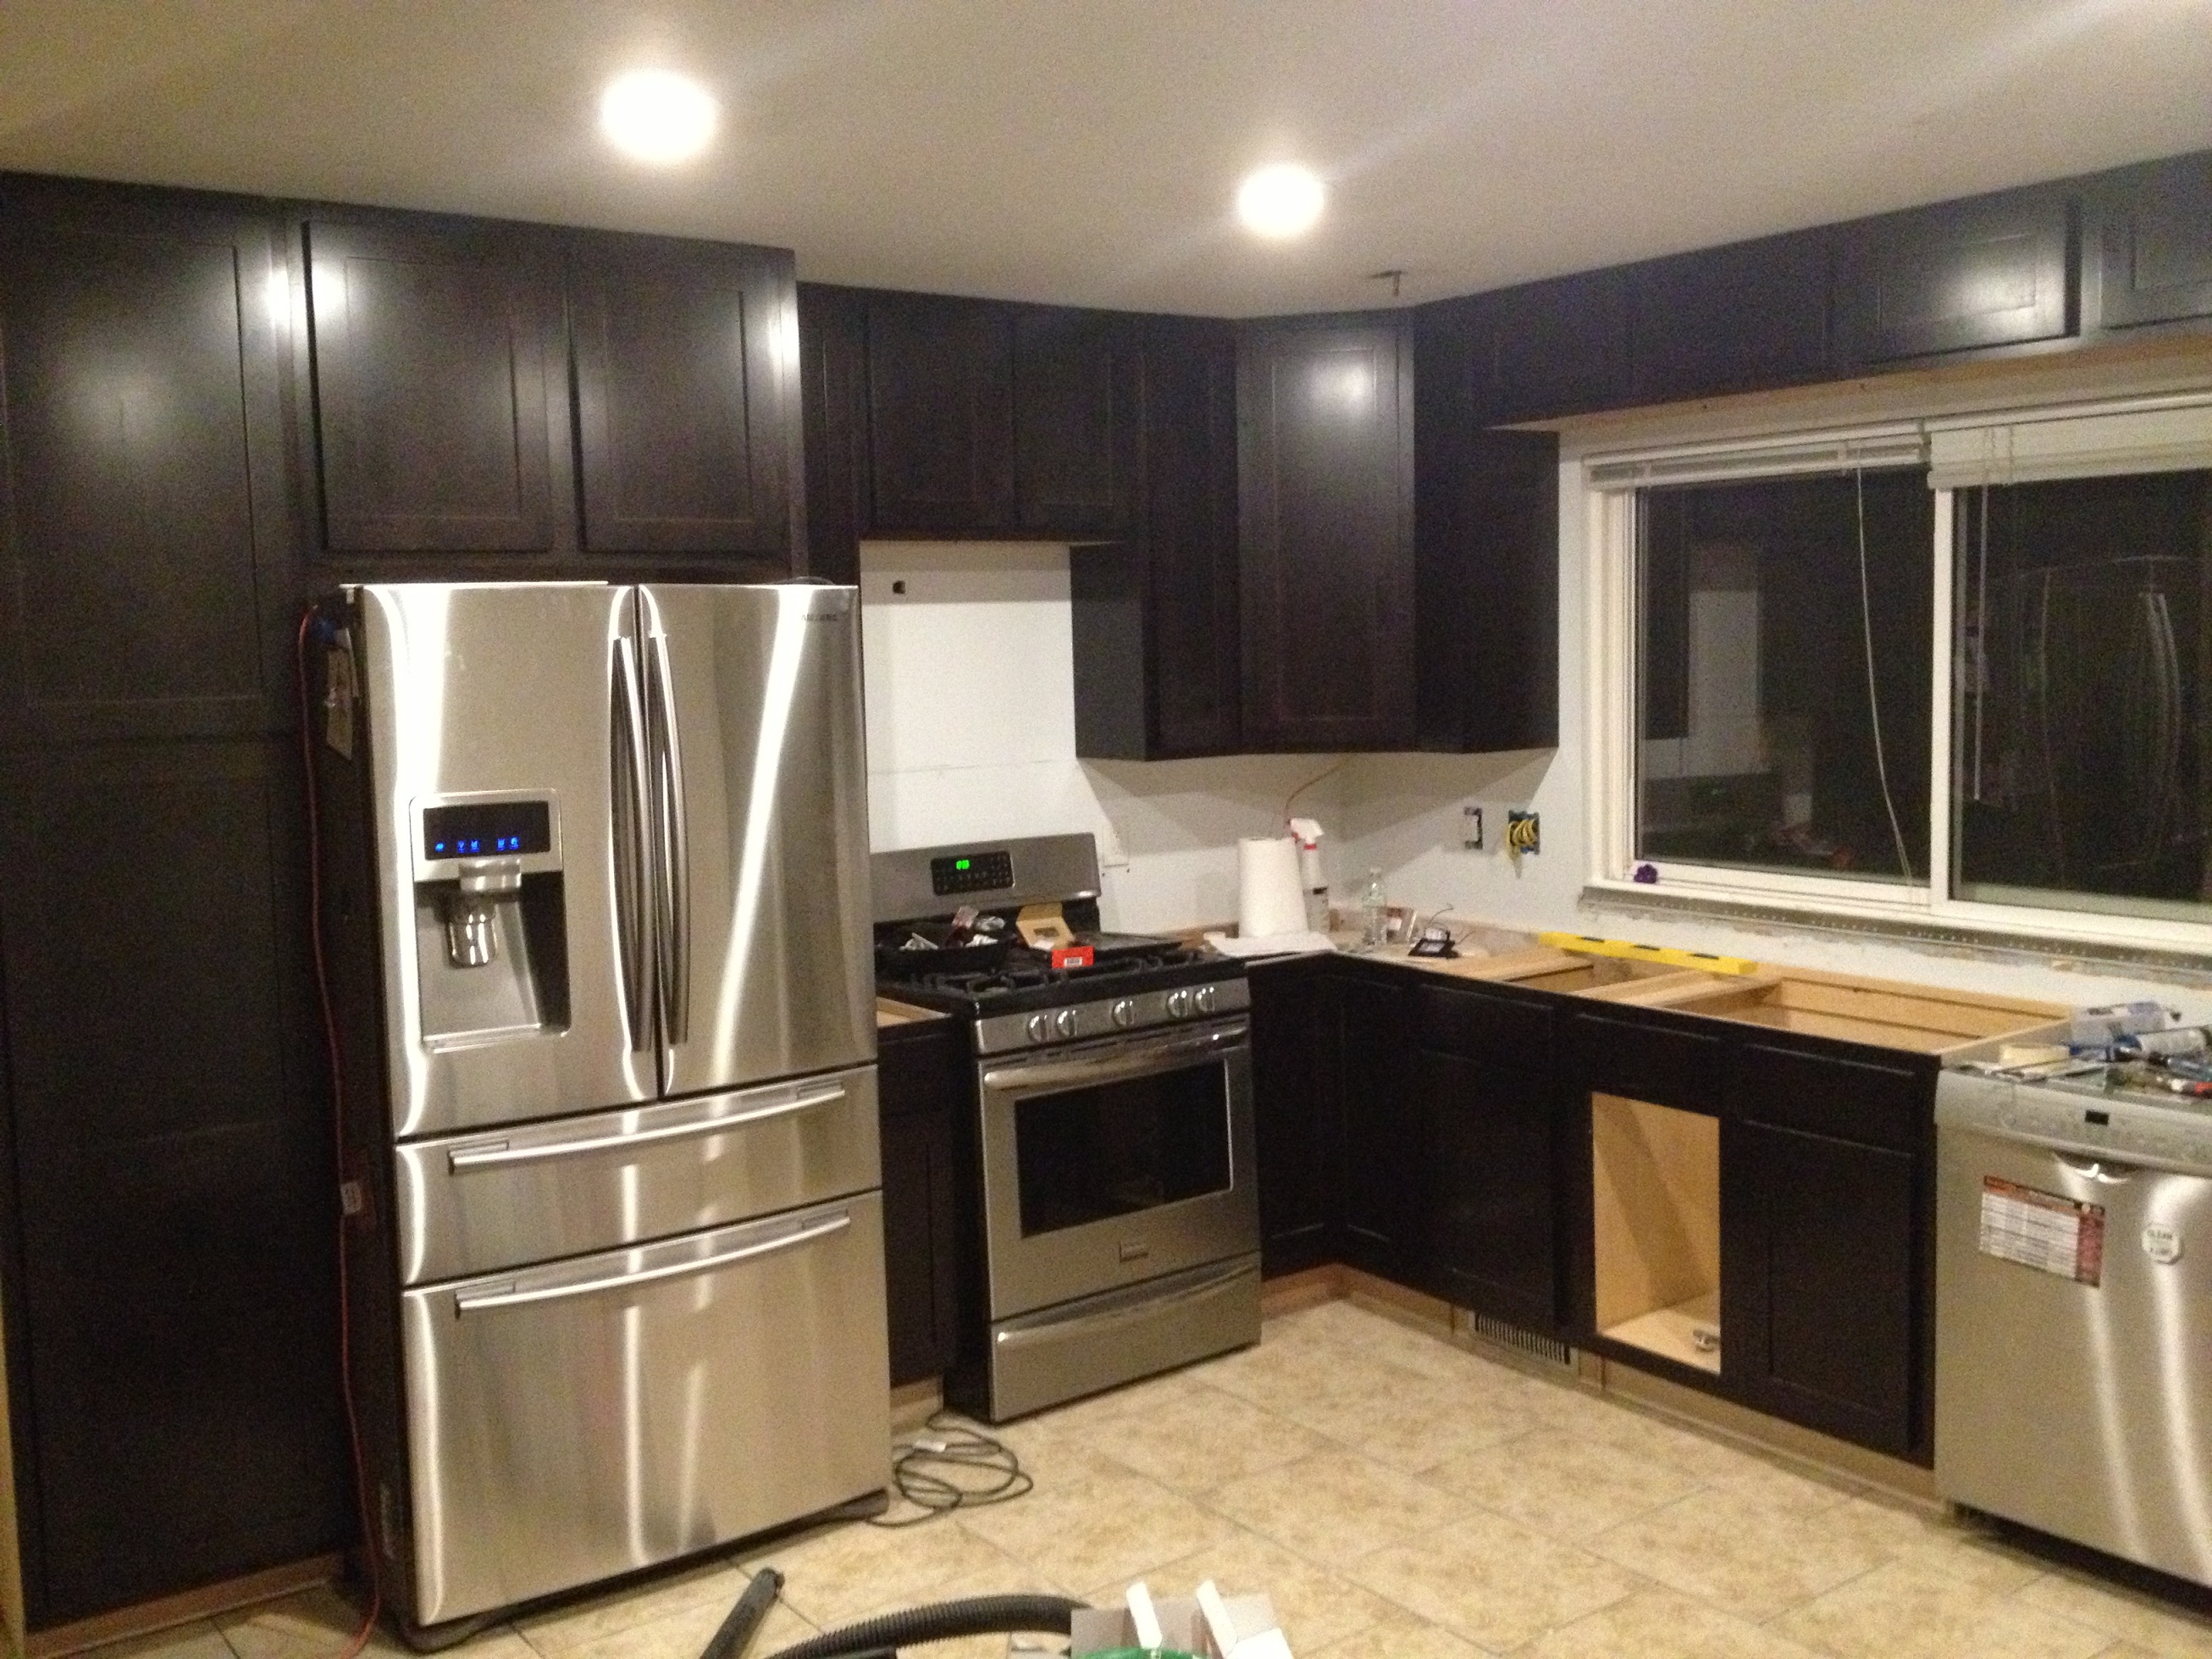
Finally, LIGHTS + DOORS!
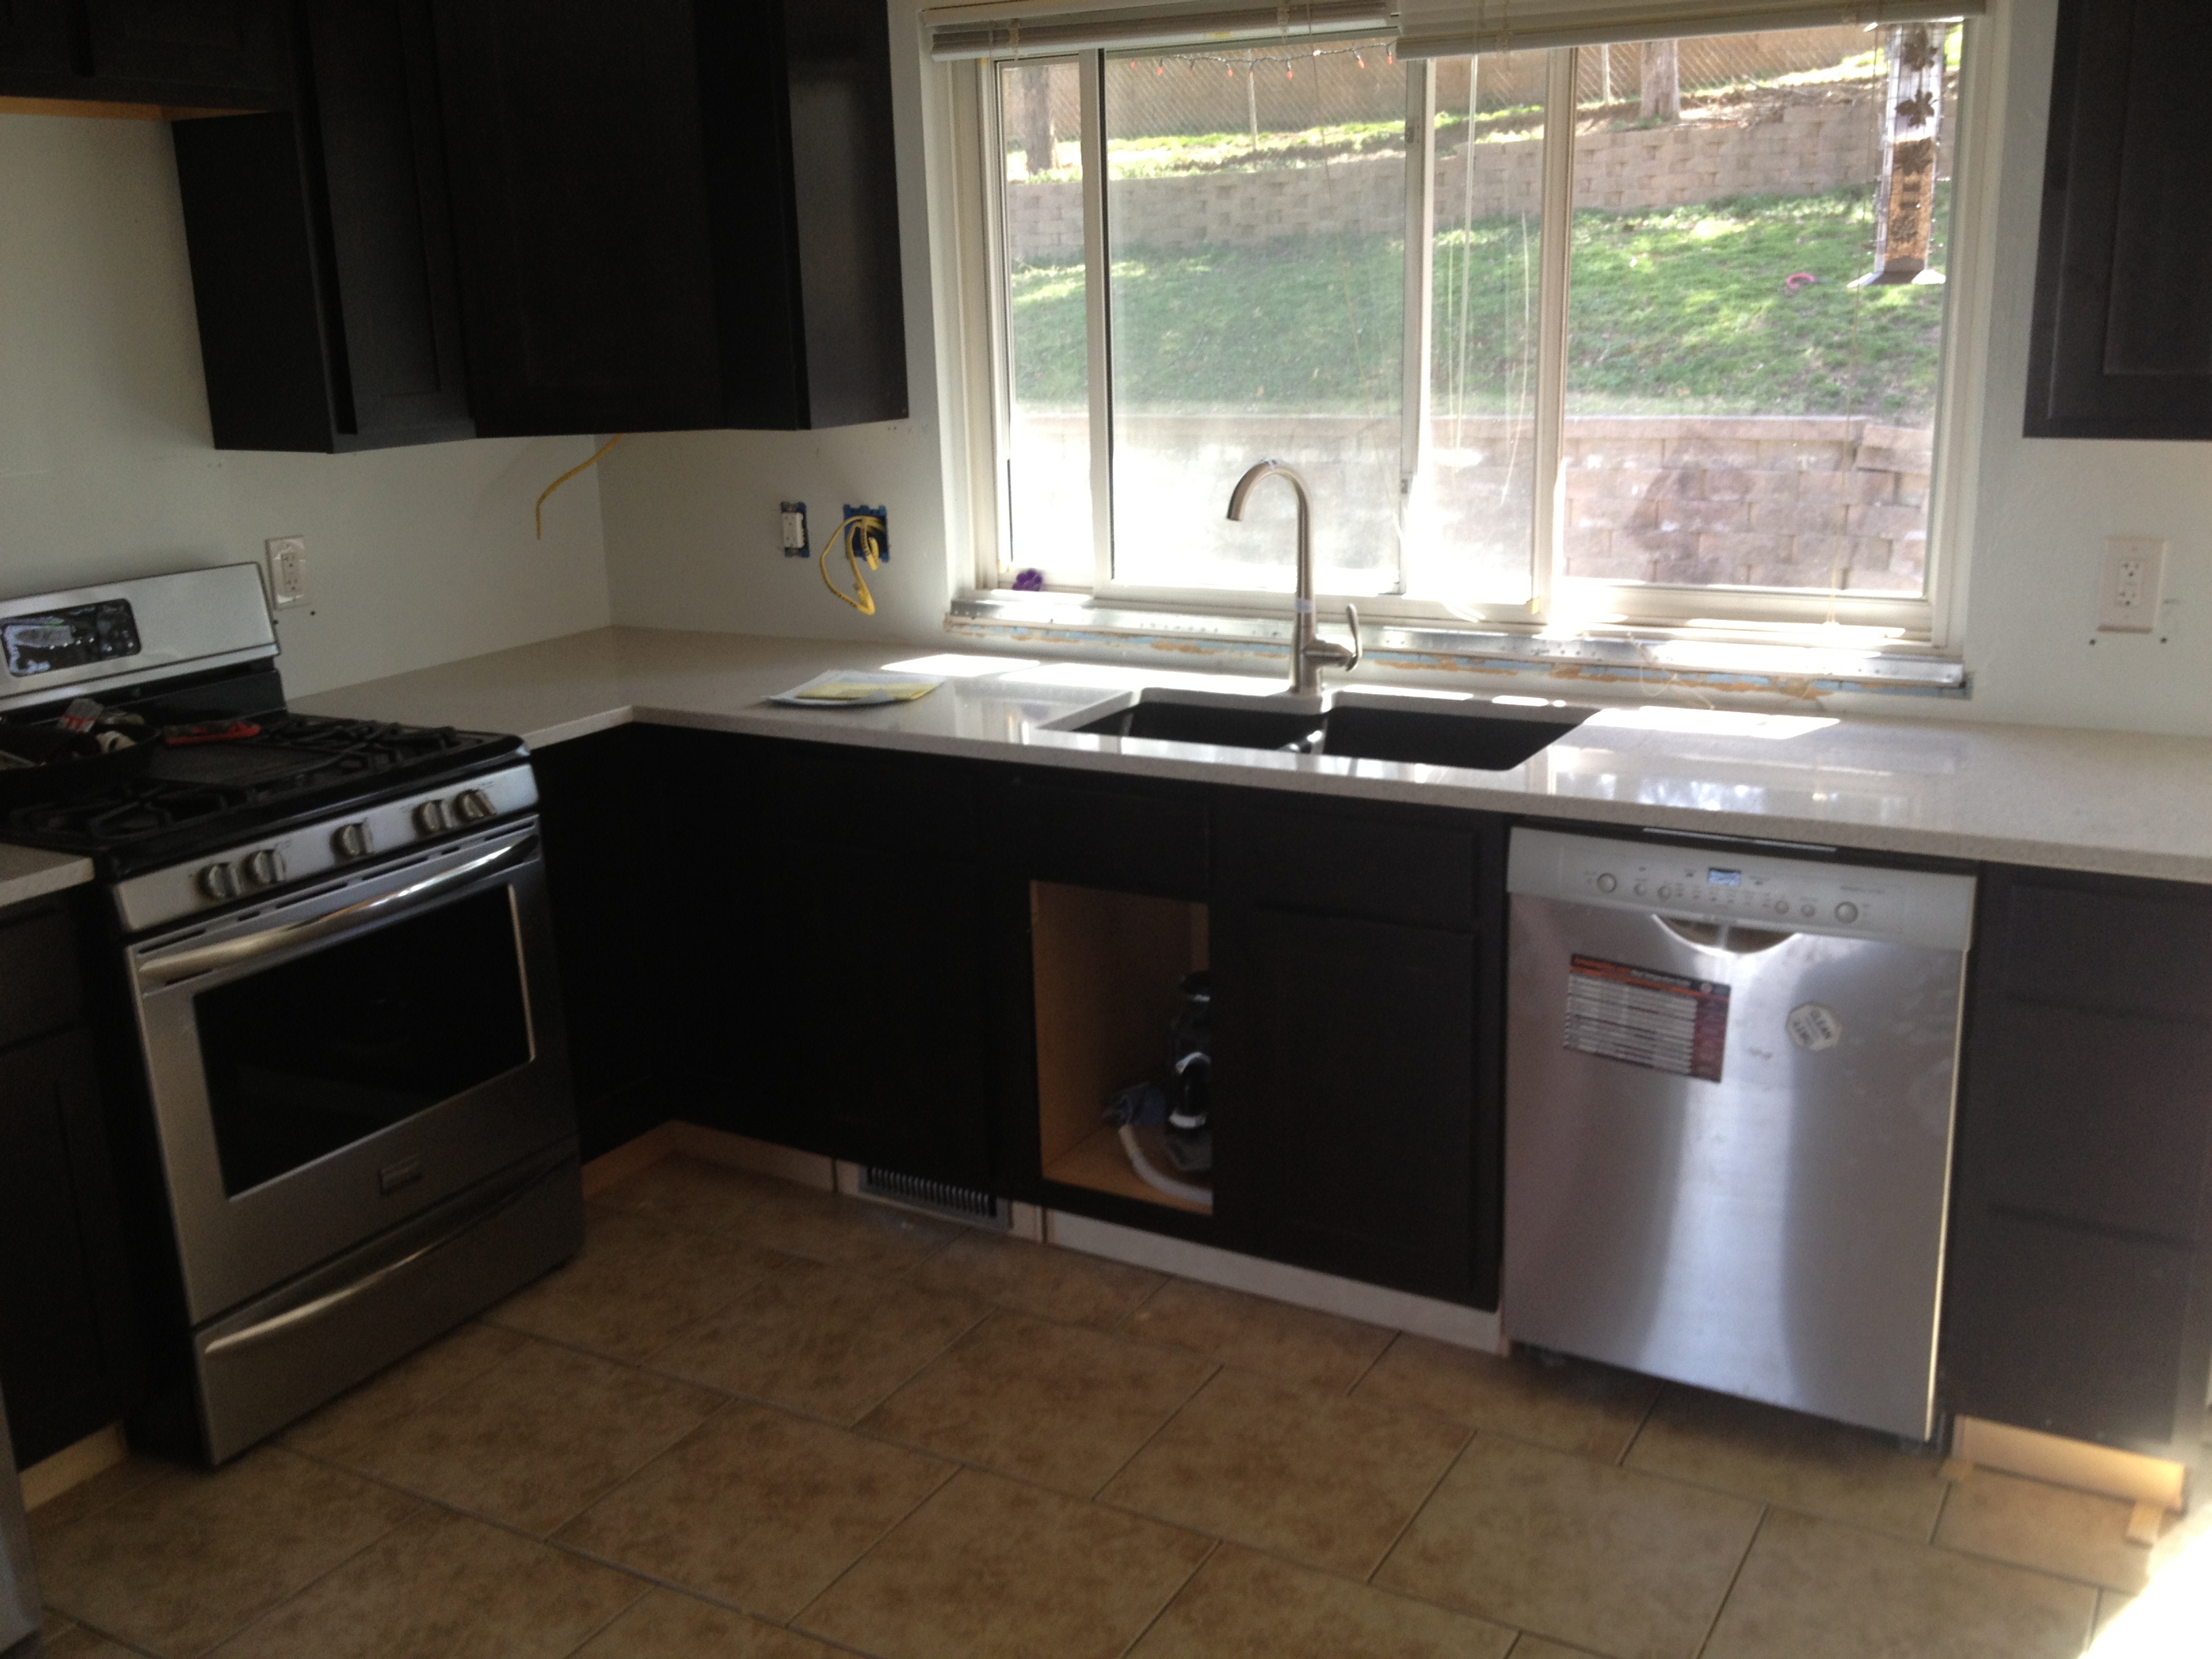
Countertops + sink!
Bare Escentuals — bare minerals — Day 5, 6 & 7
Day 5
I can see the makeup kind of caking or flaking around the corners of my mouth and on my t-zone. The ouside corners of my eyes are red and itchy and hurt to the touch.
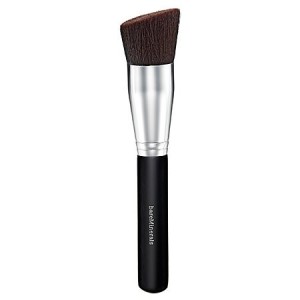
Bare Escentuals Precision Face Brush
Day 6
A couple more new pimples sprouting up on my cheeks…
Day 7 (today)
I’m sitting here and the skin around my eyes and around my mouth are tight and dry. I dabbed moisturizer on it but that didn’t help (I use Clinique Moisture Surge) and it kinda made the makeup come off. The outside corners of my eyes are still red and are sensitive to touch. Can’t wait to go home and take this stuff off my face for good.
Conclusion
While Bare Minerals was majorly hyped as being the best skin care you can buy, my conclusion is I will never use these products again (except for the blemish treatment, it really rocks I think b/c of the sulfur). My skin is worse than when I started – I have more pimples and now my face is dry. I’ve noticed that my face is rather itchy as well, probably from it being dry. Hopefully after a week of letting my skin go back to it’s normal daily routine…it returns back to the way it was before I started using bare minerals.
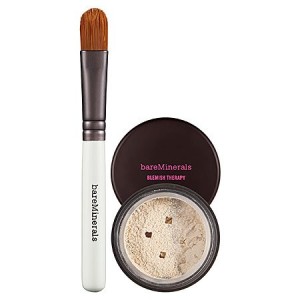
I do highly recommend the blemish treatment. The sulfur in it really does heal pimples quite fast (2 days maybe?) and, if you don’t mind the smell of sulfur, it also serves as a concealer because it’s tinted. I have also been putting it on my old acne marks and it seems to be making those less visible which makes me happy as a clam ![]()
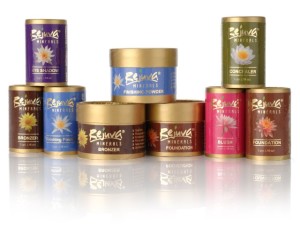
I’ve decided to try Rejuva Minerals and see if that’s better. From what I’ve read so far they are mica and bismuth free so they should cause less skin irritation, pimples and less dryness. Their makeup also has cocoa powder in it making you lightly smell of chocolate! What could be better? ![]() Whenever I receive the new makeup I will write a review on that as well.
Whenever I receive the new makeup I will write a review on that as well.
Bare Escentuals — bare minerals — Day 3 & 4
Day 3
Second day of bare minerals makeup. Did the same process — wash, moisturize, prime, blemish treatment, foundation, mineral veil — and yay! I was not a geish girl anymore ![]() My face felt a little dry but I thought maybe it was from allergies or the weather (it was rather chilly that day with barely any humidity).
My face felt a little dry but I thought maybe it was from allergies or the weather (it was rather chilly that day with barely any humidity).
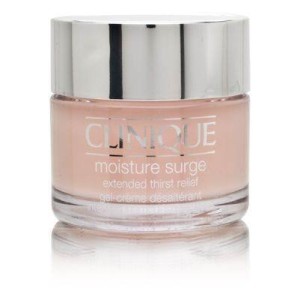
Clinique Moisture Surge Extended Thirst Relief
Day 4
03.01.13 — My wedding day and my face’s time to shine (well, hopefully not really shine as I got the oil control primer). Put on all the makeup and was good to go. Face felt a little tight and I had a couple new pimples popping up on my cheeks. I rarely ever get pimples on my cheeks, they mostly pop up on my chin and forehead. The blemish treatment reduced the redness enough that it didn’t show thru too much.
Bare Escentuals — bare minerals — Day 1 & 2

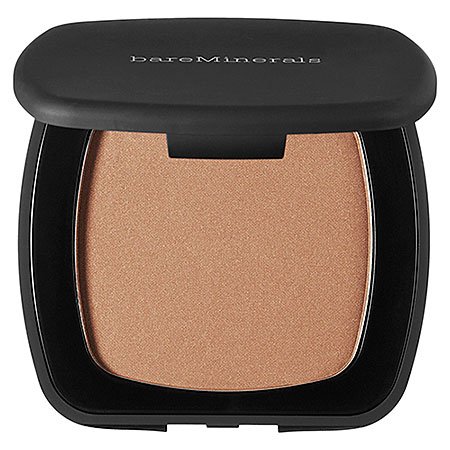
Bare Minerals Ready SPF 20 — Medium Beige
In planning for my wedding on 03.01.13 I decided I should go get some good makeup so my face would look picture-perfect for photos. I decided to go to the bare minerals store because I heard so many good things about them — they’re natural, barely feels like wearing makeup, your face can breathe, etc. Please keep in mind that I don’t wear makeup so I believed that I would be the perfect person to try this makeup on for the first time and see if it really was all it was hyped up to be. Up until this point I had been using Neutrogena SkinClearing Mineral Powder for spots of pimples because it had salicylic acid in it…plus it was tinted and served as a concealer as well.
Info on my skin type:
- 26 yrs old
- South Korean
- Warm/yellow undertones
- Combination skin (oily t-zone, normal elsewhere)
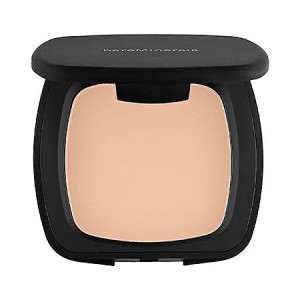
Bare Minerals Ready SPF 15 — Translucent Veil
Day 1
I went to the Bare Minerals store in the Saint Louis Galleria mall and promptly got made over by a very nice lady. She walked me thru all the steps of putting each layer of makeup on and even explained what the benefits of their makeup were. Of course, I was sold! I bought the blemish treatment, precision face brush, oil controlling primer, ready foundation (fairly medium), ready mineral veil and even some lip color to make my lips more visible for the wedding photos. Note — I got the ready versions of the makeup and not the loose powder because I didn’t want to spend all day putting on makeup and they said this was much faster.
Day 2
First day of putting on the bare minerals all by myself! I washed my face, moisturized, primed and then followed with the blemish treatment, foundation and then mineral veil. All seemed well and I looked flawless…until I stepped out into the light. I looked like a geisha girl — my face was so white! I had barely put any of the foundation and veil on my face (touched the brush to the powder only once and very lightly, just like the lady instructed me to).
I went back to the Bare Minerals store after work and said it made my face too pale. They color matched me again — this time to medium beige — and I was on my way.
